© Photography by Kindred Photo & Design
Thank you to Lion Brand for providing the yarn for this pattern sample.
Last winter, I released a pattern set – the Maribel Cowl and Boot Cuffs. They are still some of my favorite patterns from that season!
So this year, I decided to do what I always meant to do, but never got around to… designing a matching hat.

This slouch is worked differently from my other slouch hats, in that it’s worked flat and then cinched (as opposed to being worked in the round). This enables us to get vertical stitch work that you can’t get when you work a hat in the round. Cinching it up at the end is easy, and I’ve provided photos for you in the pattern.
–
The Yarn
I used Lion Brand Heartland in “Grand Canyon” for my sample. Heartland is one of my go-to worsted weight yarns. It has a beautiful sheen to it, it’s lightweight, and the color choices are gorgeous. You might recognize it in some of my other patterns, like the Sandy Slouch & Cowl Set.
Prefer a PDF?
This pattern can be completed using the 100% free version right here on this page. However, many people prefer the convenience of a printable, ad-free PDF.
All-Access Passholders get the ad-free version of this and all of my other blog patterns. It’s a pretty sweet deal, if I do say so myself! Learn more about it here or continuing scrolling for the free version.
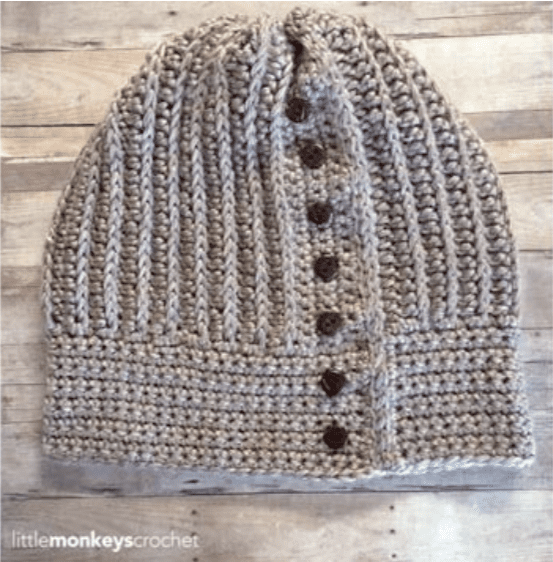
THE MARIBEL SLOUCH HAT
Level: Easy
Size:
One Size Fist Most (Preteen – Adult Woman).
Hat measures 9.5” across at band (when laid flat), and is 9.5” tall.
Materials:
- I hook (5.50mm)
- Yarn needle
- About 210 yards of Lion Brand Heartland* (Sample color: Grand Canyon)
*About Heartland:
Weight: #4 worsted
Fiber: 100% Acrylic
Yardage: 5oz/142g (251yd/230m)
Gauge: 12 sc + 15 rows = 4 inches on size J-10 [6 mm] hook - 7 small buttons (I used 1/2″)
Gauge:
With I hook, 10 rows of 7 SC = 2″ square
Stitches Used:
CH (chain)
SS (slip stitch)
SC (single crochet)
HDC (half double crochet)
RibHDC (also known as Camel Stitch or 3rd Loop HDC; see Special Stitch, below)
Special Stitch:
RibHDC – instead of putting your HDC in the top loops, find the 3rd loop. Because we’re working in turned rows, the third loop will be located just underneath the front loop. Insert your hook there and create your HDC. This forces both of the top loops to rest on the front of your project, creating a ribbing effect. It is also referred to as a Camel Stitch or 3rd Loop HDC. (Confused? You can view a photo tutorial here.)
Notes:
(1) This hat is worked in rows and cinched at the end.
(2) This pattern is written in American Standard terms.
(3) Starting chains do not count as stitches.
– – – – – – – – – – – – – – – –
To begin:
Using I Hook, and leaving a 12″ tail, CH27. Don’t weave in the tail until instructed (we’ll use it later to cinch the hat).
Row 1: SC in 2nd CH from hook and in each ST across. (26)
Rows 2-6: CH1, turn. SC in each ST across. (26)
Row 7: CH1, turn. HDC in each ST across. (26)
Rows 8-64: CH1, turn. RibHDC in each ST across. (26)
We are now going to begin working along the long edge of our project to create the band of the hat.
Row 65: CH1. Working along the long edge, SC across. Put 1SC in each row, for a total of 64SC. (64)
Rows 66-76: CH1, turn. SC in each ST across.
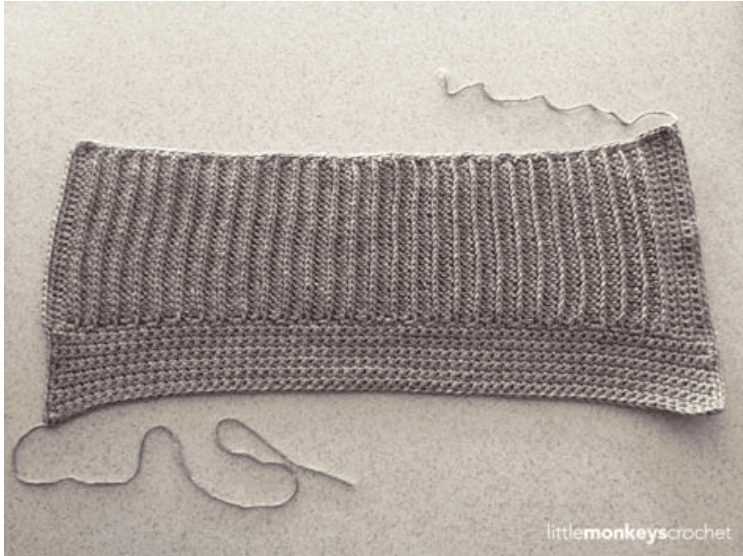
Edging: CH1, turn. SC evenly around the entire project, putting (SC, CH1, SC) in each corner. Fasten off, leaving a 12″ tail.
At this point, your project should look like this:
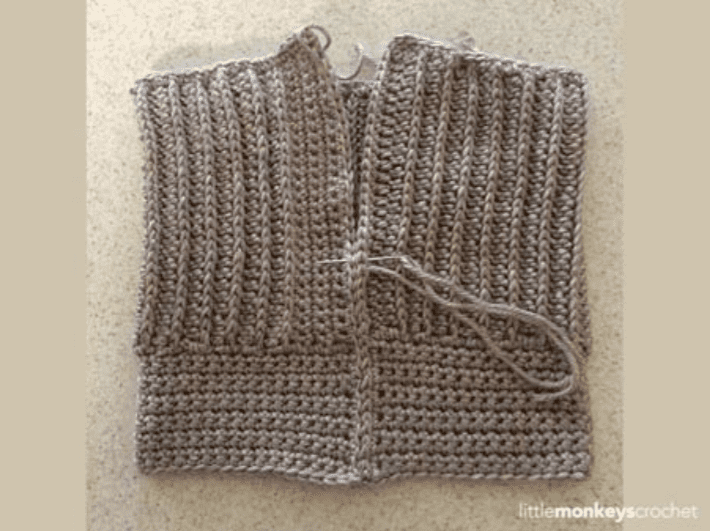
Seaming the Hat
Use your finishing tail to whip stitch the two short ends together, then fasten off and weave it in.
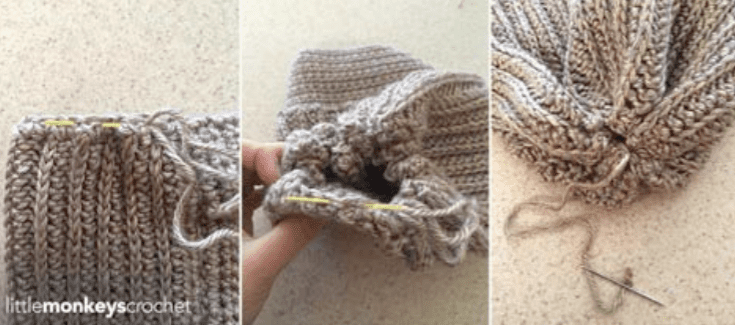
Cinching the Hat
Turn your hat inside out. Thread your starting tail through the yarn needle and weave it in and out of every other SC along the top edging of the hat. (I’ve highlighted my yarn needle in yellow in the photos below.) When you’re done, pull it tight to cinch the hat (but carefully… you don’t want to break the yarn!). Use the yarn needle to reach across the cinch a few times to make sure it’s closed up nice and tight, then make a knot and weave in the tail. Turn your hat right side out.
Sew your buttons along that very first section of SC rows, extending them down across the band of the hat, too.