

“It wouldn’t be fall without a new Yarn + Chai pumpkin pattern!”
That’s what someone commented when I showed a preview of this pattern, and it put such a smile on my face. And she’s right. It wouldn’t!

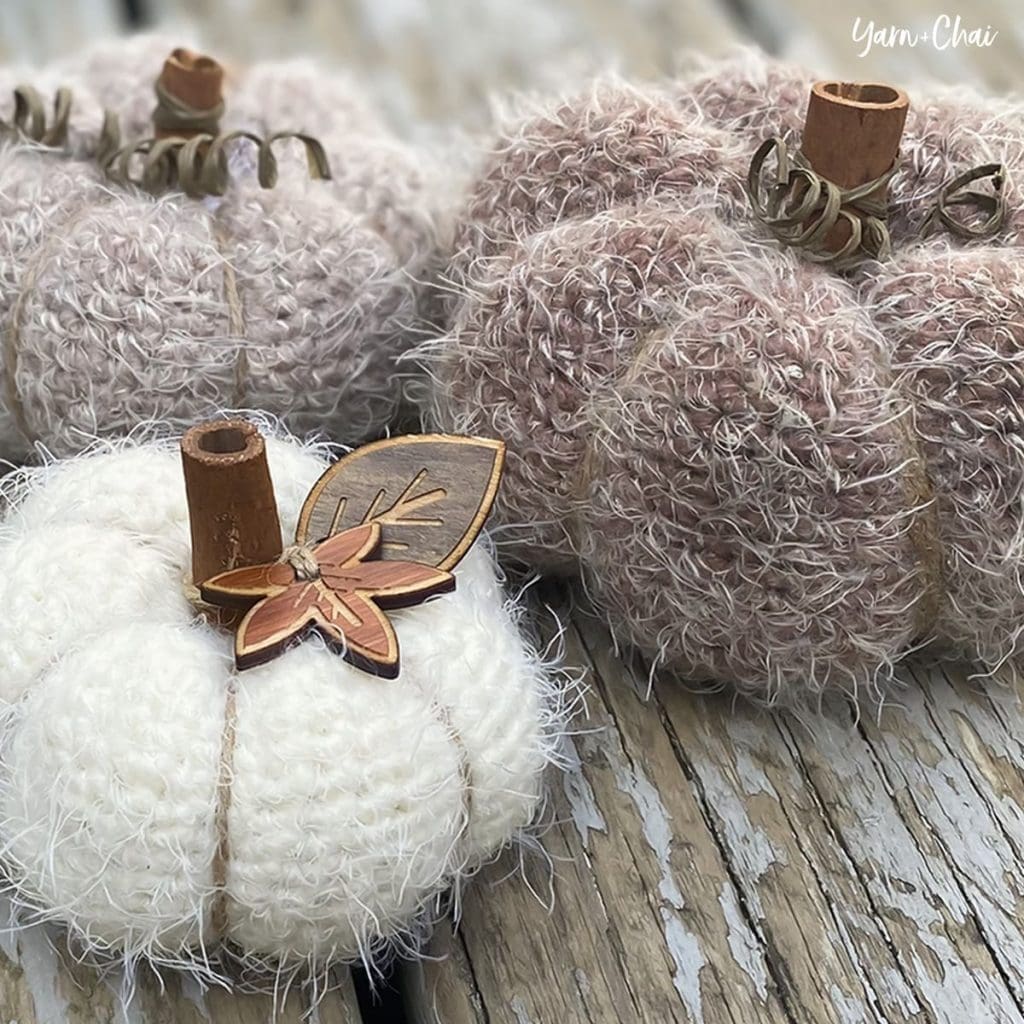
Pumpkins are such a fun, simple home decor item to crochet. And you can get away with making different styles and throwing them all together… and they’ll still look great! So why not try adding a fuzzy pumpkin (or a dozen) to your home collection or your autumn fair booth?
About the Yarn
For this pattern, I chose Caron Latte Cakes. Despite the fuzziness of this eyelash yarn, Latte Cakes are actually really nice to work with. The yarn glides on the hook without being slippery, and the stitches are visible enough to be easily worked into. And it’s soooooooft.
What makes the Caron Latte Cakes extra fun is the long sections of color contained in the self-striping versions. It makes creating a set of coordinated pumpkins a breeze… we just have to “deconstruct” the cakes to get to the colors we want! (Deconstructing is basically separating a multi-colored skein into its individual colors so that you can access them when needed. You can use a yarn winder, but I found it pretty easy to remove the colors one-by-one starting at the center of the cake.)
And there’s a lot of yarn in one cake… enough for up to 6 of the large sized pumpkins!
Wooden Leaves
My absolute favorite feature of these pumpkins, though, is the wooden leaves, which arrived just in time for my little photo shoot. The moment I saw them online, I knew I had to have them for this year’s pumpkins!
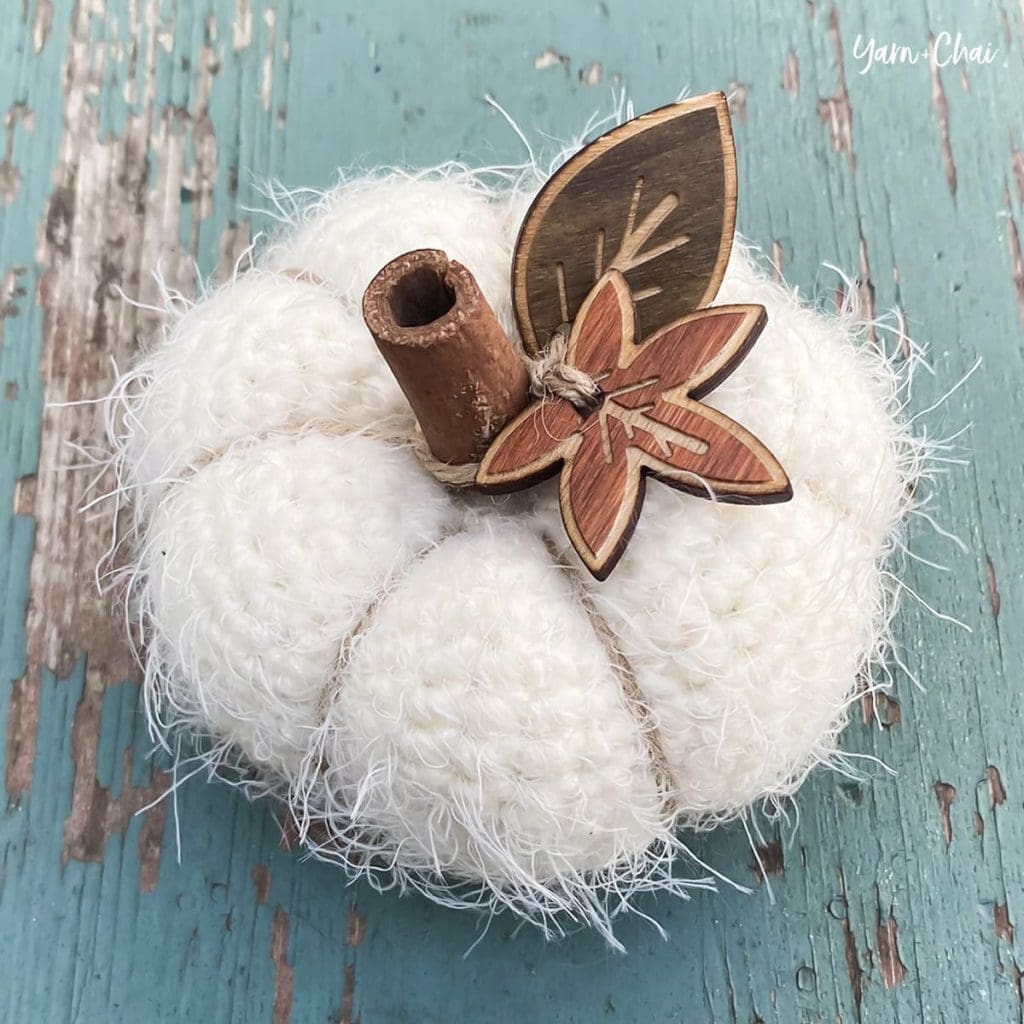
Not surprisingly, these gorgeous leaf tags come from my favorite Etsy shop: All This Wood. (That’s where I get cork and leather tags for my hats and baskets, too!)
Prefer a PDF?
This pattern can be completed using the 100% free version right here on this page. However, many people prefer the convenience of a printable, ad-free PDF.
All-Access Passholders get the ad-free version of this and all of my other blog patterns. It’s a pretty sweet deal, if I do say so myself! Learn more about it here or continuing scrolling for the free version.
– – – – – – – – – – – – – –
Country Cottage Pumpkin
View on Ravelry
Difficulty: Easy
Crochet Language: American Standard
Finished Sizes:
Laid flat, before stuffing: 4″ x 4″ (S), 4.5″ x 4.5″ (M), 5″ x 5″ (L)
Stuffed and assembled: 3.5″ x 1.75″ (S), 4″ x 2.25″ (M), 4.5″ x 2.75″ (L)
Yarn: Approximately 40 yards (S), 60 yards (M), or 85 yards (L) of Caron Latte Cakes, a #5 weight, self-striping, eyelash-style acrylic/nylon yarn. I used color “Coconut Cream.” You’ll get several pumpkins from one Latte Cake!
Hook: E (3.5mm)
Gauge: Not crucial, but 18SC x 23 rows = 4″ square
You’ll also need:
Yarn needles, regular & extra long (your fingers will thank you!)
Polyester fiber-fill
1″ cinnamon stick or other chosen material for stem
Fast-acting glue
Twine and other decorations (optional)
Terms and Abbreviations:
MC (magic circle – view tutorial here)
ST/STS (stitch/stitches)
SL ST (slip stitch)
CH (chain)
SC (single crochet)
Notes:
(1) You’ll need to “deconstruct” your Latte Cake yarn to separate it into its various colors, since one pumpkin will probably require yarn from more than one section of the chosen color. I found it relatively easy to pull out one color at a time (starting from the center of the cake) and cut, but you could also use a yarn winder to wind the entire cake into several yarn balls.
(2) Pattern is worked in a seamless round. Do not join, chain and/or turn unless instructed. Use a stitch marker to mark the beginning of your rounds.
(3) Pattern is written for the smallest size, with medium and large sizes in parentheses. Any time there is only one number, it applies to all sizes.
(4) Yarn, hook size and gauge are only meant as a guide, and this pattern will work with any yarn you choose; just use a hook that is smaller than the yarn’s recommended size for a nice tight fabric, and keep in mind your yarn amounts and finished dimensions will be affected by any changes.
– – – – – – – – – – – – – – –
INSTRUCTIONS
To begin: Make a magic circle; CH1.
Round 1: 12 (14, 16) SC in MC. (Don’t pull the circle closed yet; we’ll do that later!)
Stitch count: 12 (14, 16)
Round 2: 3SC in each ST around. (It will be crowded; that’s ok.)
Stitch count: 36 (42, 48)
Rounds 3-22 (3-26, 3-30): SC in each ST around.
Stitch count: 36 (42, 48)
To finish: SL ST in FLO of each of the next 2 STS to smooth down the round, then fasten off, leaving a finishing tail about 2 yards long. Pull on your starting tail to cinch the first round of the pumpkin closed, then weave in that tail securely and trim excess.
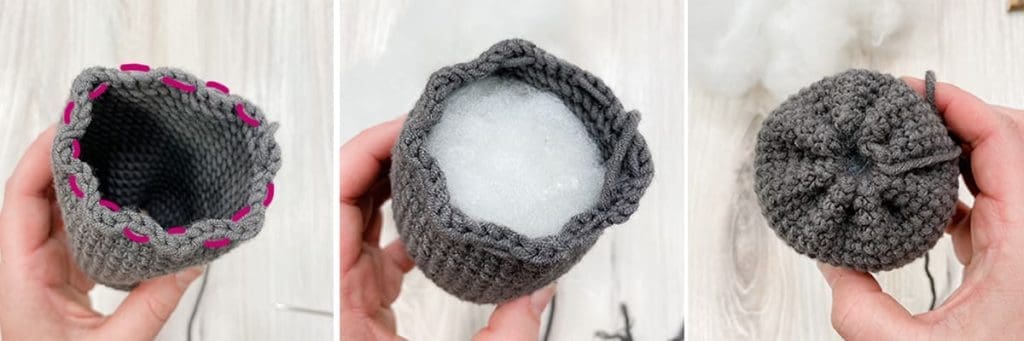
Cinching, Stuffing and Closing:
Make sure pumpkin is right-side out. Use yarn needle and finishing tail to weave in and out along the stitches of the final round, weaving every 3 stitches until you’re back where you started (1st photo*). Set yarn needle down and stuff pumpkin (2nd photo), then pull yarn tail to cinch closed (3rd photo). Weave yarn needle across the cinch in a couple different directions to reinforce closure; tie a knot, but do not fasten off.
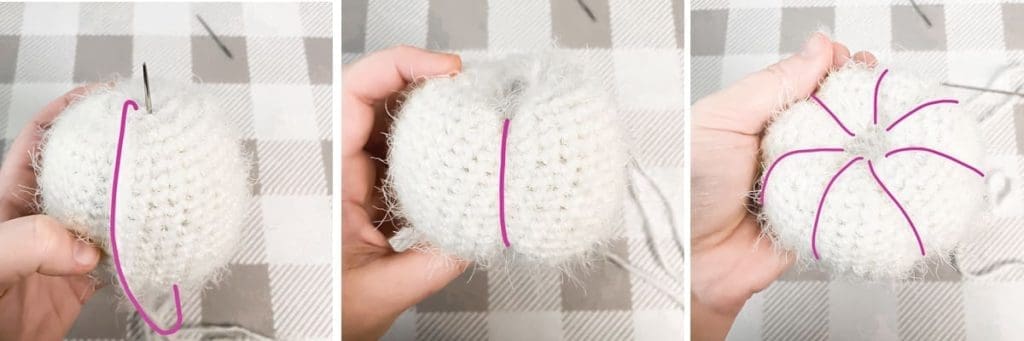
Shaping:
Using extra long yarn needle and finishing tail, bring the tail down along the outside of the pumpkin, then back through the pumpkin up the center (1st photo). Pull tight to cinch the pumpkin (2nd photo) and hold it in place with your other hand as you move on to the next cinch, continuing the process around the whole pumpkin (3rd photo). I eyeballed where I wanted my cinches, and ended up with 7; but pumpkins come in all different variations, so feel free to play with it to find whatever you think looks best!
When you finish the last cinch, tie a knot and weave in the end, or pull the knot inside the pumpkin to hide it.
Adding Twine (Optional)
Cut a long length of twine or jute and use a yarn needle to retrace the cinches, the same way you created them in the previous step. Secure and trim or hide excess.
Stem
Embellish chosen stem with leaves, twine, covered wire, etc. (optional), then use fast-acting glue to secure to the center of the pumpkin.
That’s it!
I hope you enjoyed this pattern. If you’re sharing your project on social media, be sure to hashtag #countrycottagepumpkin and tag me @yarnandchai.design so that I can see your beautiful creations!
