

I’ve been on a bag kick lately.
I don’t know what it is about bags that make them so fun to design. Maybe it’s the fact that they aren’t limited by shape, color, size… there’s a lot of freedom in that!

This bag is a very simple pattern; it’s crocheted in a single color, and the striping is added at the end using a surface crochet technique. The macrame cord drawstring is a classic braid, decorated with cute wooden beads (optional). It’s the perfect size to carry your essentials or a small yarn project.

– – – – – – – – – – – – – – –
Prefer a PDF?
This pattern can be completed using the 100% free version right here on this page. However, many people prefer the convenience of a printable, ad-free PDF.
All-Access Passholders get the ad-free version of this and all of my other blog patterns. It’s a pretty sweet deal, if I do say so myself! Learn more about it here or continuing scrolling for the free version.
– – – – – – – – – – – – – – –
Simple Drawstring Bag
View on Ravelry
Difficulty: Easy
Finished Size: 11″ wide* x 13.5″ tall, when laid flat.
*Before adding the surface stitching, bag will measure closer to 12″ wide; surface crocheting tightens it a bit.
Yarn: I used 2 strands of Cascade Yarns Sarasota (#3 weight cotton/acrylic blend) held together, but you can use whatever you have! A single-stranded aran or bulky weight yarn will work just fine, and you’ll only need about half the yardage; although it may alter your finished measurements a bit.
COLOR A (“Navy”): 500 yards
COLOR B (“Deep Violet”): 70 yards
Hook: I (5.5mm)
Gauge: Your first 6 rounds should = 3″.
You’ll also need: 6 yards of 3mm macrame cord, or other chosen material for drawstring strap.
Terms and Abbreviations:
MC (magic circle – view tutorial here)
ST/STS (stitch/stitches)
CH (chain)
SC (single crochet)
CSC (crossed single crochet – see Special Stitches)
Surface Crochet (see Special Stitches
Special Stitches:
- Crossed Single Crochet (CSC): Insert your hook, yarn under*, draw yarn through stitch (2 loops on hook), yarn over, draw through both loops. (*This is the only difference between a crossed single crochet and a standard single crochet, for which you would yarn over after inserting your hook.)
- Surface Crochet: Surface crocheting is simply slip stitching along the surface of crocheted fabric. If you need a tutorial, there are several available on YouTube.
Notes:
(1) This pattern is written in American Standard Terms.
(2) Pattern is worked in a seamless spiral. Do not join, chain or turn unless instructed. Use a stitch marker to keep track of the first stitch of your rounds.
(3) A standard Single Crochet stitch can be substituted for the Crossed Single Crochet stitch if desired.
(4) Because the bag is worked seamlessly, the decorative surface-crocheted lines added at the end do not join perfectly (see image). This section will be at the back of the bag. The only way to avoid it is to work the entire bag in joined, unturned rounds, producing a slightly diagonal seam but perfectly joined decorative lines.
– – – – – – – – – – – – – – –
The Pattern
– – – – – – – – – – – – – – –
BODY OF THE BAG
– – – – – – – – – – – – – – –
To Begin: With COLOR A double-stranded, make a magic circle; CH1 (does not count as a stitch).
Round 1: 6SC in MC. (6)
Round 2: 2SC in each ST around. (12)
Round 3: (2SC in next ST, SC in next ST) around. (18)
Round 4: (SC in next ST, 2SC in next ST, SC in next ST) around. (24)
Round 5: (2SC in next ST, SC in each of the next 3 STS) around. (30)
Round 6: (SC in each of the next 2 STS, 2SC in next ST, SC in each of the next 2 STS) around. (36)
Round 7: (2SC in next ST, SC in each of the next 5 STS) around. (42)
Round 8: (SC in each of the next 3 STS, 2SC in next ST, SC in each of the next 3 STS) around. (48)
Round 9: (2SC in next ST, SC in each of the next 7 STS) around. (54)
Round 10: (SC in each of the next 4 STS, 2SC in next ST, SC in each of the next 4 STS) around. (60)
Round 11: (2SC in next ST, SC in each of the next 9 STS) around. (66)
Round 12: (SC in each of the next 5 STS, 2SC in next ST, SC in each of the next 5 STS) around. (72)
Round 13: (2SC in next ST, SC in each of the next 11 STS) around. (78)
Round 14: (2SC in next ST, SC in each of the next 38 STS) around. (80)
Rounds 15-48: CSC in each ST around. (80)
Round 49 (drawstring holes): (CH2, SK 2 STS, CSC in each of the next 3 STS) around. (48 + 16 CH2 spaces)
Round 50: CSC in each ST around, putting 2CSC in each CH2 space from the previous round. (80)
Rounds 51-52: CSC in each ST around. (80)
Put a stitch marker in the final CSC and leave it there, then SL ST in the first 2 STS of the next round. Fasten off and weave in ends.
– – – – – – – – – – – – – – –
SURFACE CROCHET ROUNDS
– – – – – – – – – – – – – – –
Begin with your bag laid flat, with the area where you fastened off face-up and in the center.
Count down 7 rounds from the top. Between Rounds 7 and 8, with COLOR B double-stranded, surface crochet around the bag. Your end point will be one round off from your starting point; simply add a diagonal surface stitch to connect them. Fasten off and weave in ends.
Count down 7 more stitches and repeat; do this until you have 5 rounds of surface crochet.

– – – – – – – – – – – – – – –
DRAWSTRING
– – – – – – – – – – – – – – –
Follow these steps to assemble the drawstring:
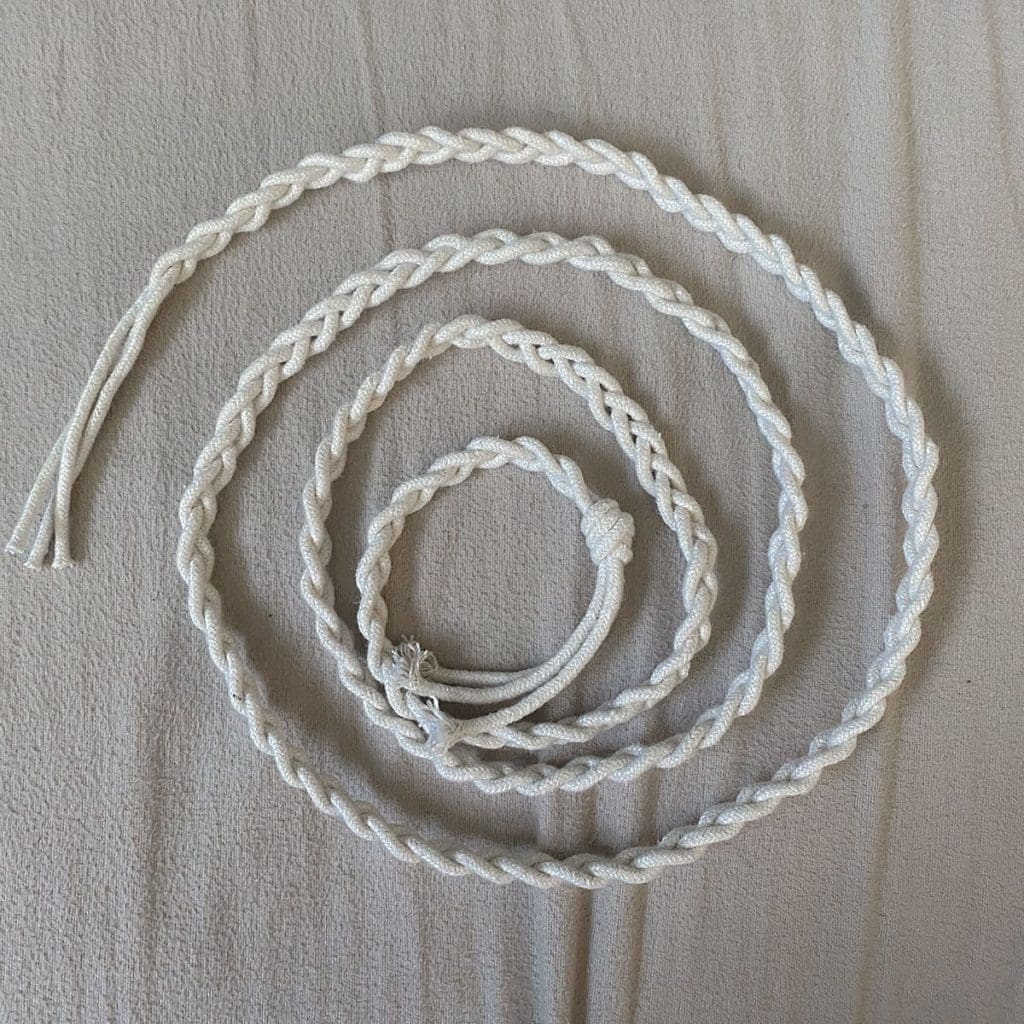
Make it: Cut 3 lengths of 3mm macrame cord, each 2 yards long. Hold them together and tie a loose knot about 6″ from one end to temporarily secure. Braid. Don’t knot the finishing end yet.
Set Up Your Bag: Lay bag flat, with the marked stitch at the top center of the side that is face-down.
Weave the drawstring through: Hold the drawstring strands at the unknotted end together and weave them in and out of the drawstring holes at the top of your bag. Start with the hole just to the left of center, and insert from the outside of the bag toward the inside. Working clockwise, weave in and out of each hole until you’ve used all of them.

Test the strap length: Holding the drawstring ends together so that they don’t slip out of the holes, grab the part of the drawstring that is on the facedown part of the bag directly across from your entry and exit holes; pull until bag is cinched and drawstring ends are about where you would want them to fall on the front of the bag. Wear it as you would when finished — is it too long for you? If so, you can trim the ends as needed.

Join the braids: Join the braids by taking two strands from one braid and one strand from the other braid, and braiding them together for about 1″; tie a knot to secure. Take the remaining strands and braid them together the same way; tie a knot to secure.

Add beads (optional): Add a bead to each strand and tie a knot at the bottom to secure. Trim excess.

Done!
– – – – – – – – – – – – – – –
Don’t forget to share your finished project!
Share it on FB, in our FB group, in other groups, on Instagram… wherever you want to spread creativity! Be sure to tag me @yarnandchai.design so I can see it, too!
