Sometimes I learn the most random little facts while I’m working on a pattern.
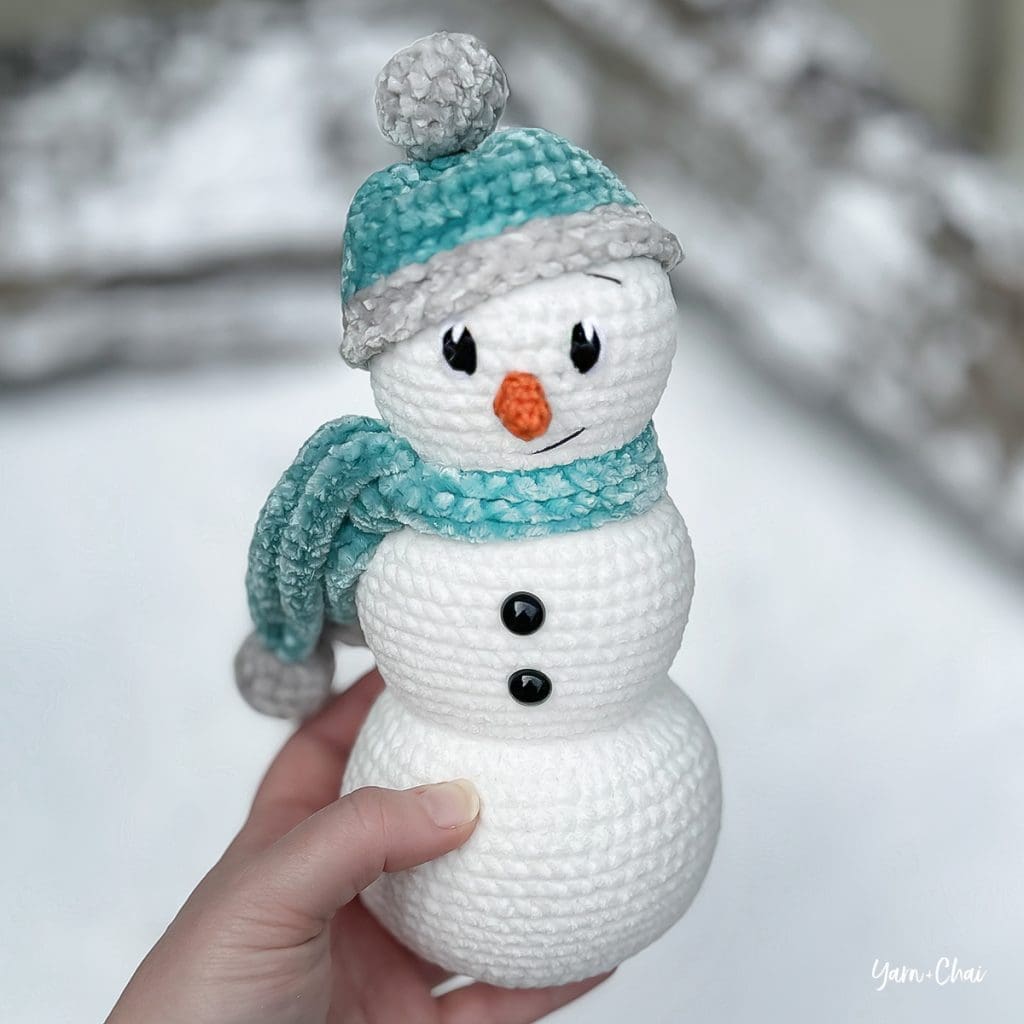
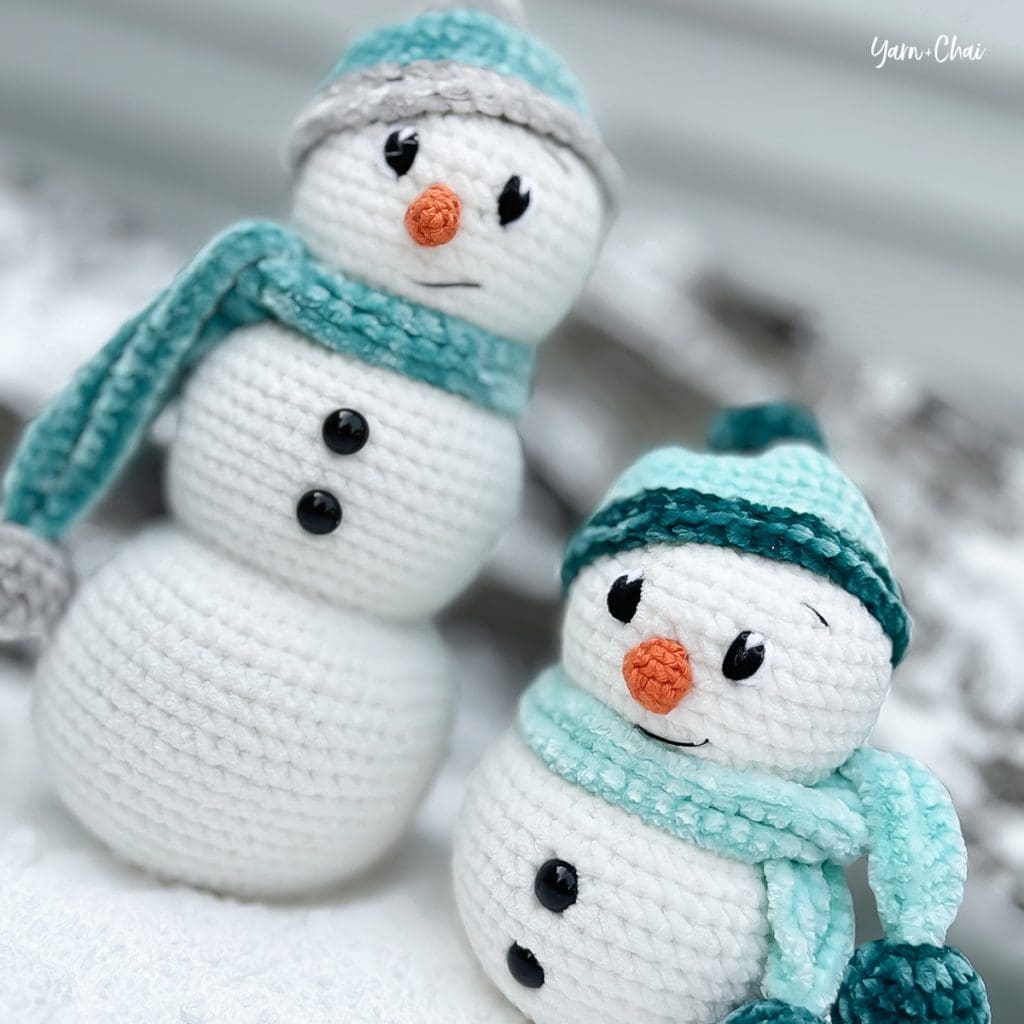
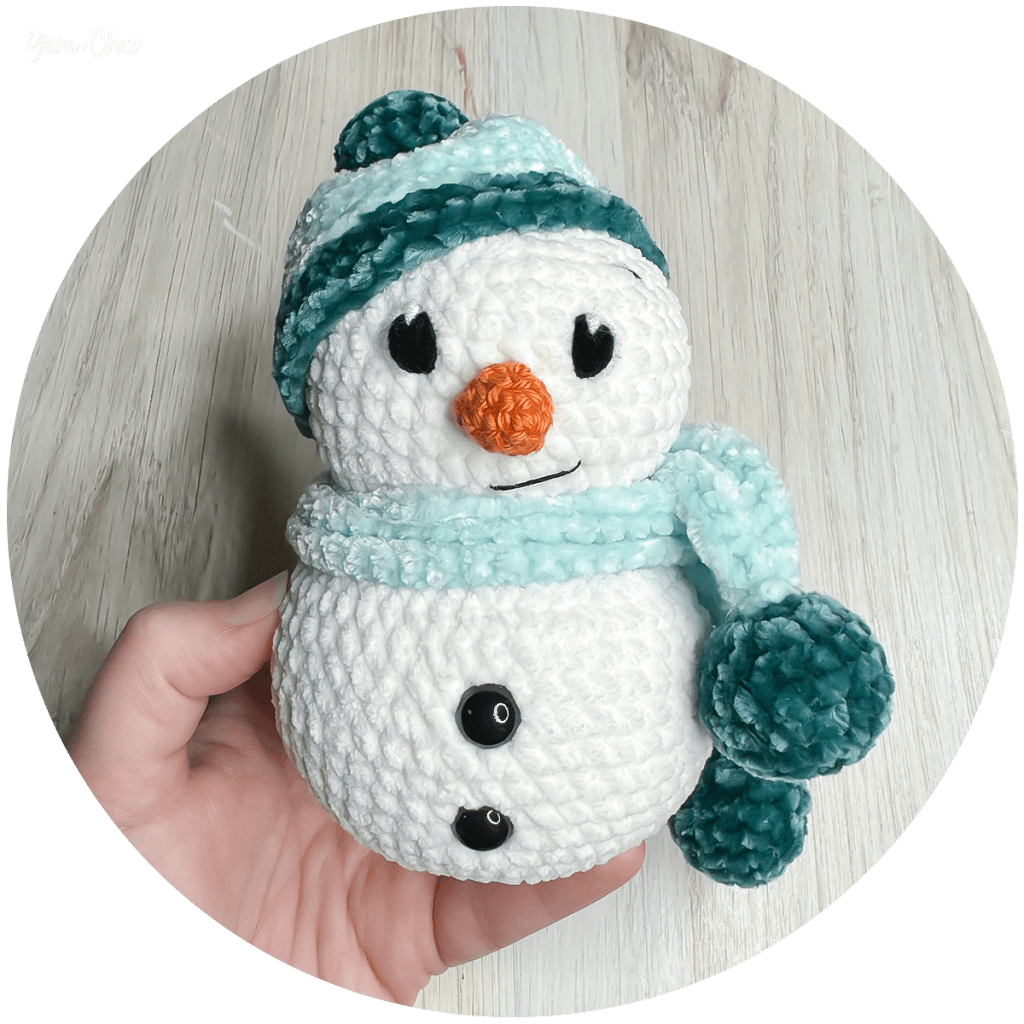
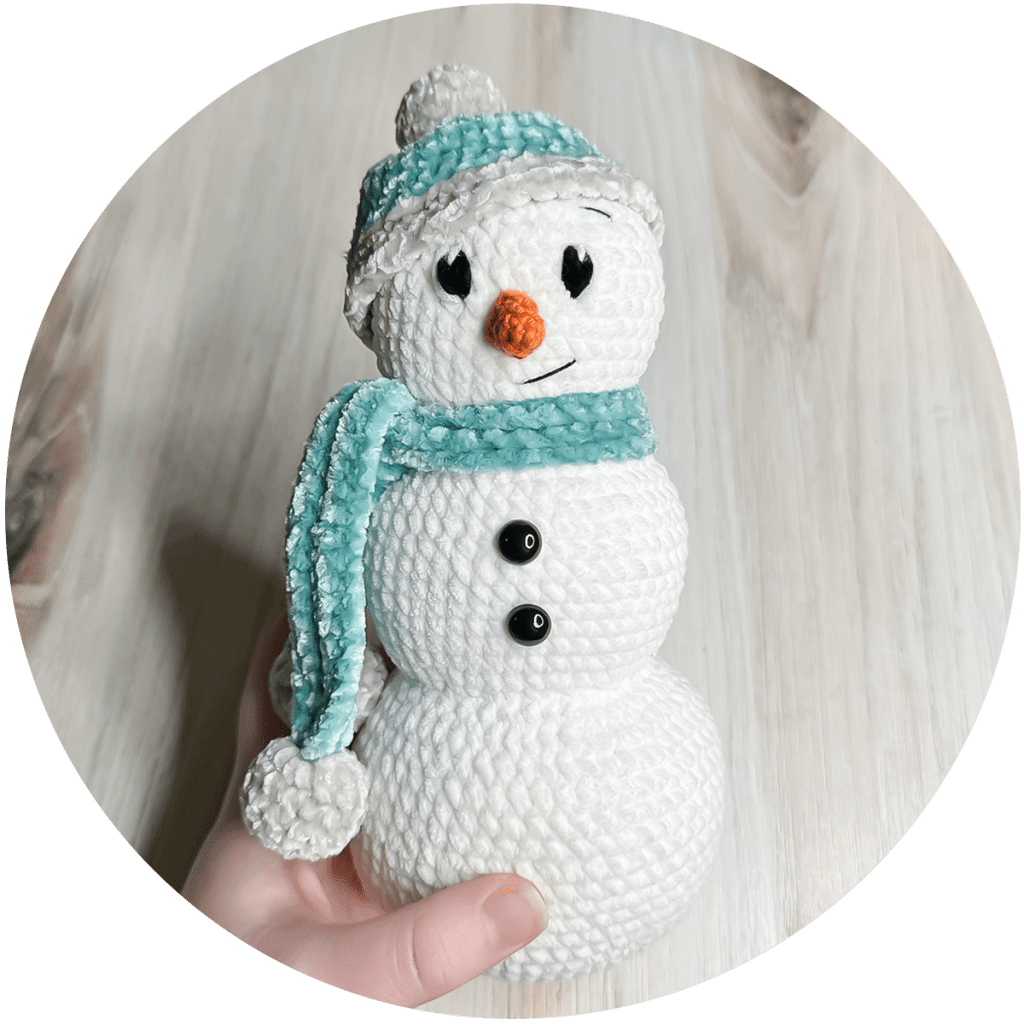
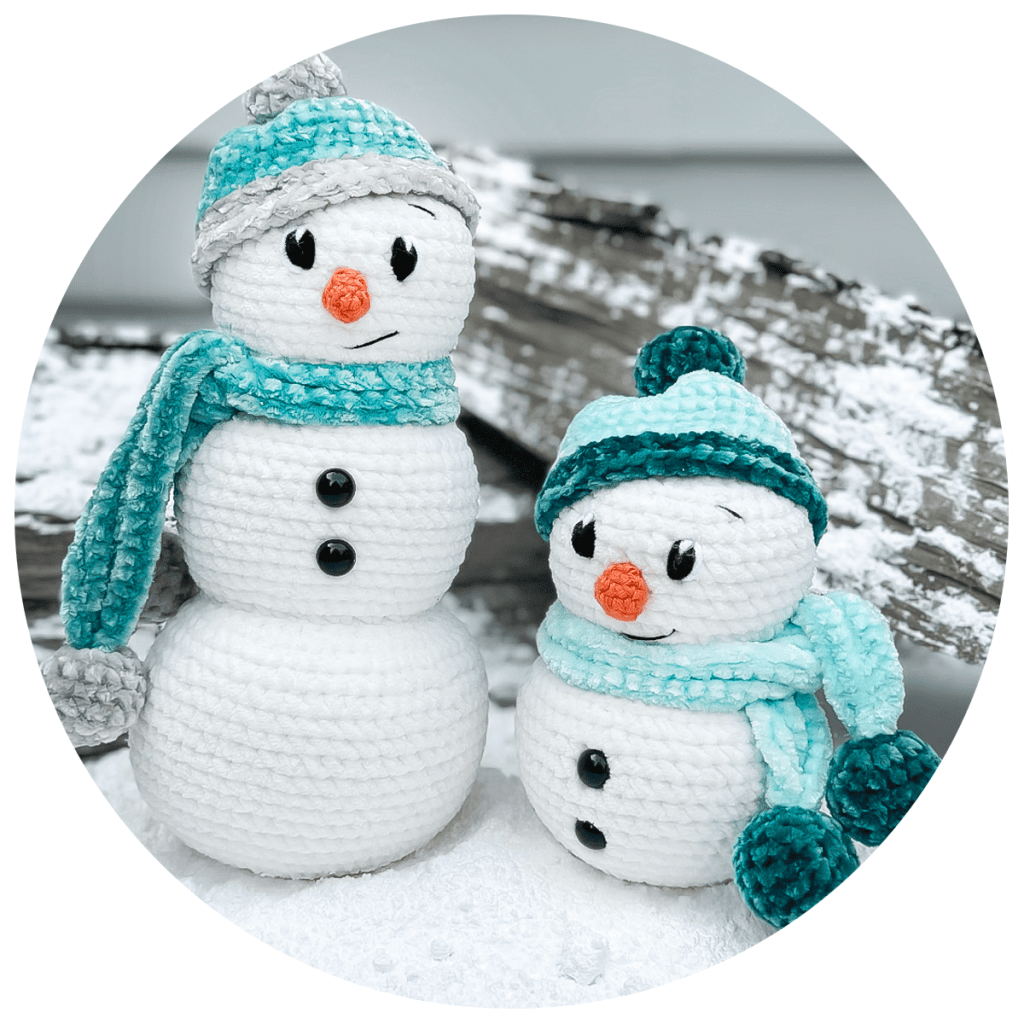
While browsing images of clipart snowmen online (to get a feel for what direction I wanted to take my crocheted version), I noticed that so many of them were two-layered snowmen. But in my head, a snowman is supposed to have three layers.
I got curious, and a quick Google search taught me something I never knew: Three-layered snowmen are more of an American thing, and two-layered snowmen are more common in Asia. As for Europe, sources differ on which size is most traditional, so those of you “across the pond” will have to let me know your take.
Anyways, I ultimately decided to design both styles, because why not? And TBH I honestly can’t decide which one I love more. They are both adorable!
A quick tip for you: A little uncooked rice or poly-pellets at the bottom will make your snowmen free-standing and perfect for your mantle. Or, think how cute several of them would look on your holiday market table, all dressed in different colors of hats and scarves!
All-Access Pass
If you prefer working from the convenience of a beautiful, ad-free PDF pattern, consider becoming a Yarn + Chai All-Access Passholder. It’s a sweet, inexpensive deal that gives you access to all of my PDF patterns, including this one! (You even get most of them before they hit the blog!)
And now, on to the pattern…
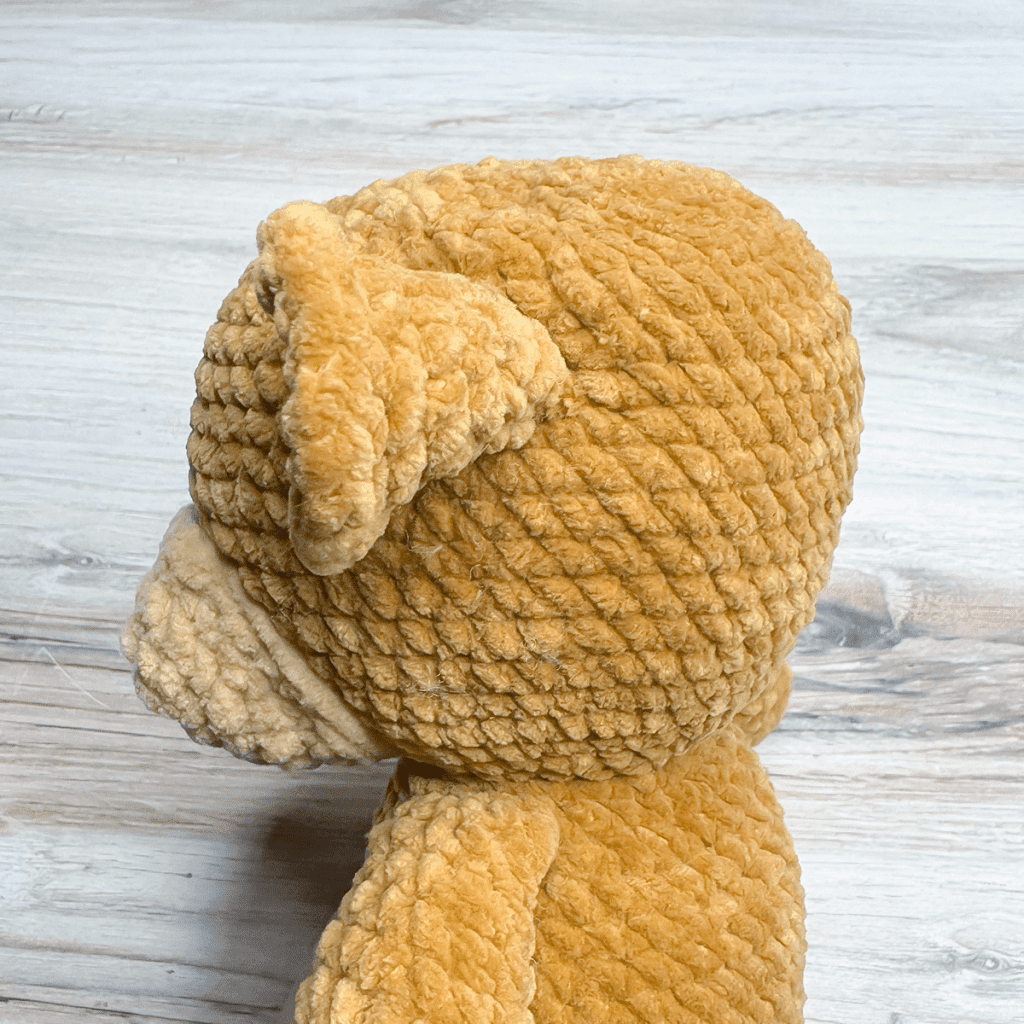
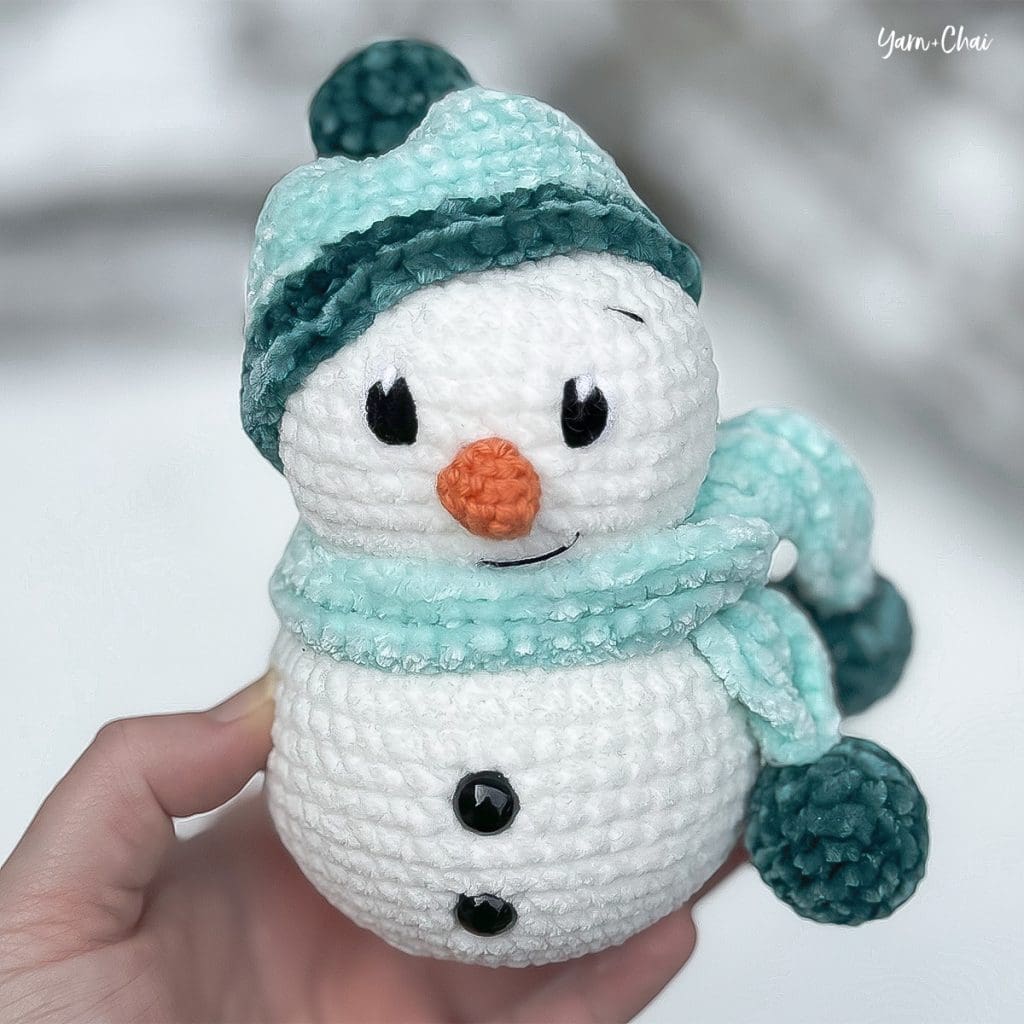
AMIGURUMI SNOWMEN
Difficulty: Easyish
Crochet Language: American Standard
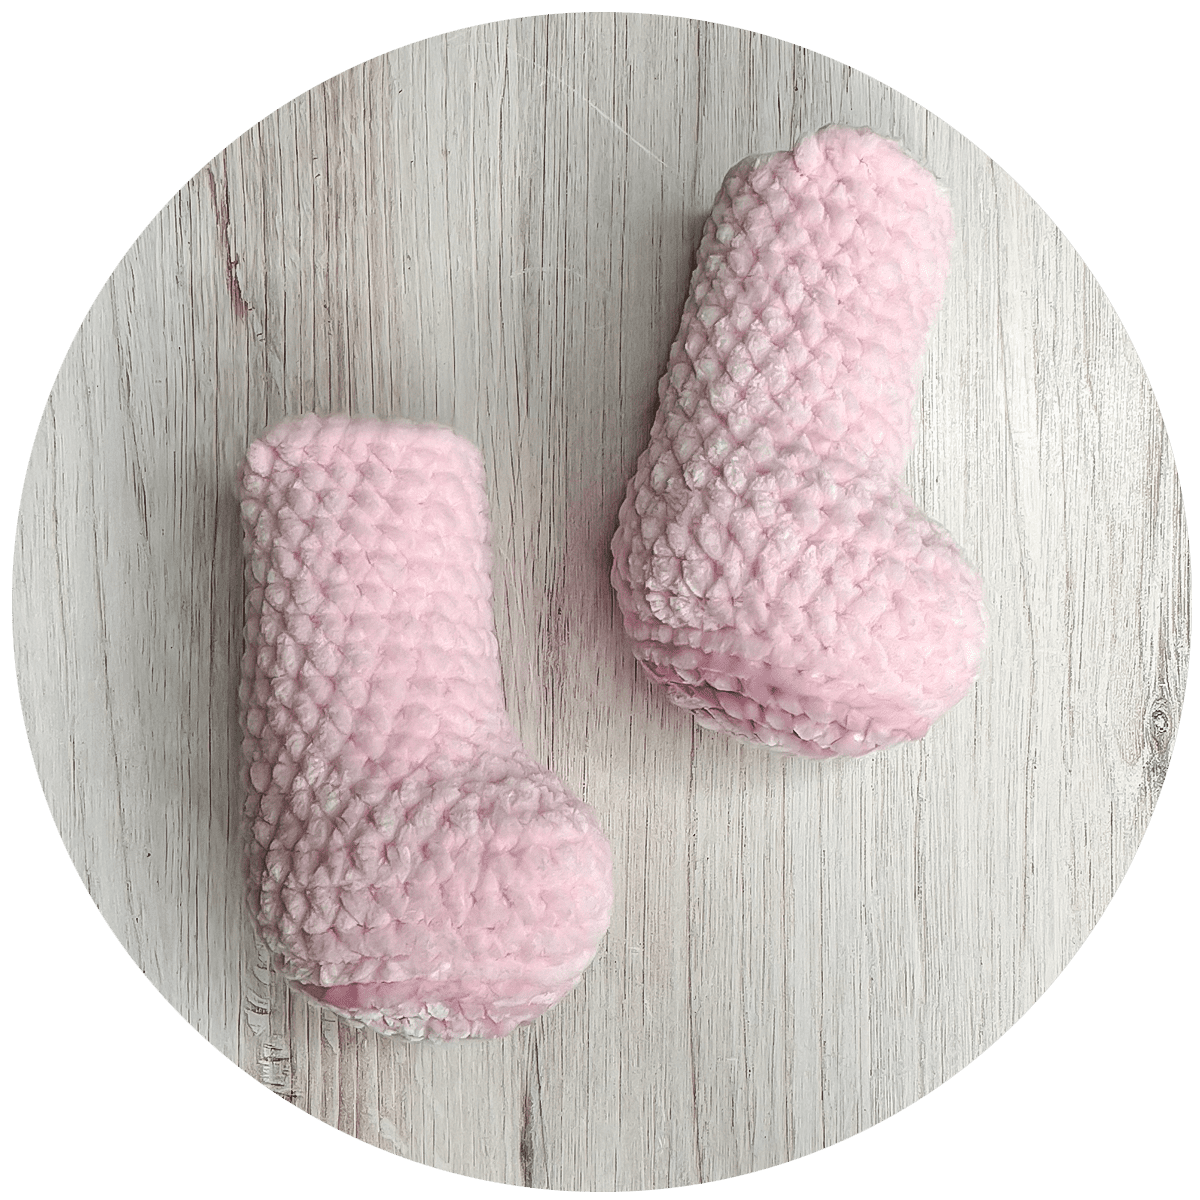
Finished Sizes: 2-layer snowman = 4.75 in. / 3-layer snowman = 8 in.
Yarn: #4 (medium) chenille yarn recommended*. The approximate amounts needed are:
- BODY: 80 yards for a 2-layer snowman or 130 yards for a 3-layer snowman. (I used Loops & Threads Skinny Chenille in “Swan”)
- SCARF / HAT: 1 set requires 40 yards of main color and 25 yards of secondary color. (I used Bernat Baby Velvet in “Bleached Aqua”, “Misty Jungle Green”, “Emerald”, and “Misty Gray”)
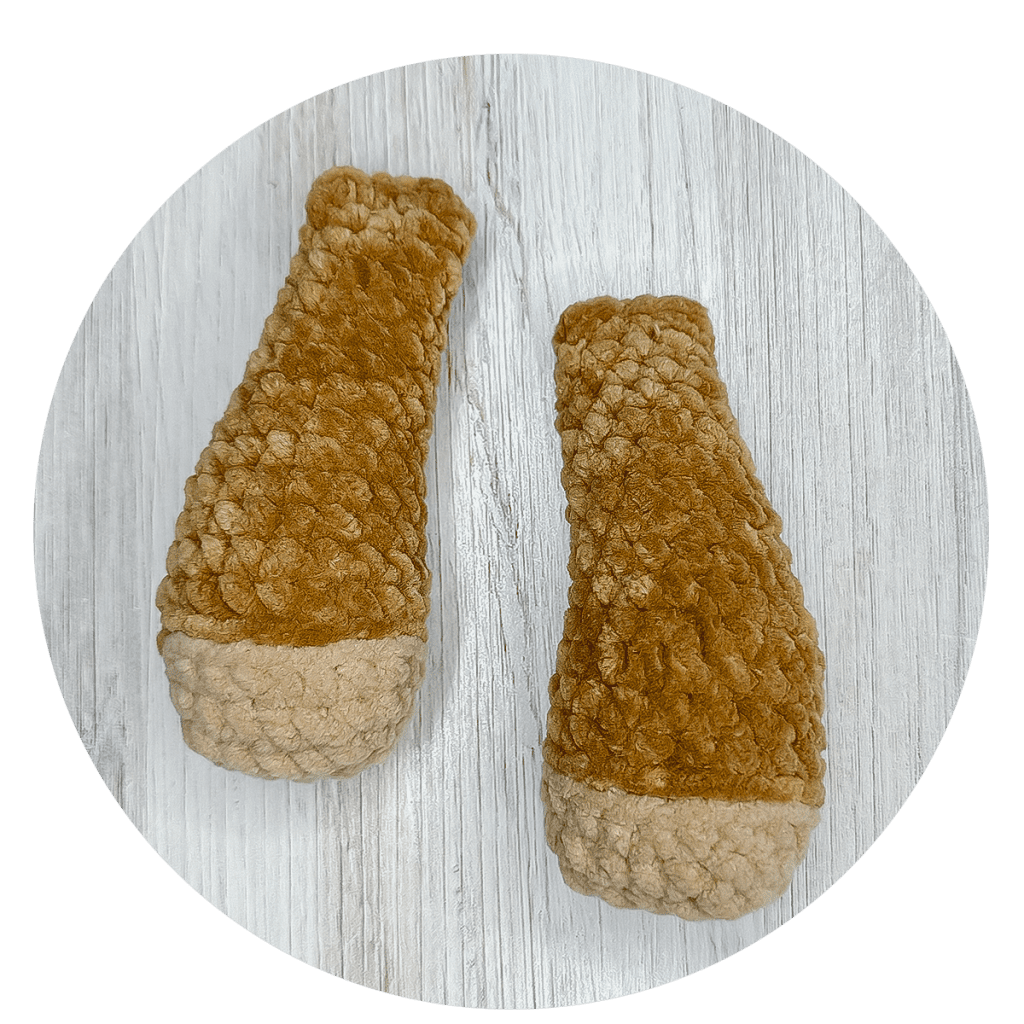
*You’ll also need a very small amount of orange DK weight yarn (or thin medium weight) for the nose (I used LB 24/7 Cotton DK in Tamarin”), and black and white yarn and/or crochet thread for embroidering the facial features.
Hook: 4.0mm (G) hook
Gauge: First 5 rounds = 2.25 in. across
You’ll also need:
- Long yarn needle
- Polyester fiber-fill
- 2 small black plastic eyes (or buttons)
- Handful of uncooked rice (optional)
Terms and Abbreviations:
- ST/STS (stitch/stitches)
- CH/CHS (chain/chains)
- SL ST (slip stitch)
- CSC (crossed single crochet: Insert your hook, yarn UNDER, draw yarn through stitch (2 loops on hook), yarn over, draw through both loops.)
- BLO (back loop only)
- FLO (front loop only)
- INC (2 CSC in same ST)
- DEC (Insert hook into FLO of ST, then immediately insert it into the FLO of the next ST as well; yarn UNDER, draw yarn through stitch (2 loops on hook), yarn over, draw through both loops.)
Notes:
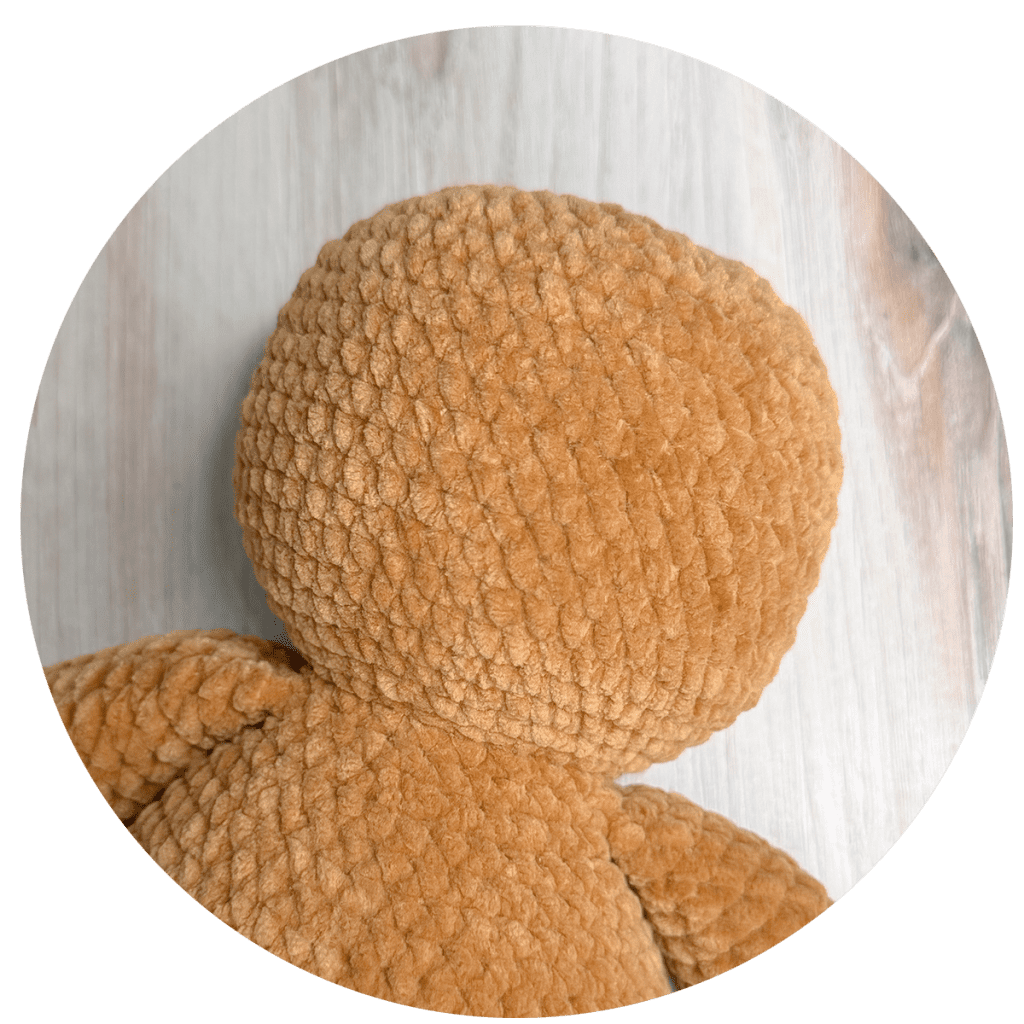
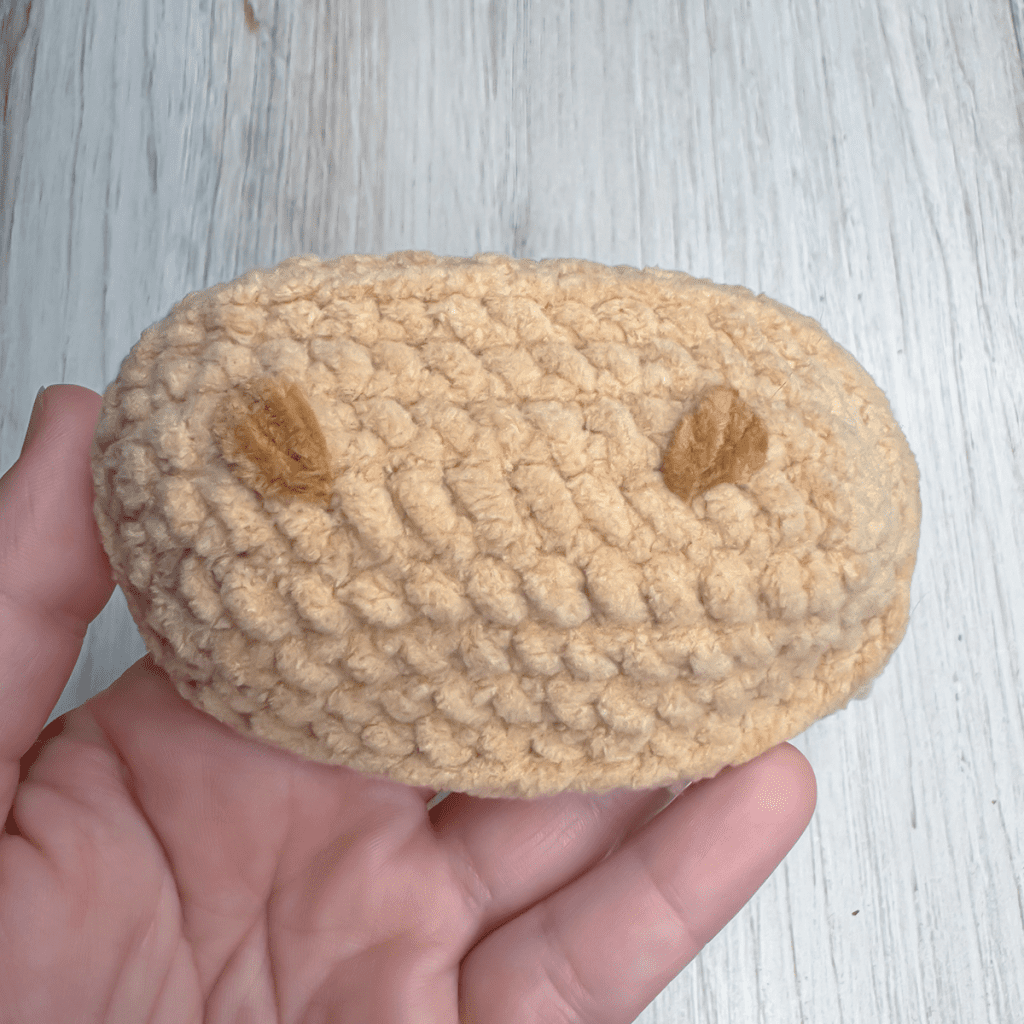
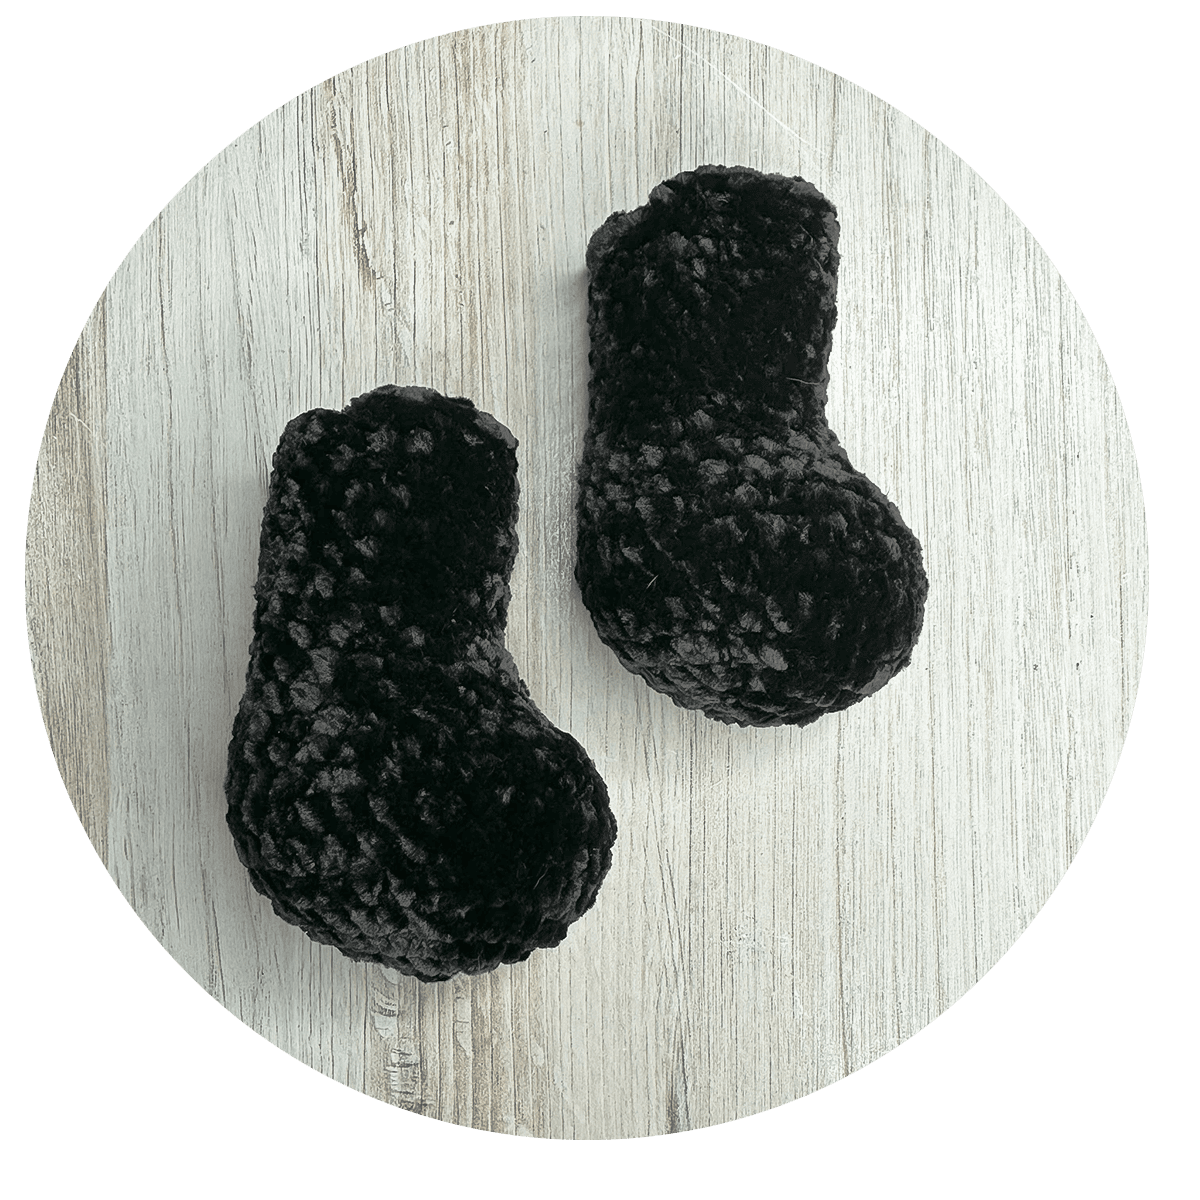
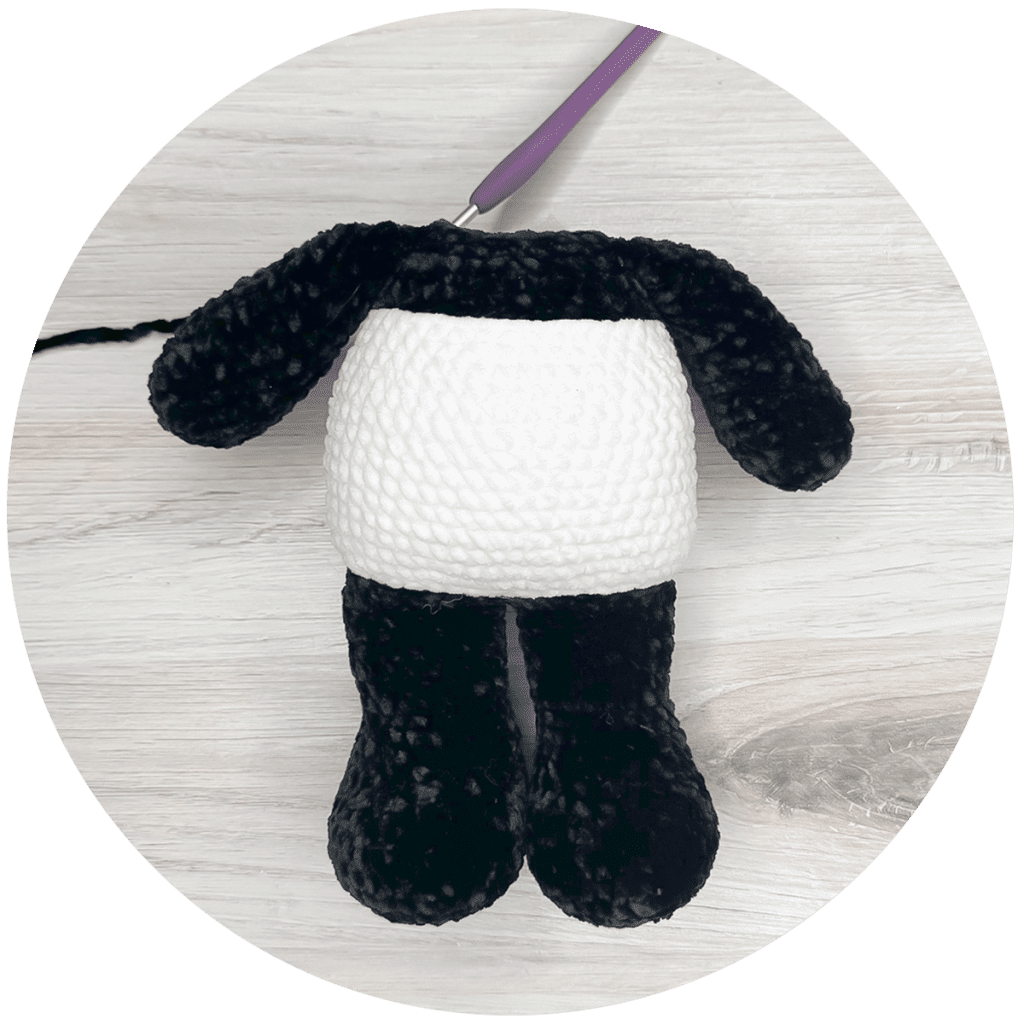
(1) Stuff with polyester fiber-fill as you go. I also added a good handful of uncooked rice to the bottom layer of the snowman to give it some lower weight and help it to stand up on its own.
(2) When pattern instructs with a number followed by a stitch
(ex: “5 CSC”), it means to work one CSC in each of the next 5 stitches (not to work 5 CSC in one stitch).
(3) Repeats are represented in (parentheses). Make sure you complete everything in the parentheses before repeating it. For example:
“(CSC, INC, CSC) 3 times”
means
CSC, INC, CSC | CSC, INC, CSC | CSC, INC, CSC
(4) Yarn, hook size and gauge are only meant as a guide, and this pattern will work with any yarn you choose; just use a hook that is smaller than the yarn’s recommended size for a nice tight fabric, and keep in mind your yarn amounts and finished dimensions will be affected by any changes.
Get ad-free PDF versions of all of my patterns
by becoming a member!
INSTRUCTIONS
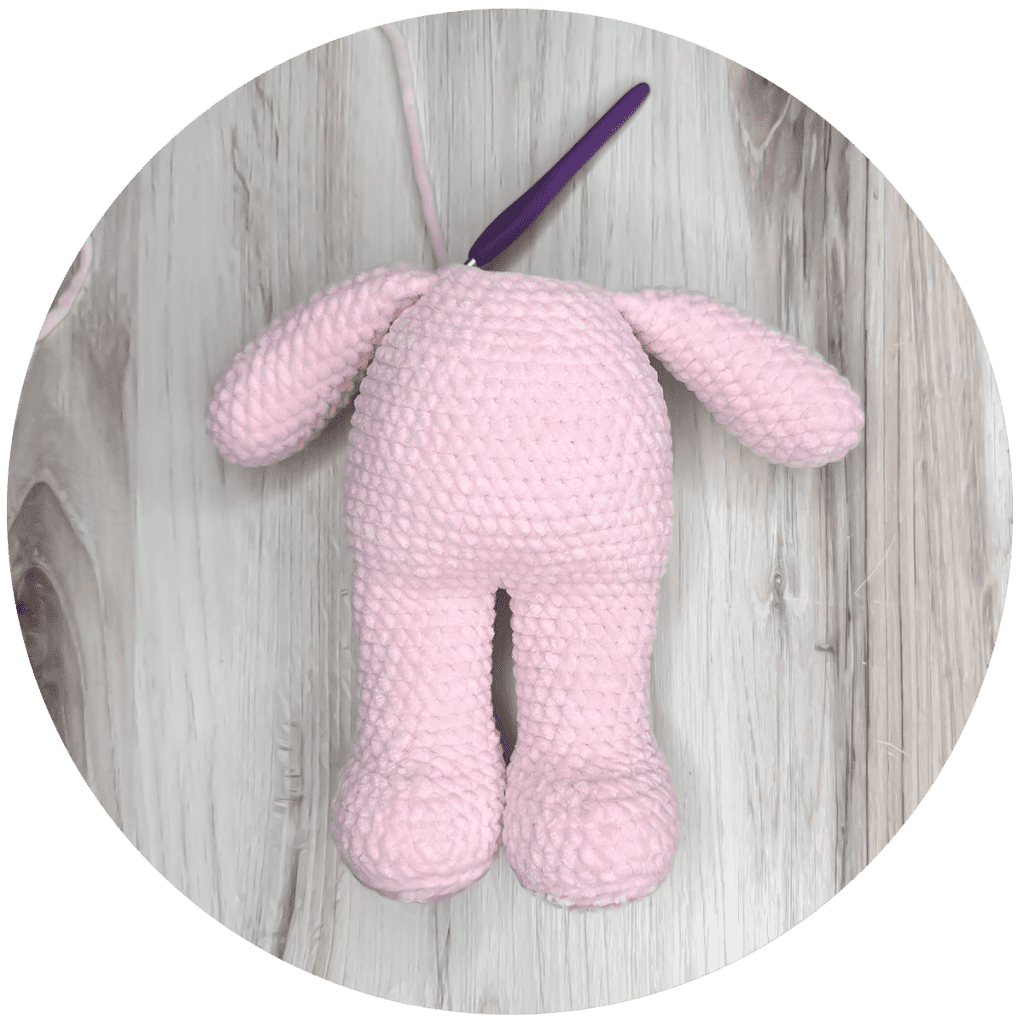
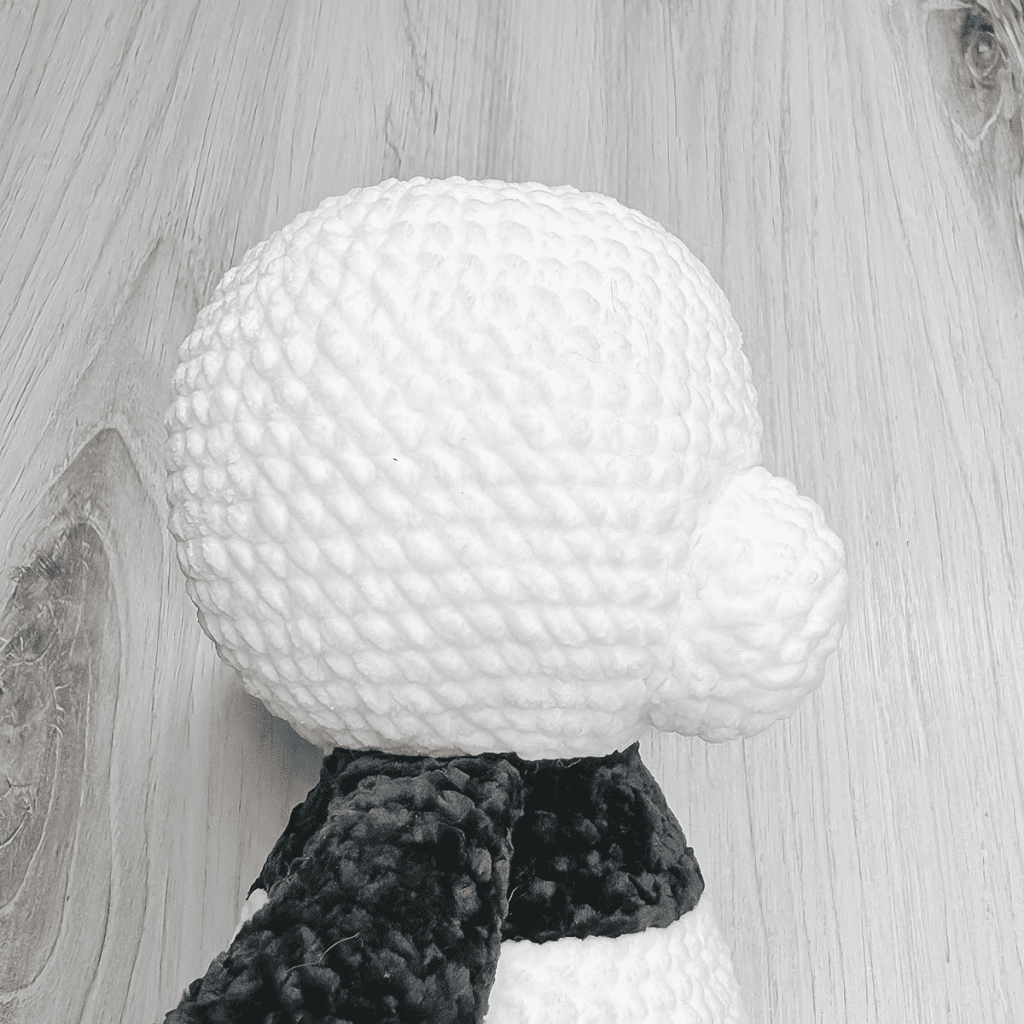
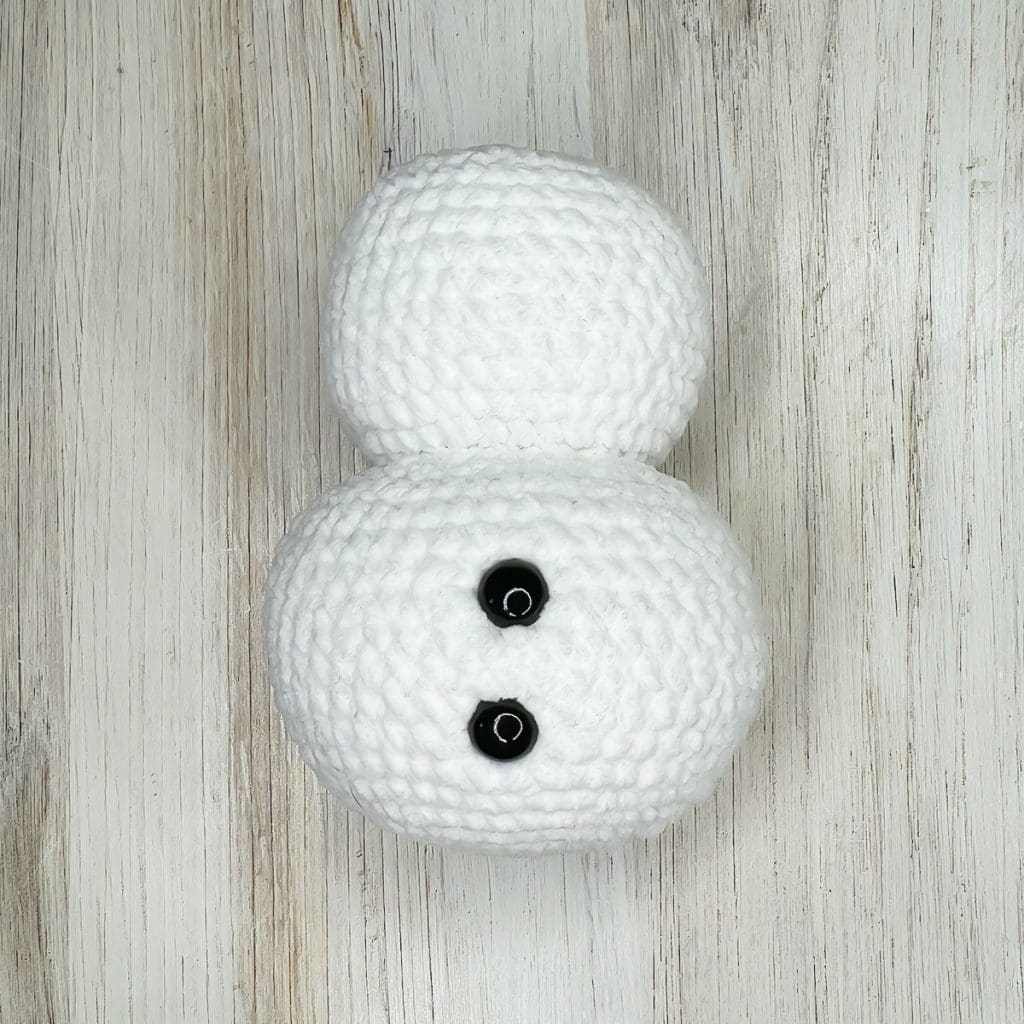
2-LAYERED SNOWMAN
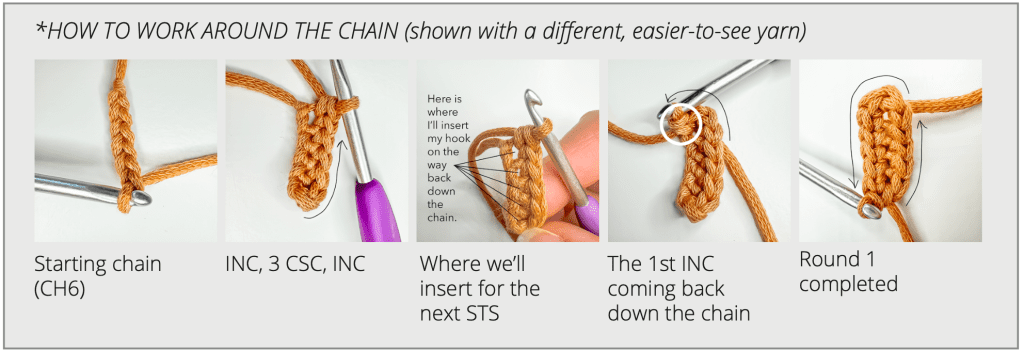
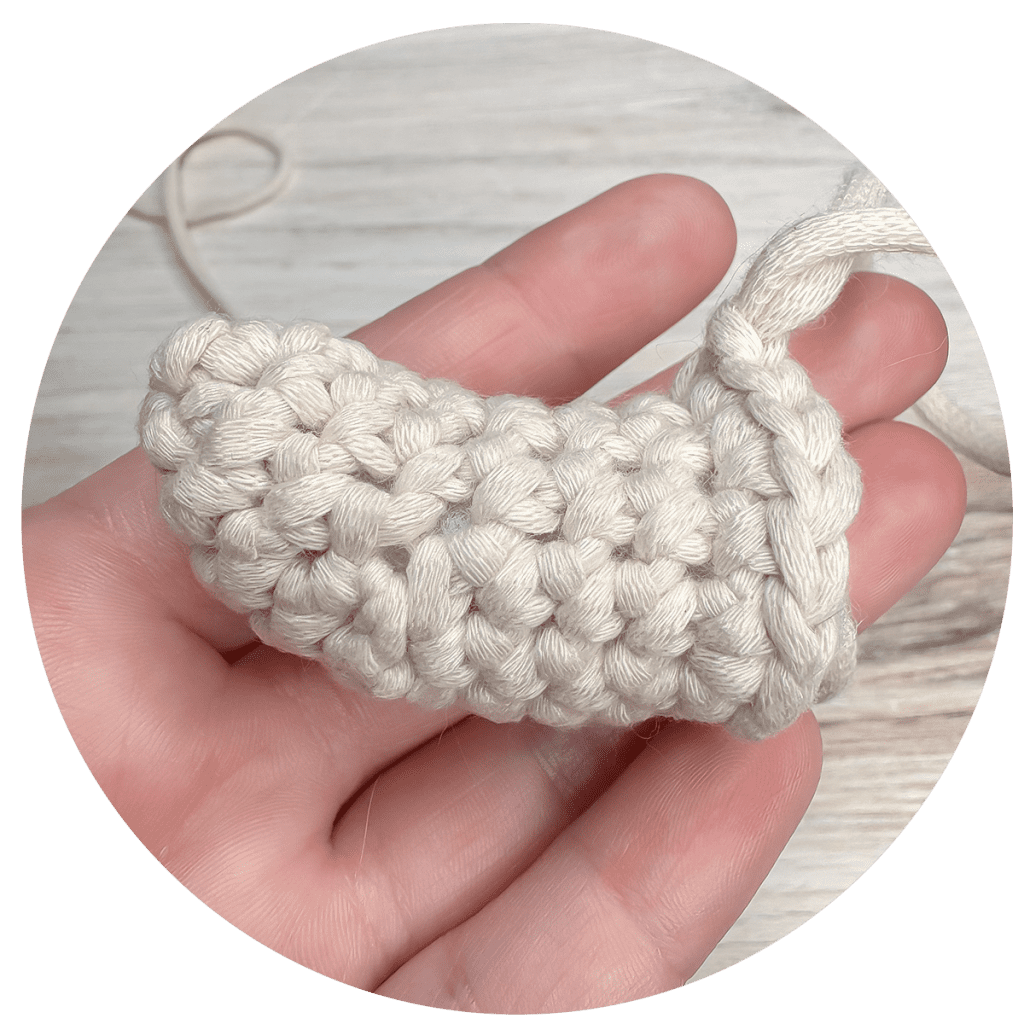
To Begin: With WHITE yarn, make a Magic Circle; CH1.
Round 1: 8 CSC in MC. (8)
Round 2: INC in each ST around. (16)
Round 3: (INC, CSC) around. (24)
Round 4: (CSC, INC, CSC) around. (32)
Round 5: (INC, 3 CSC) around. (40)
Proceed to “COMBINED PATTERN” section.
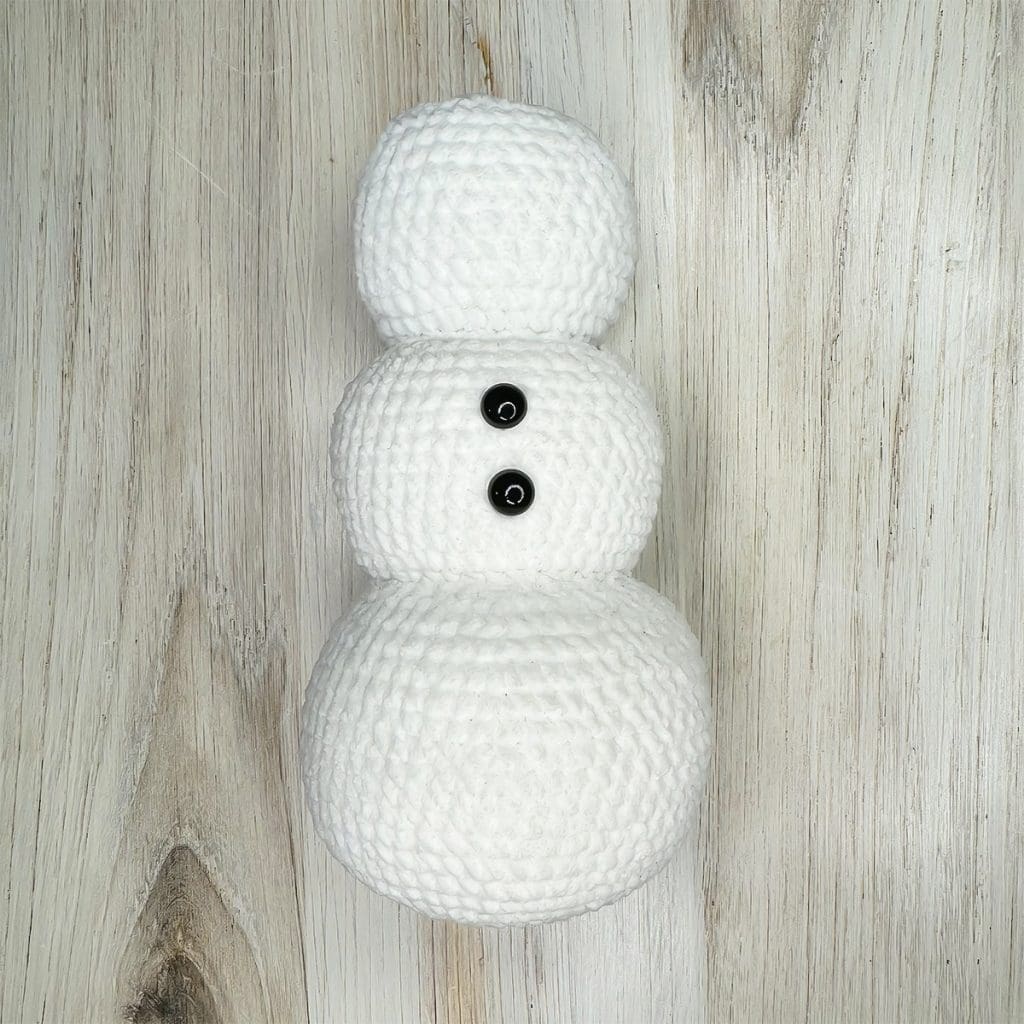
3-LAYERED SNOWMAN
To Begin: With WHITE yarn, make a Magic Circle; CH1.
Round 1: 8 CSC in MC. (8)
Round 2: INC in each ST around. (16)
Round 3: (INC, CSC) around. (24)
Round 4: (CSC, INC, CSC) around. (32)
Round 5: (INC, 3 CSC) around. (40)
Round 6: (2 CSC, INC, 2 CSC) around. (48)
Round 7: (INC, 5 CSC) around. (56)
Rounds 8-20: CSC in each ST around. (56)
Round 21: (DEC, 2 CSC, DEC, CSC) around. (40)
Round 22: DEC in each ST around. (20)
– Beginning of 2nd layer –
Round 23: INC in each ST around. (40)
Proceed to “COMBINED PATTERN” section.
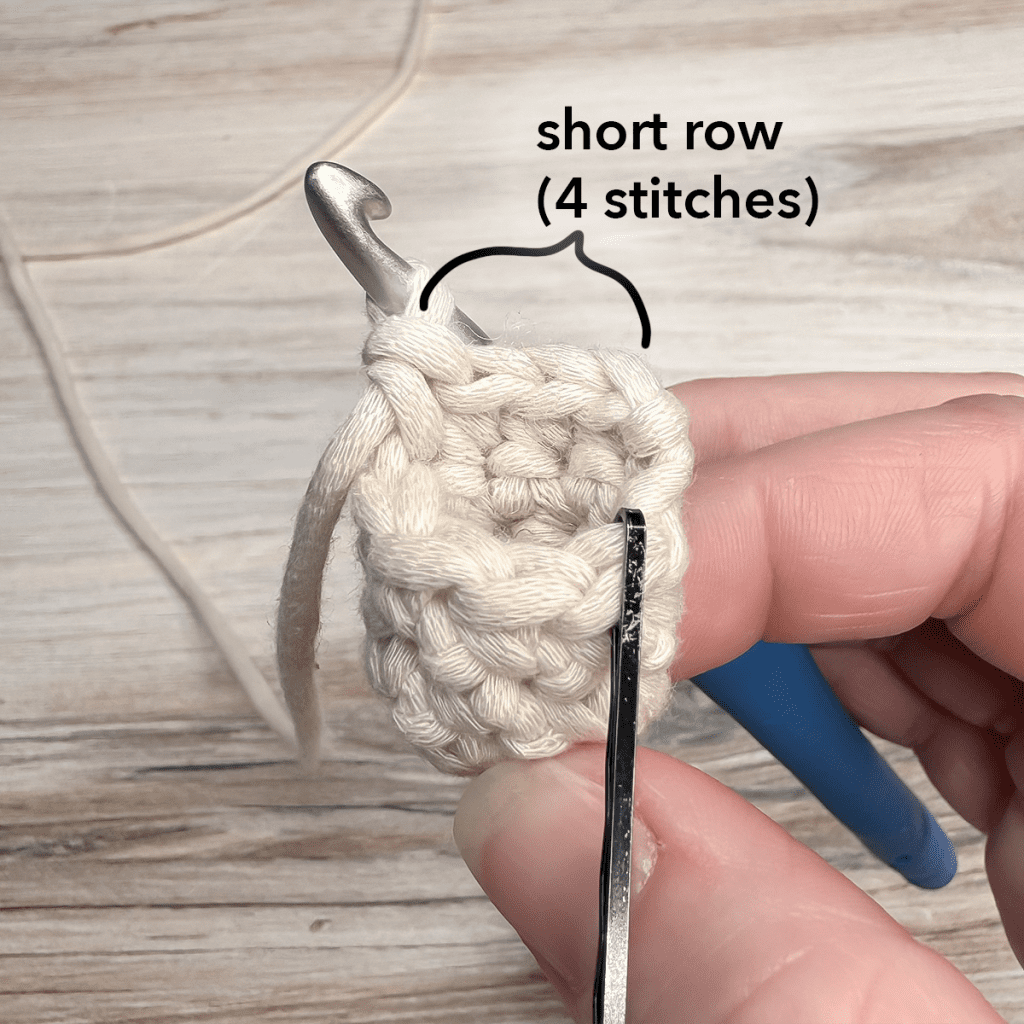
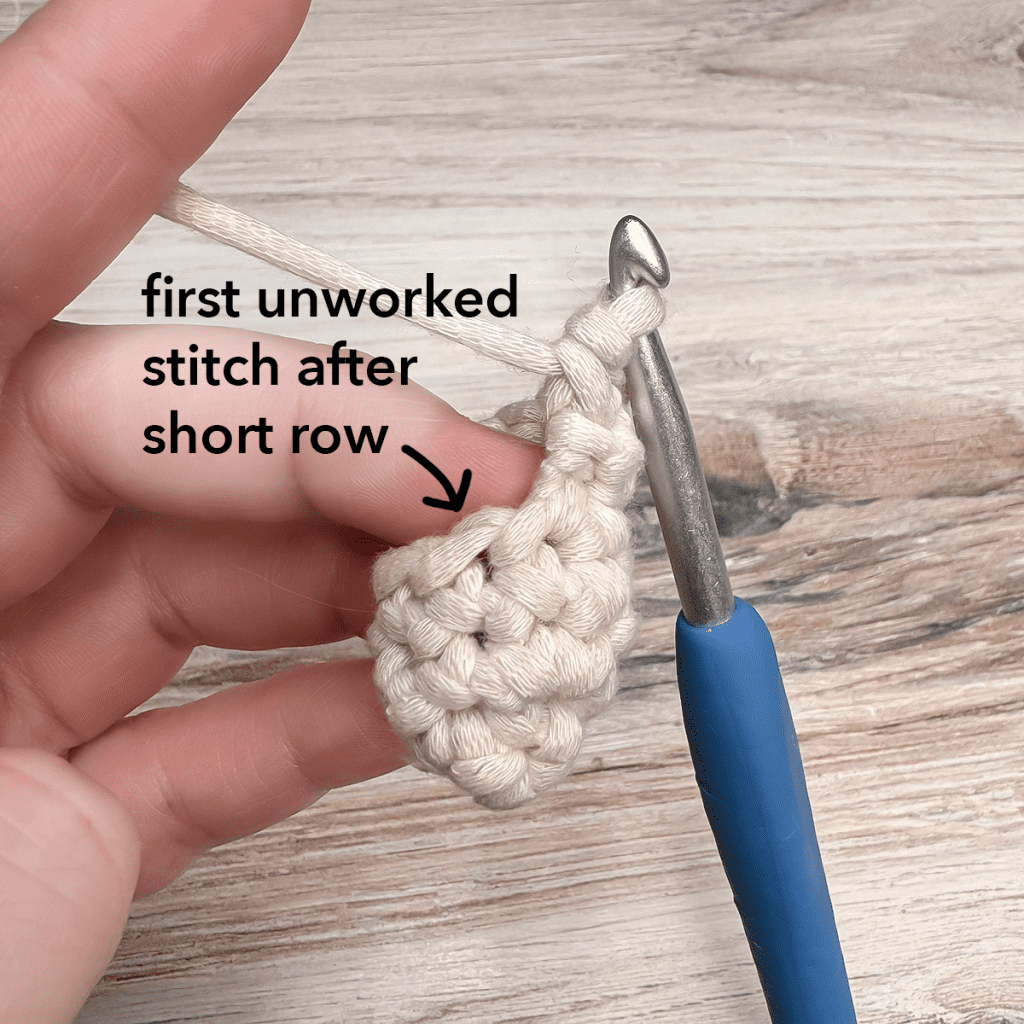
COMBINED PATTERN
From here on out, the pattern is the same for both snowman sizes. The only difference is the ROUND COUNT, indicated by (parentheses and green ink) for the 3-layer snowman.
Round 6 (24): (2 CSC, INC, 2 CSC) around. (48)
Rounds 7-17 (25-35): CSC in each ST around. (48)
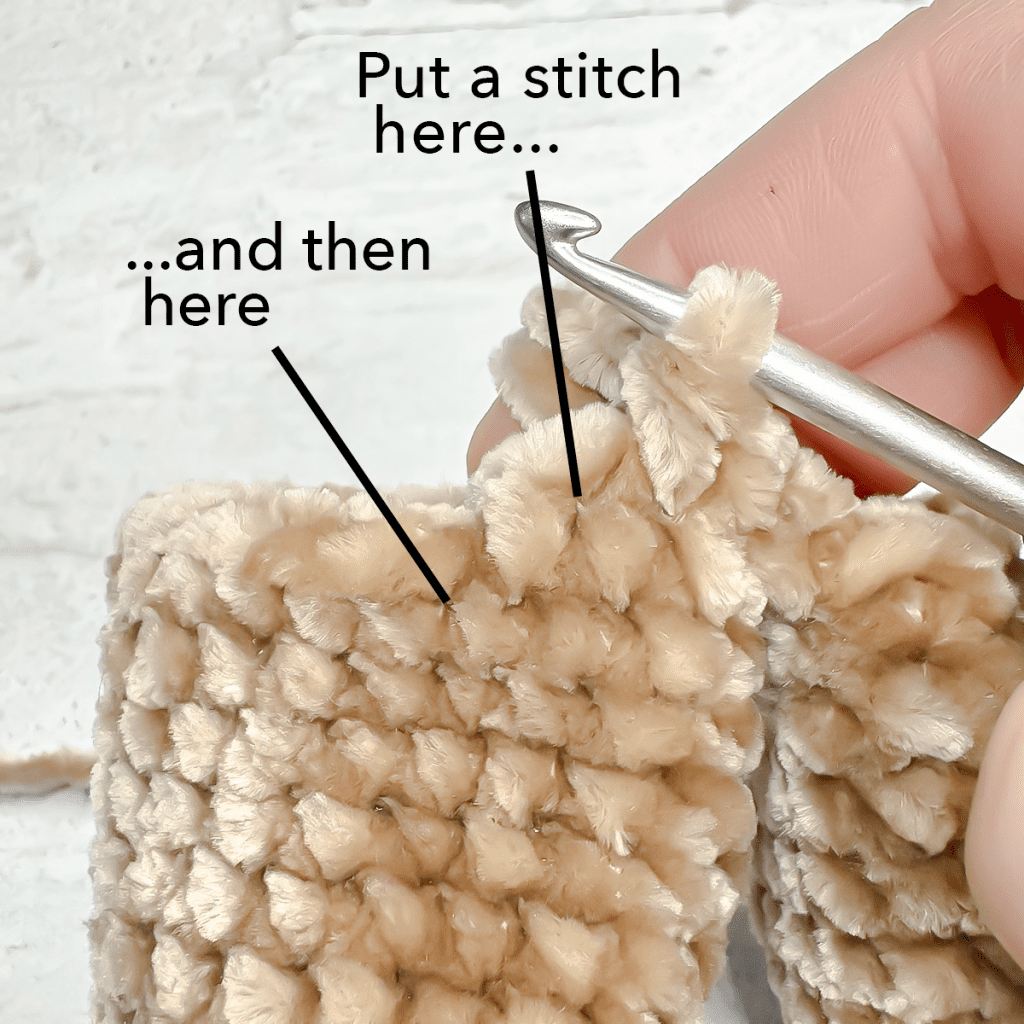
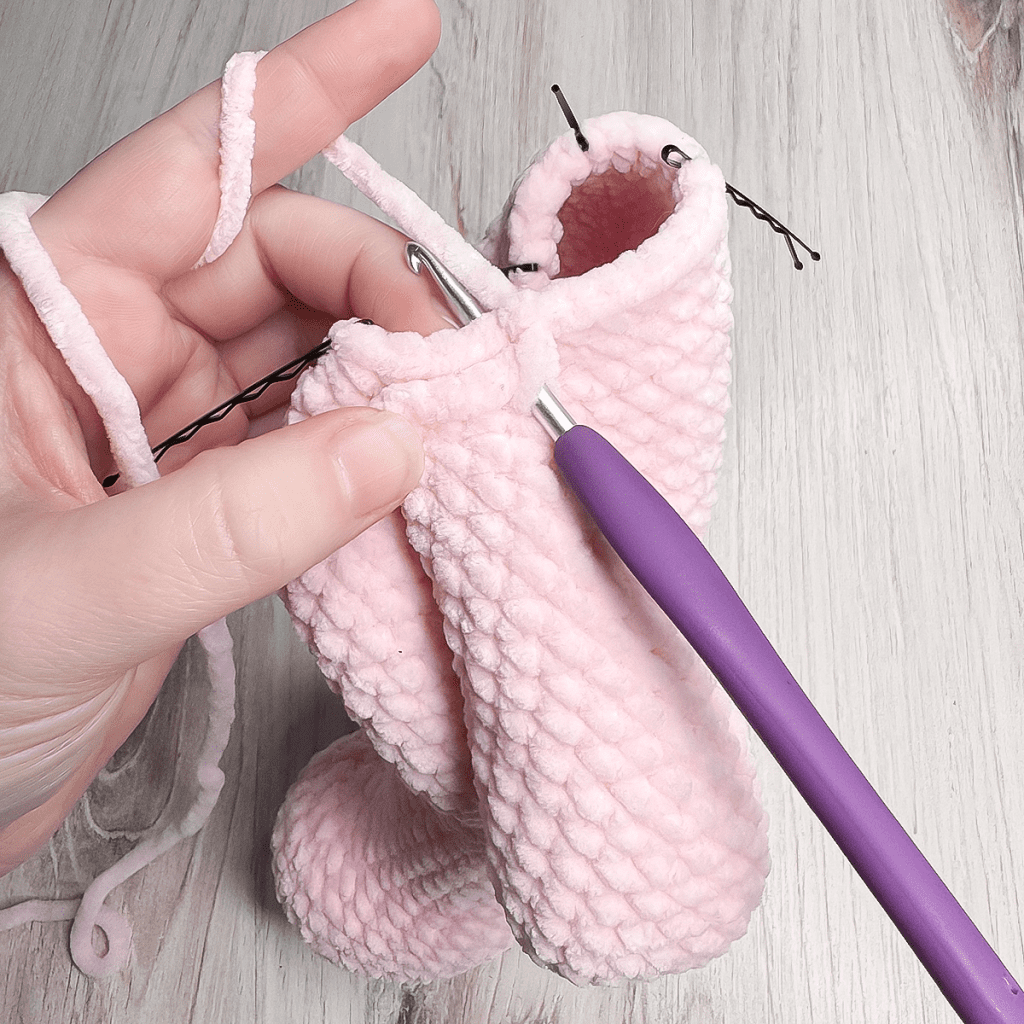
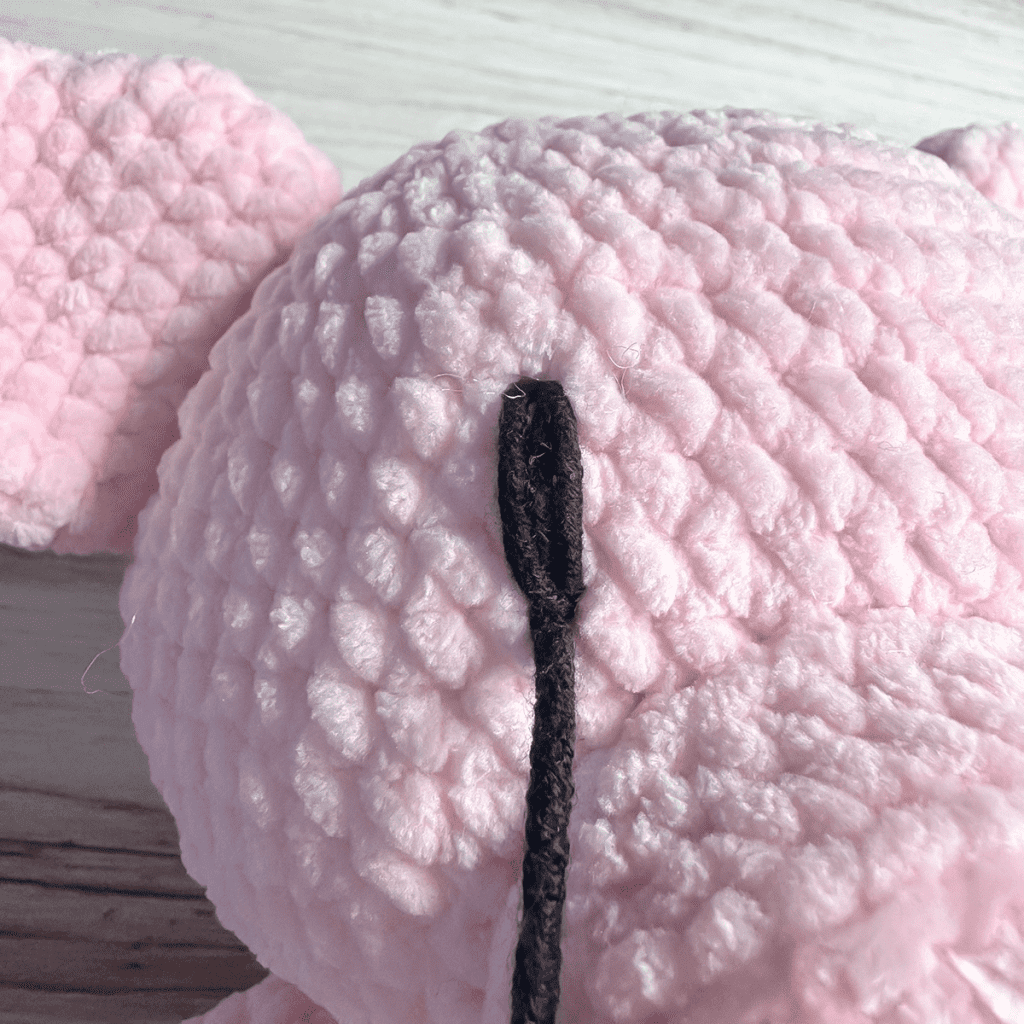
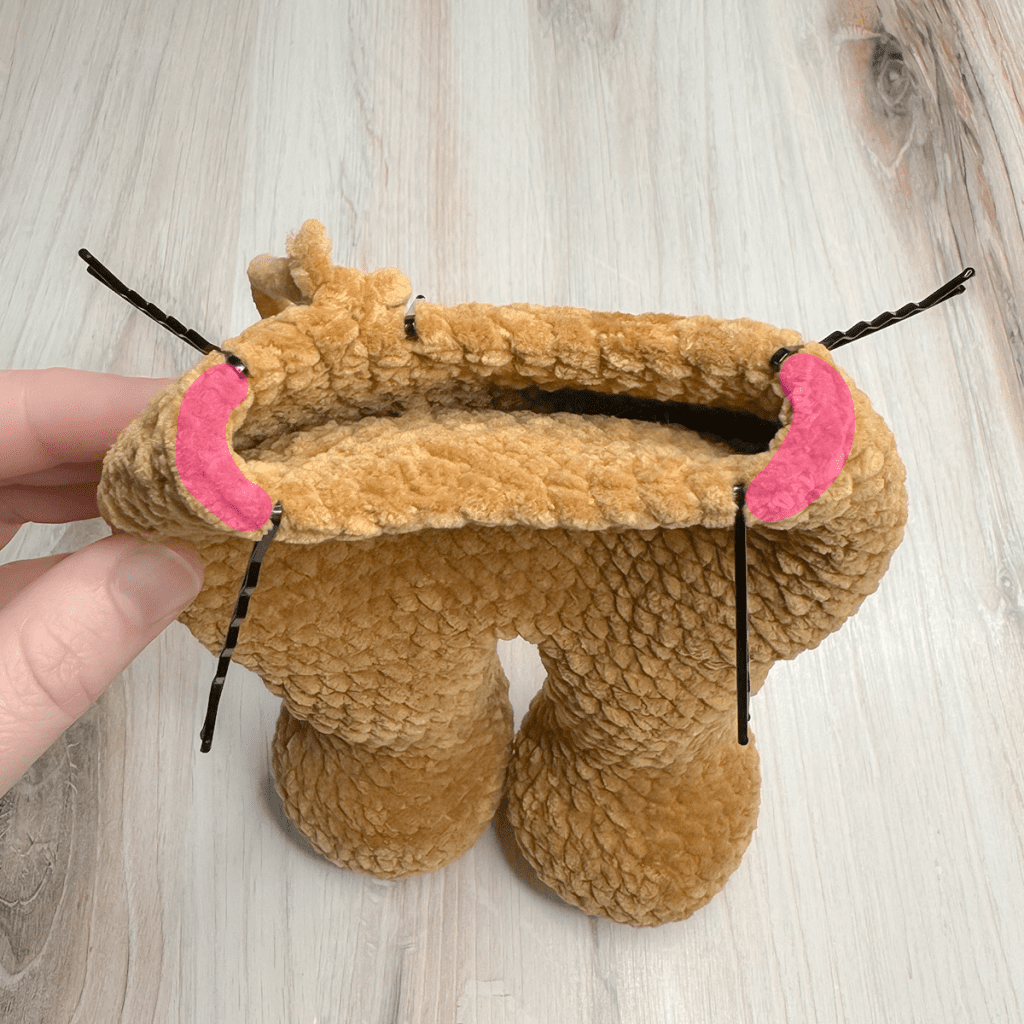
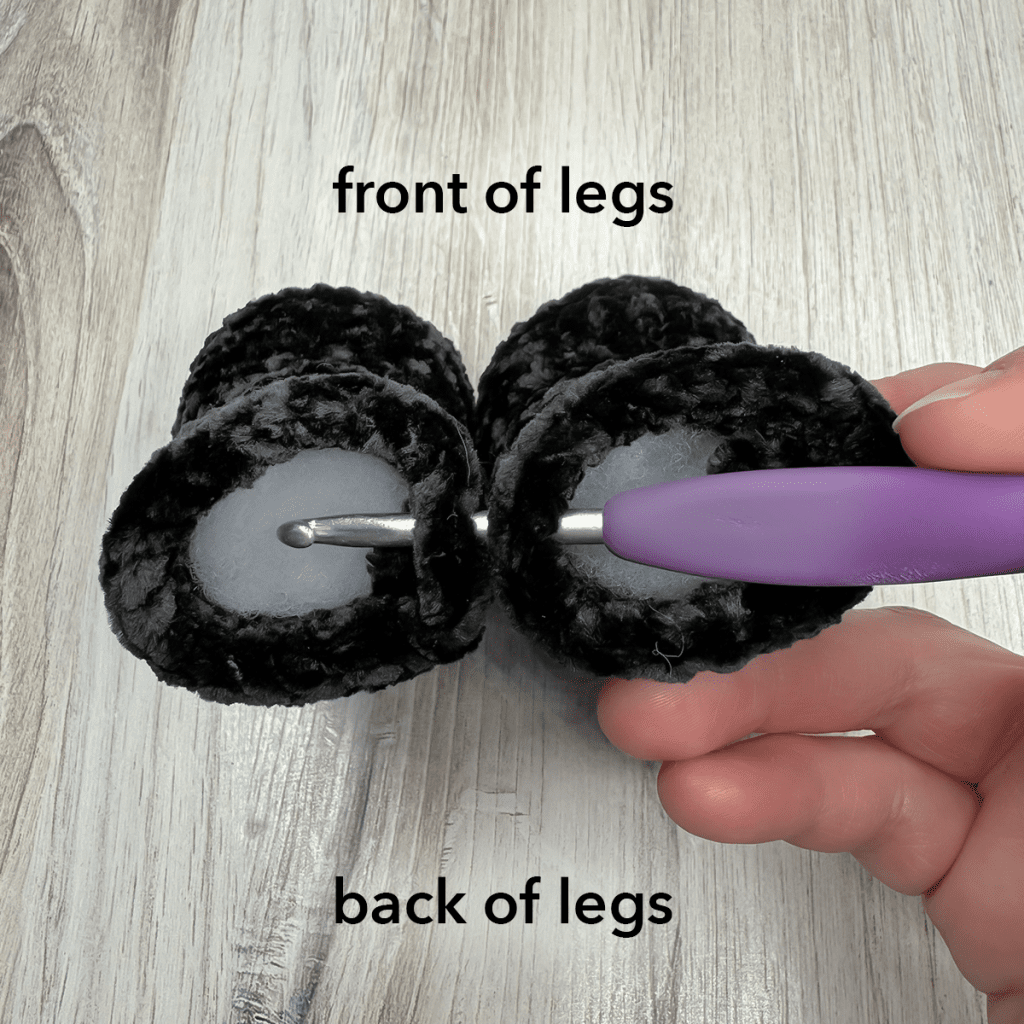
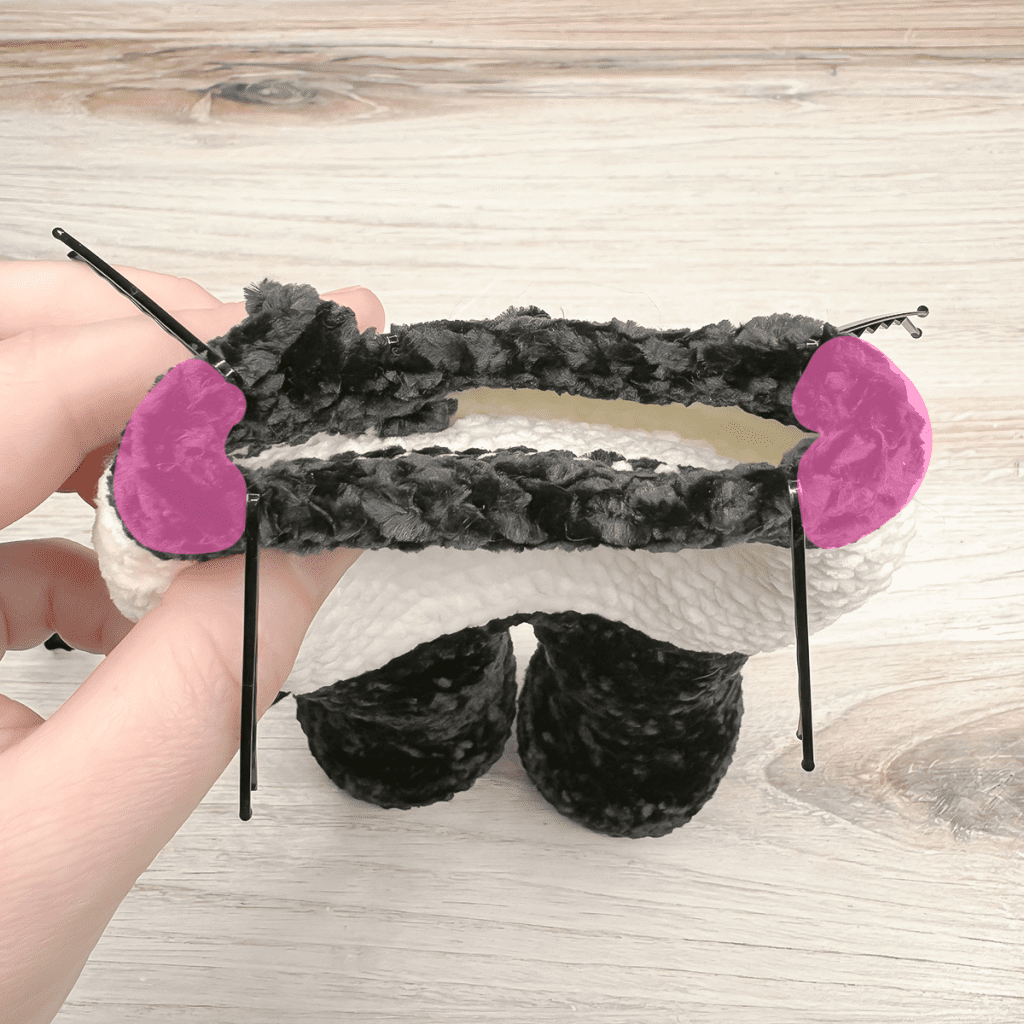
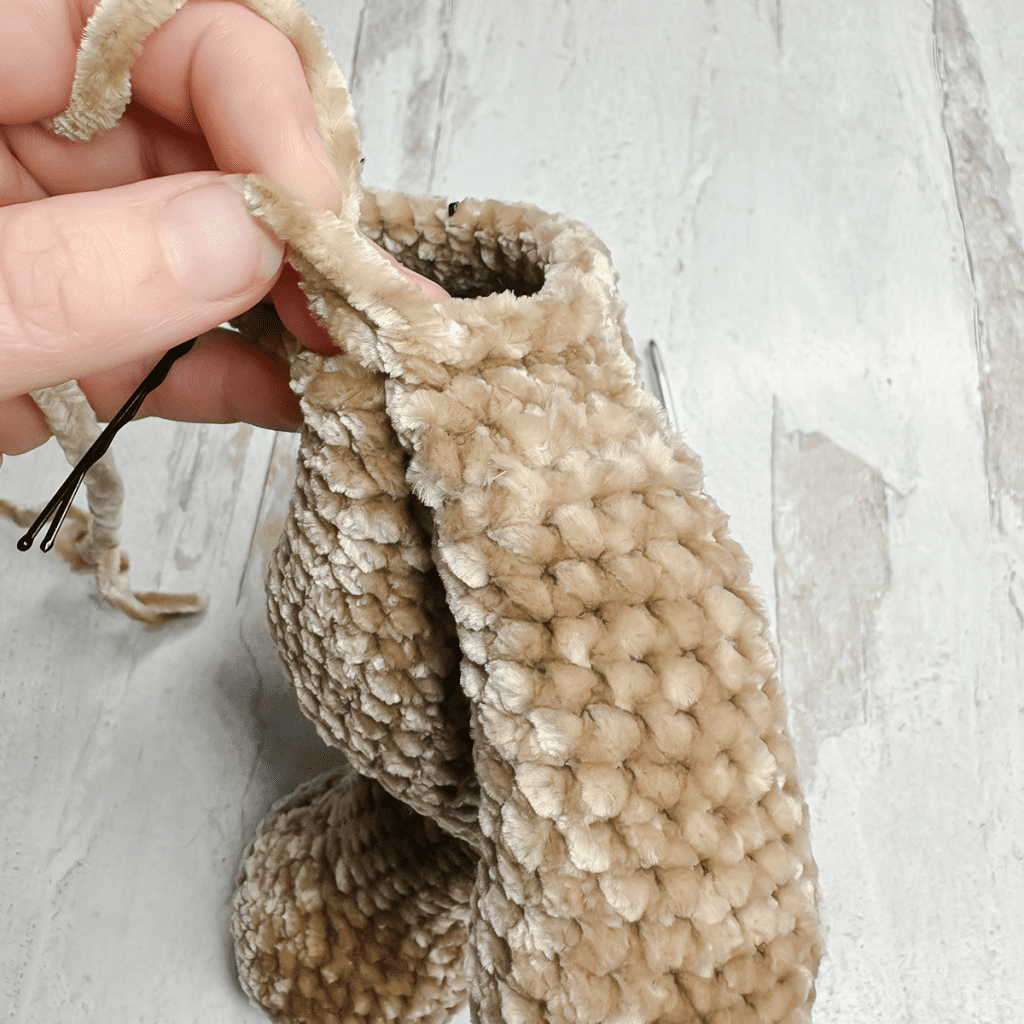
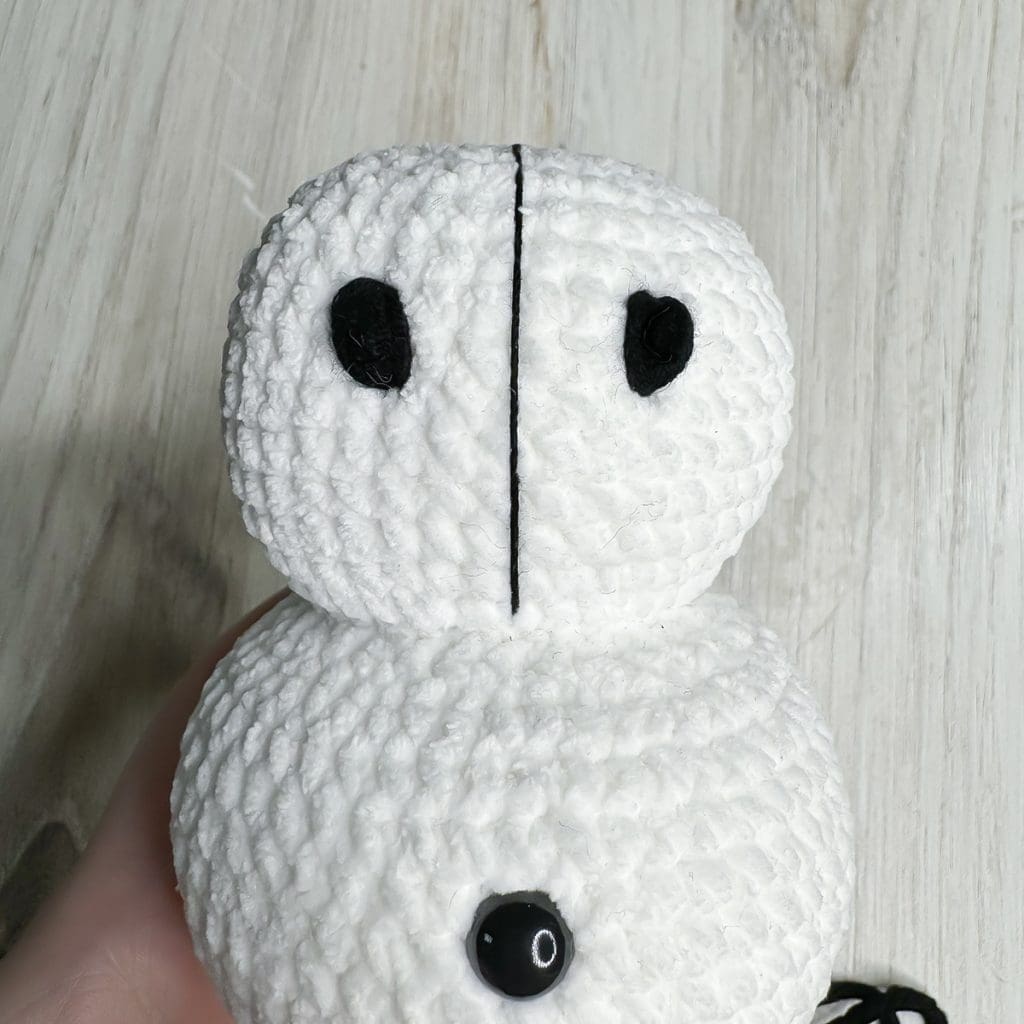
Pause here and add two small black plastic eyes or buttons, stacked vertically: one between Rounds 9 and 10 (27 and 28), and the other between Rounds 13 and 14 (31 and 32).
Round 18 (36): (DEC, CSC) around. (32)
Round 19 (37): DEC in each ST around. (16)
– Beginning of 2nd layer (3rd layer) –
Round 20 (38): INC in each ST around. (32)
Round 21 (39): (INC, 3 CSC) around. (40)
Rounds 22-30 (40-48): CSC in each ST around. (40)
Round 31 (49): (DEC, 3 CSC) around. (32)
Round 32 (50): (CSC, DEC, CSC) around. (24)
Round 33 (51): (DEC, CSC) around. (16)
Round 34 (52): DEC in each ST around. (8)
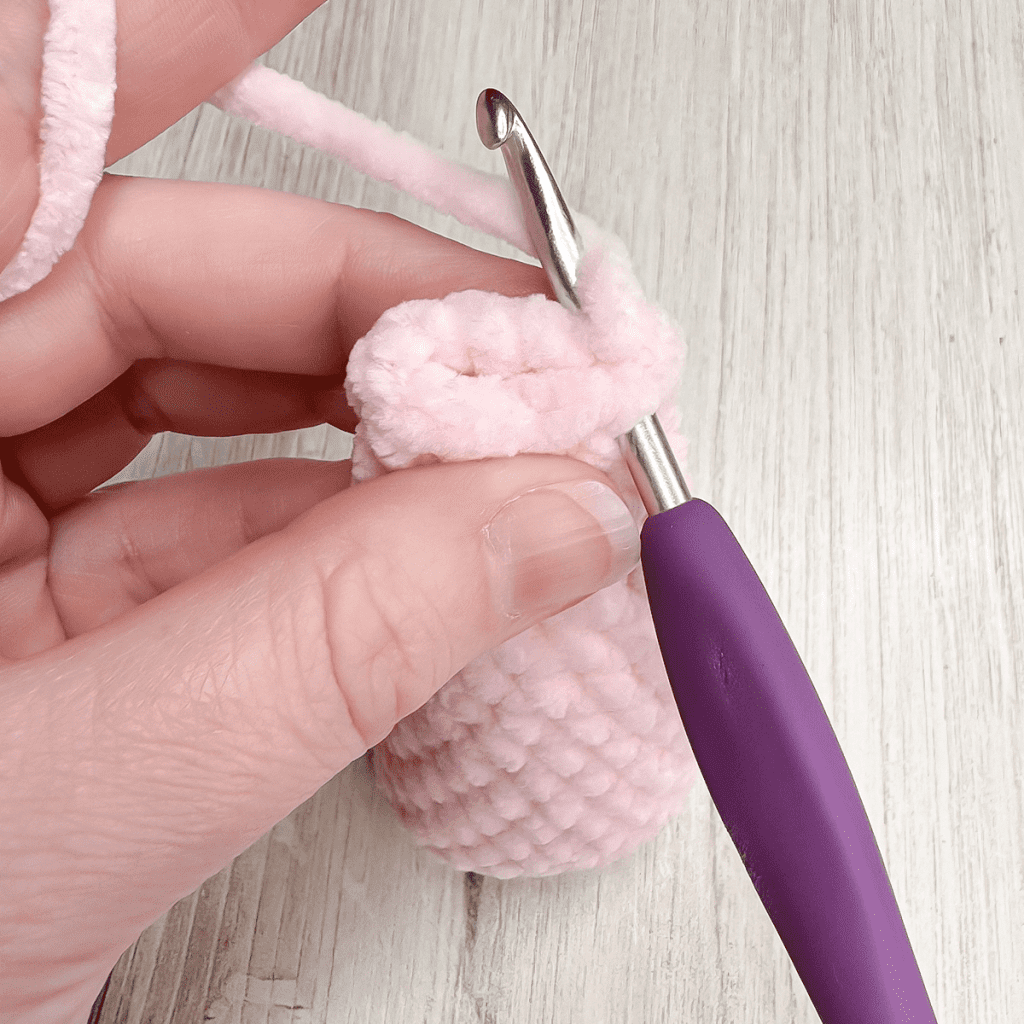
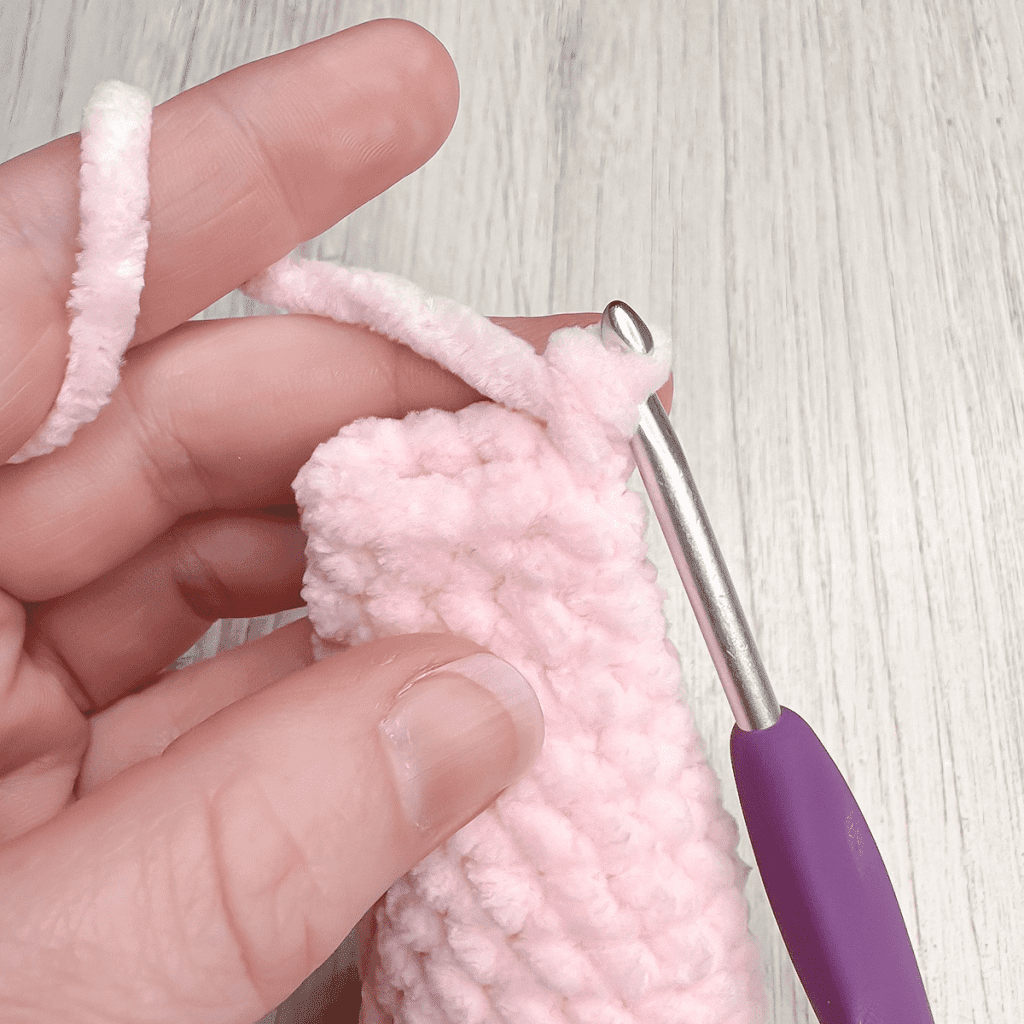
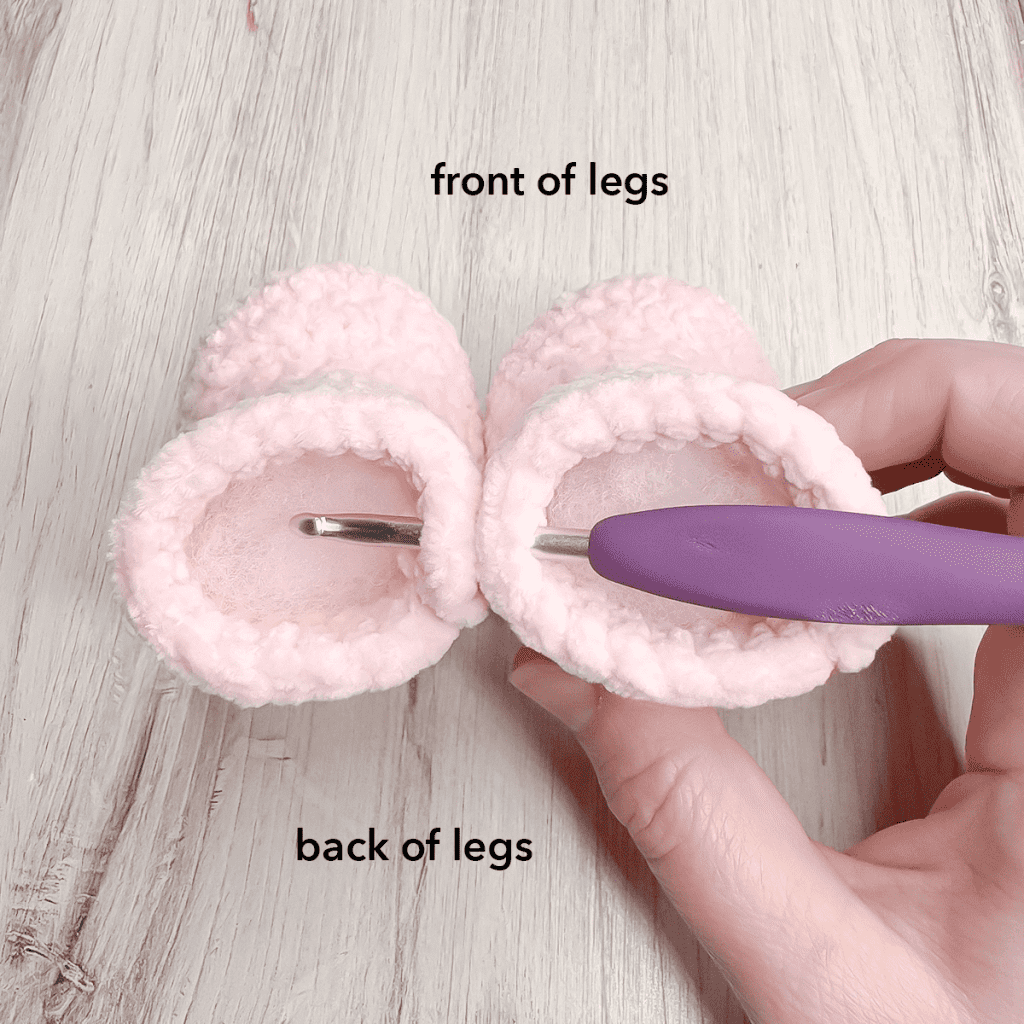
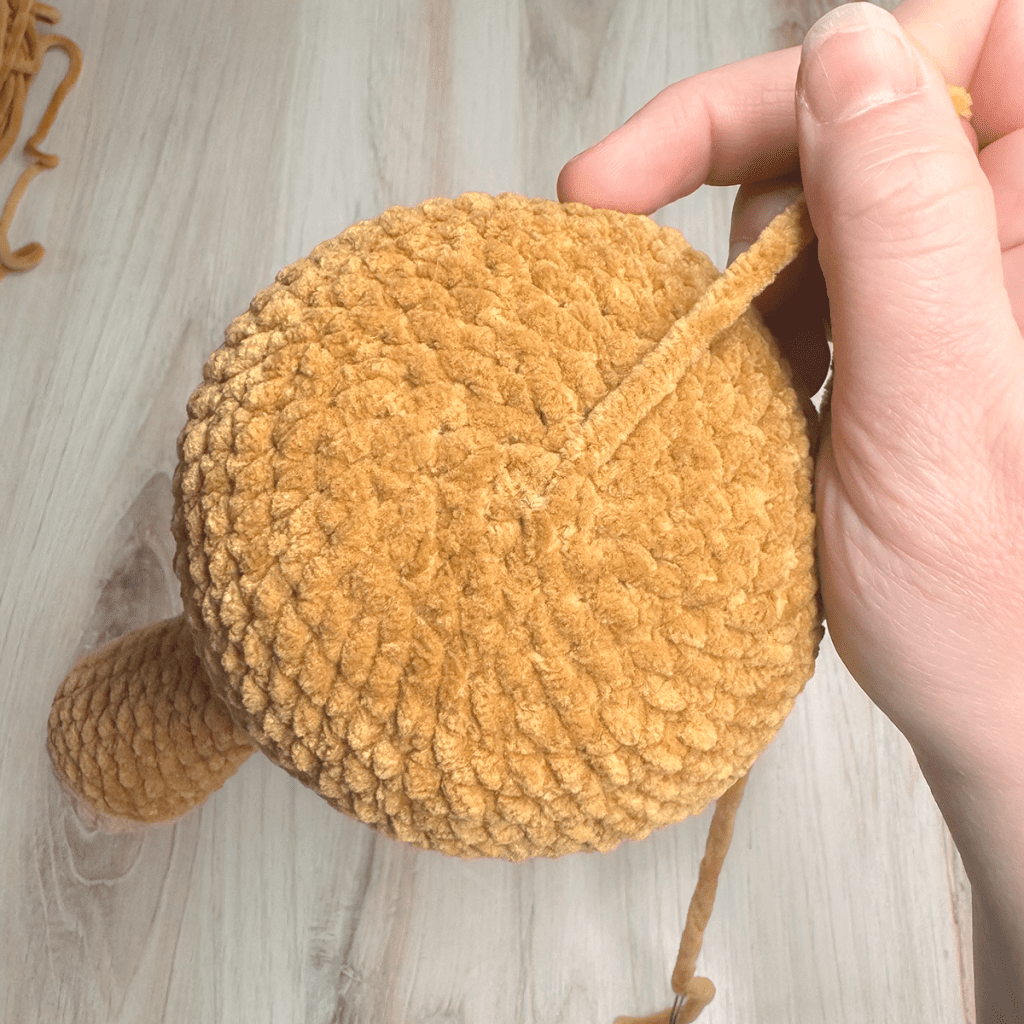
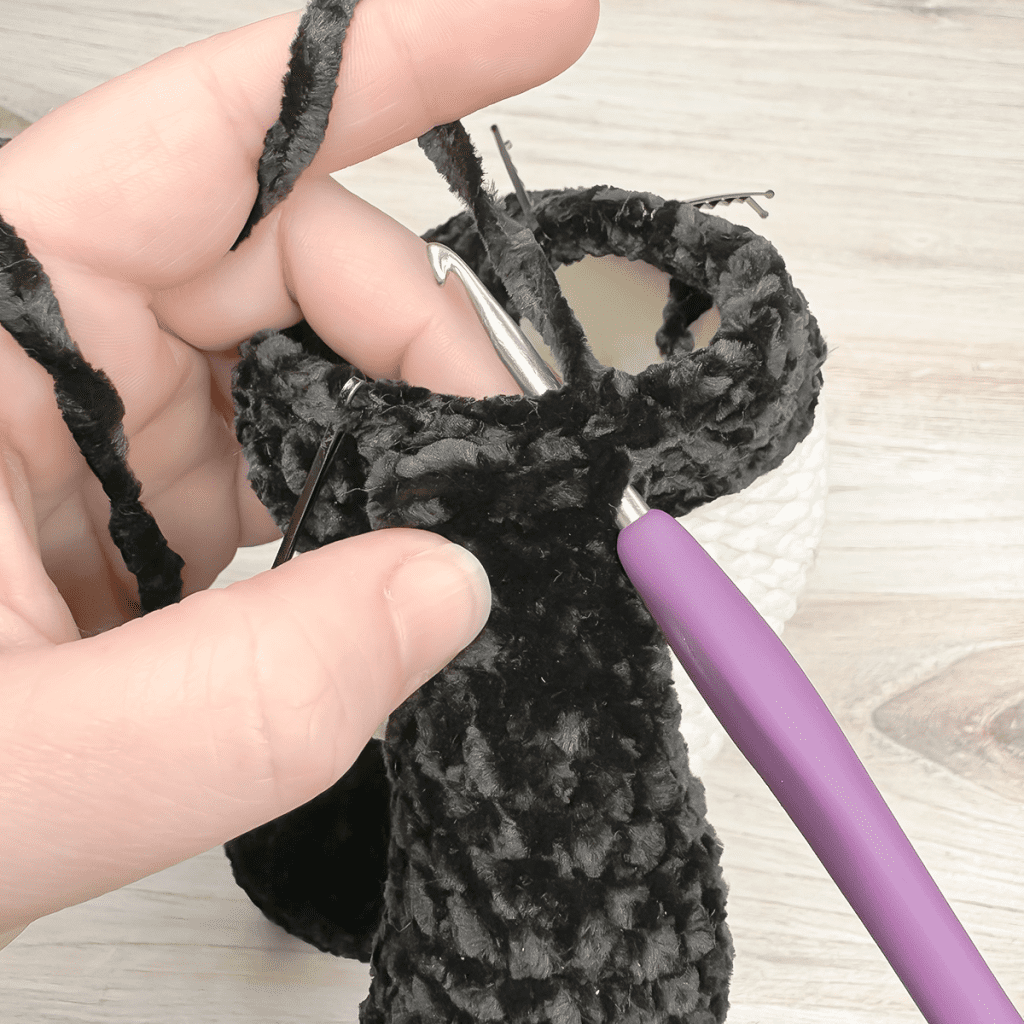
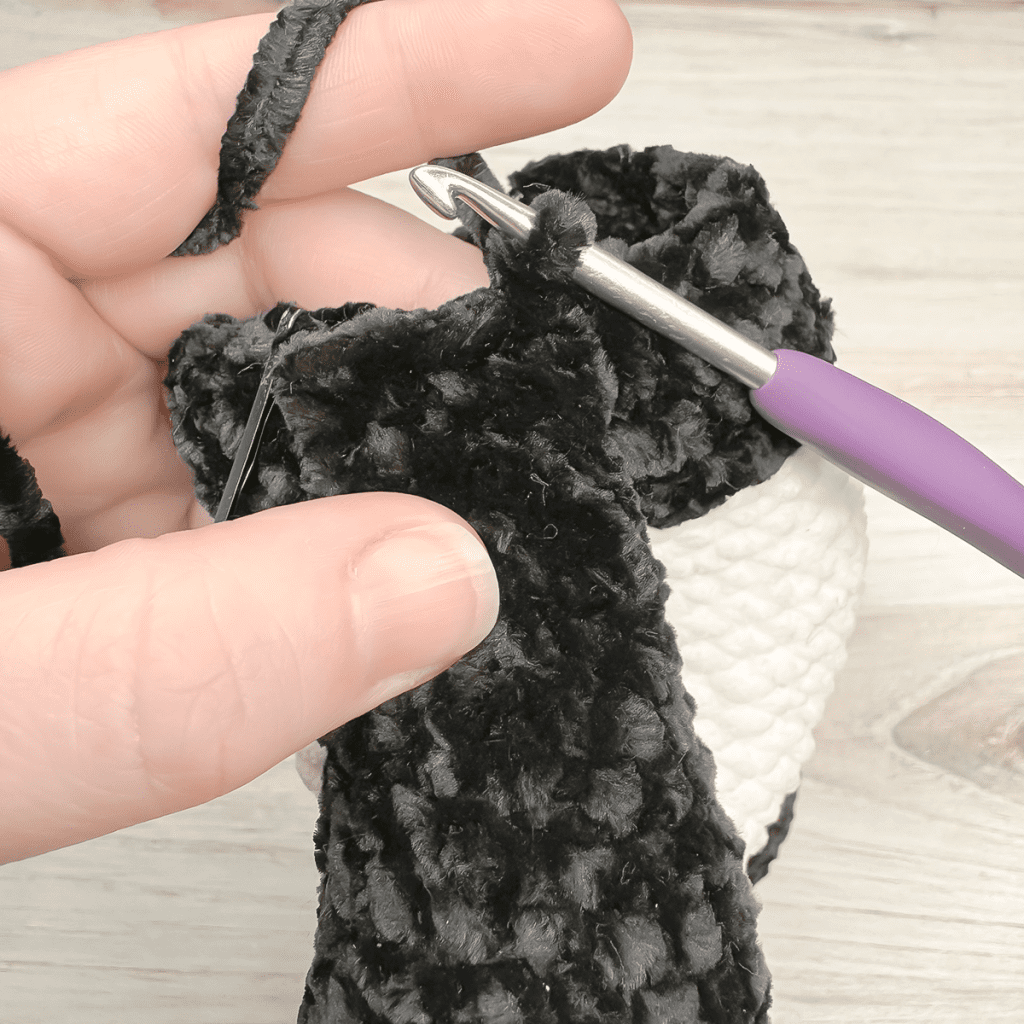
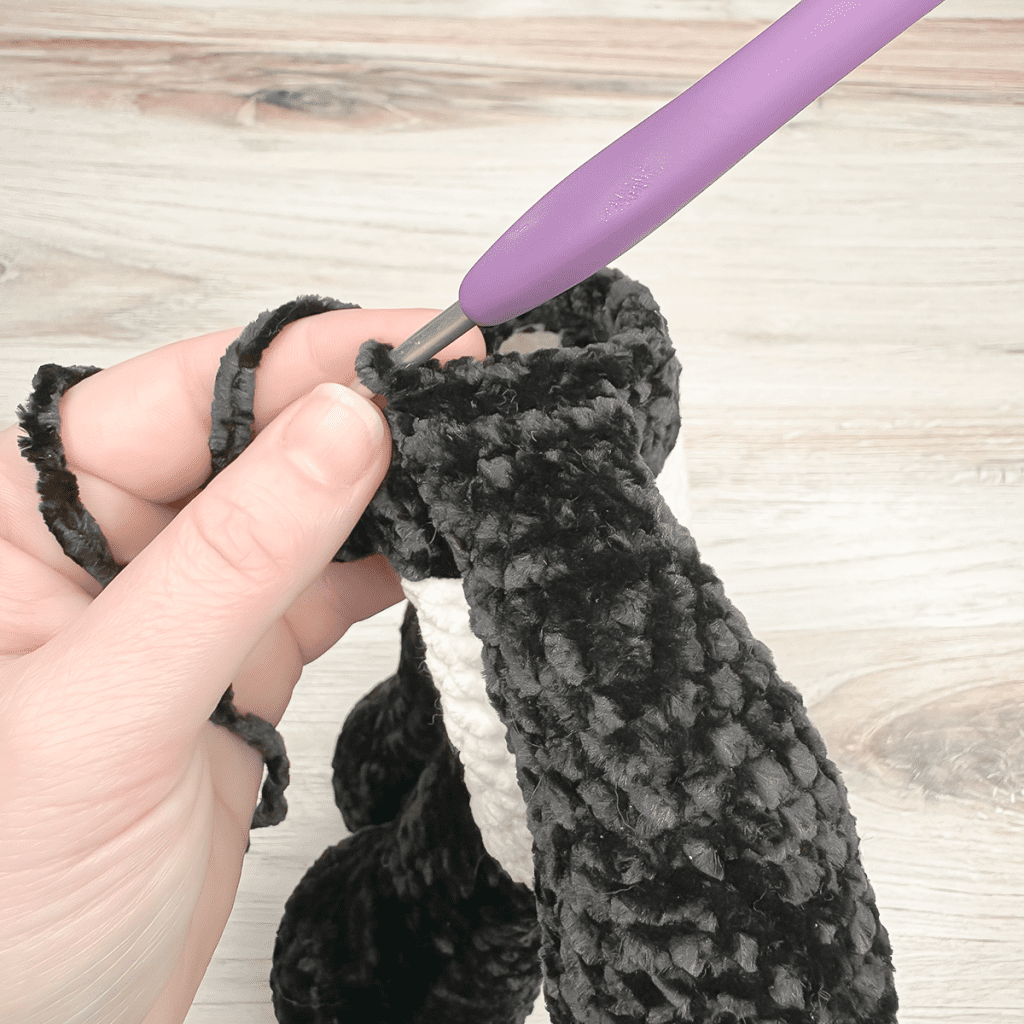
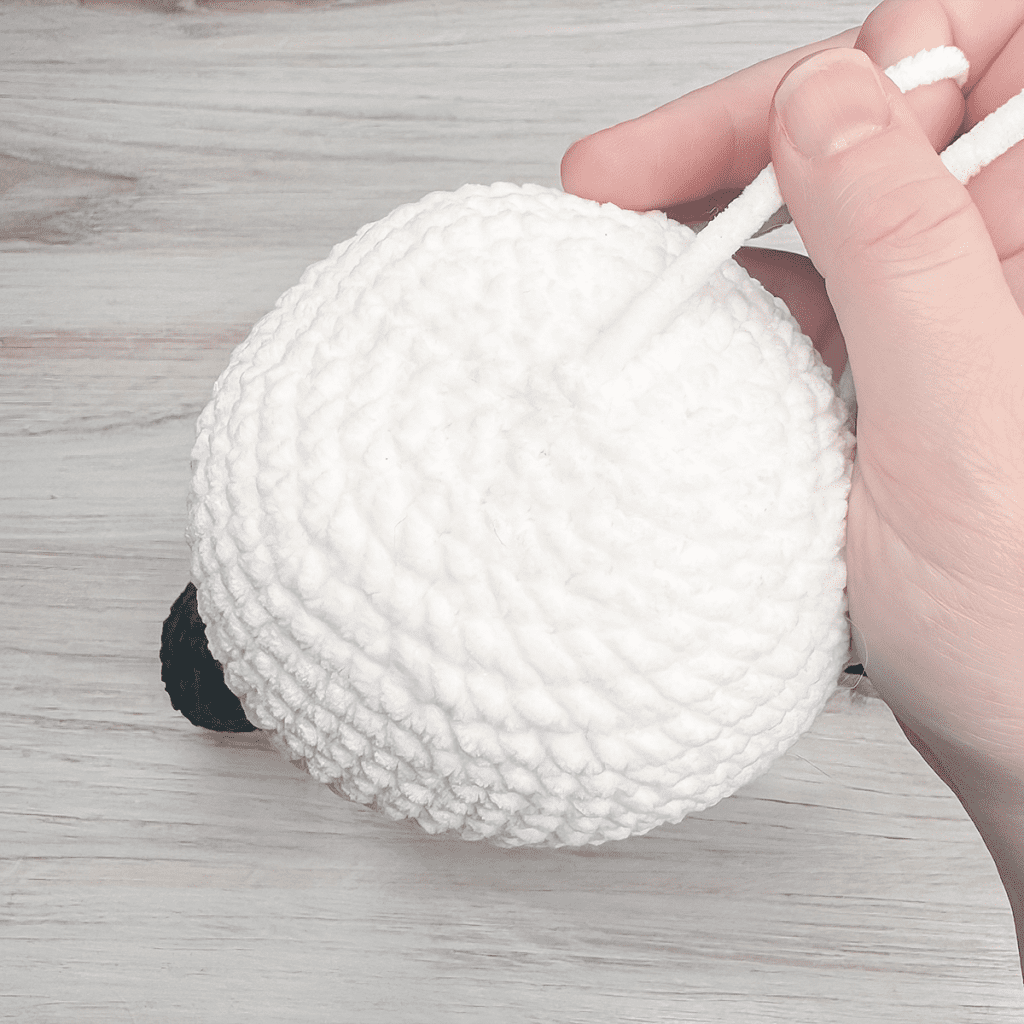
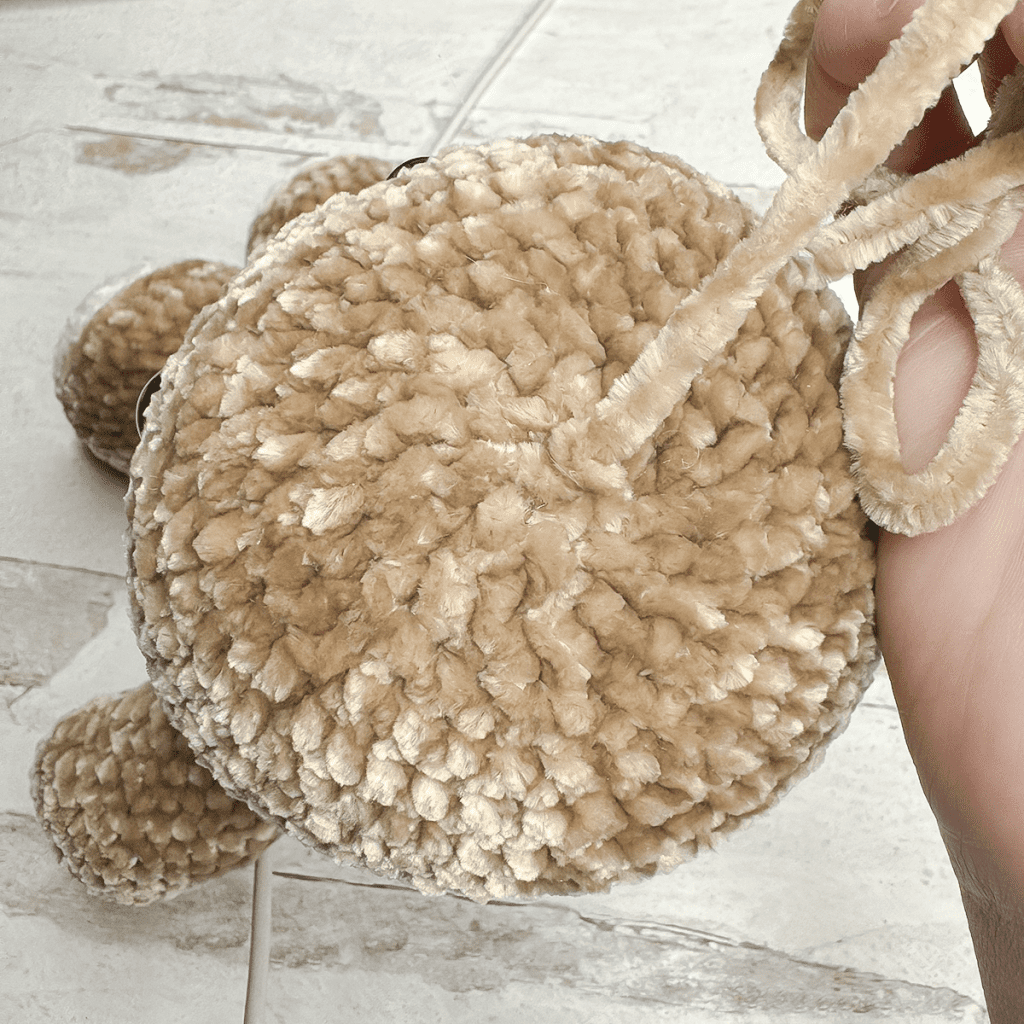
To Finish: Fasten off with a long tail. Thread tail through a yarn needle and weave the needle in and out of the outer loops of the previous round, all the way around. Slowly pull circle closed. (Be careful if you’re using single-ply yarn, it breaks easily!)
Tie a knot, then hide knot and tail inside head.
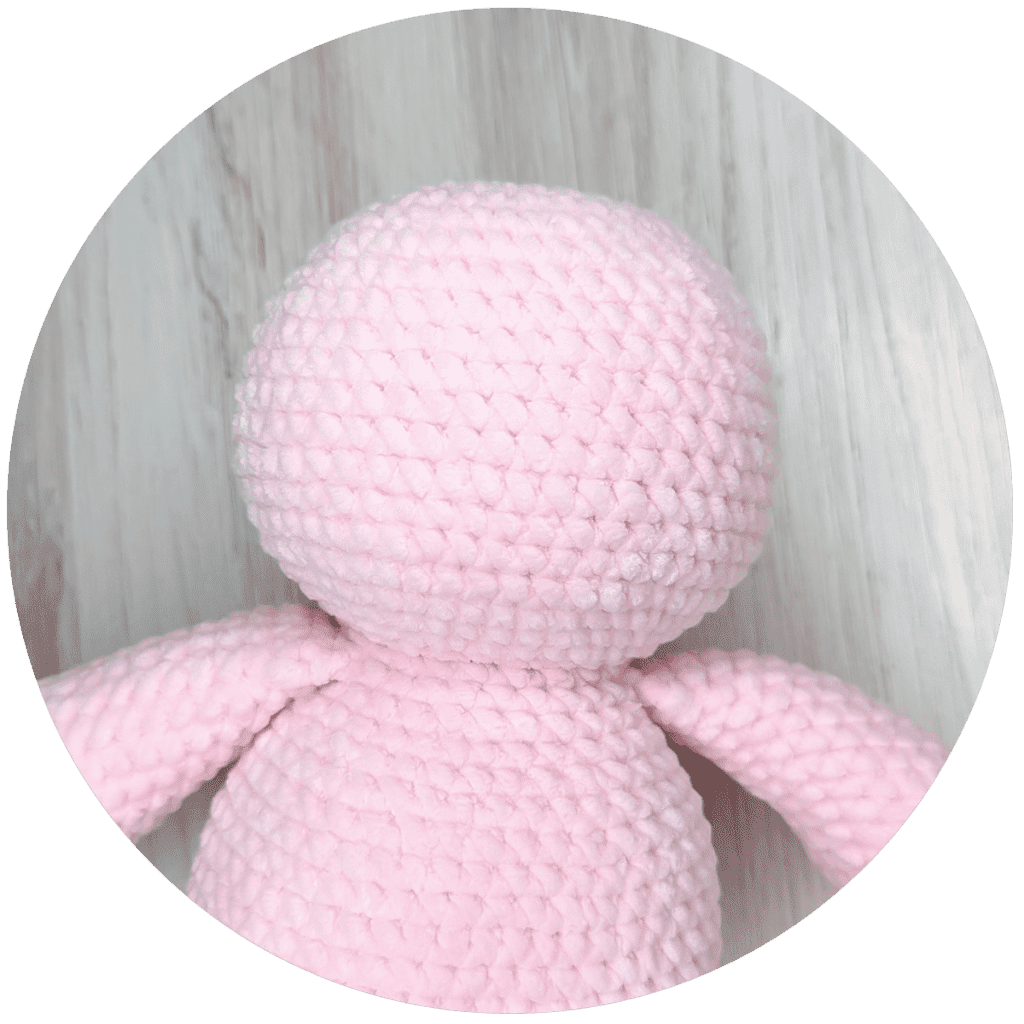
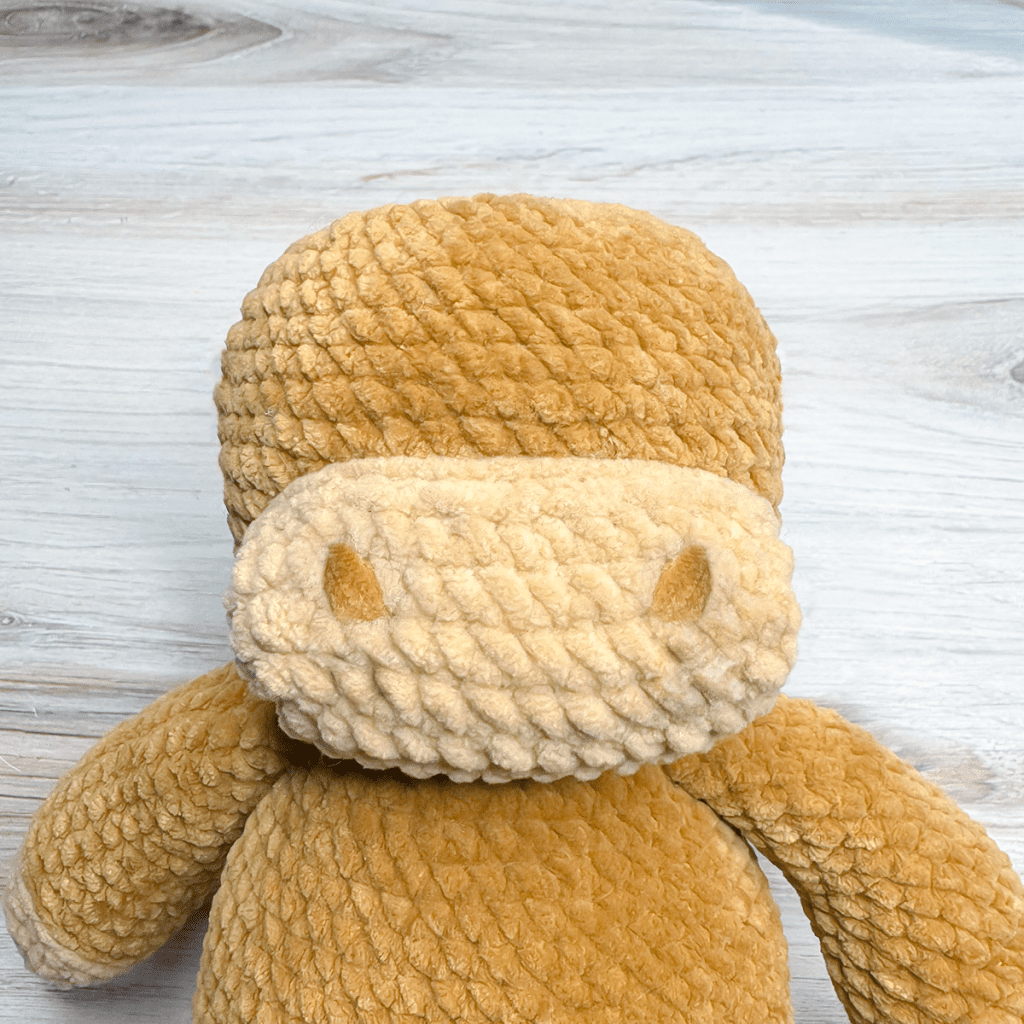
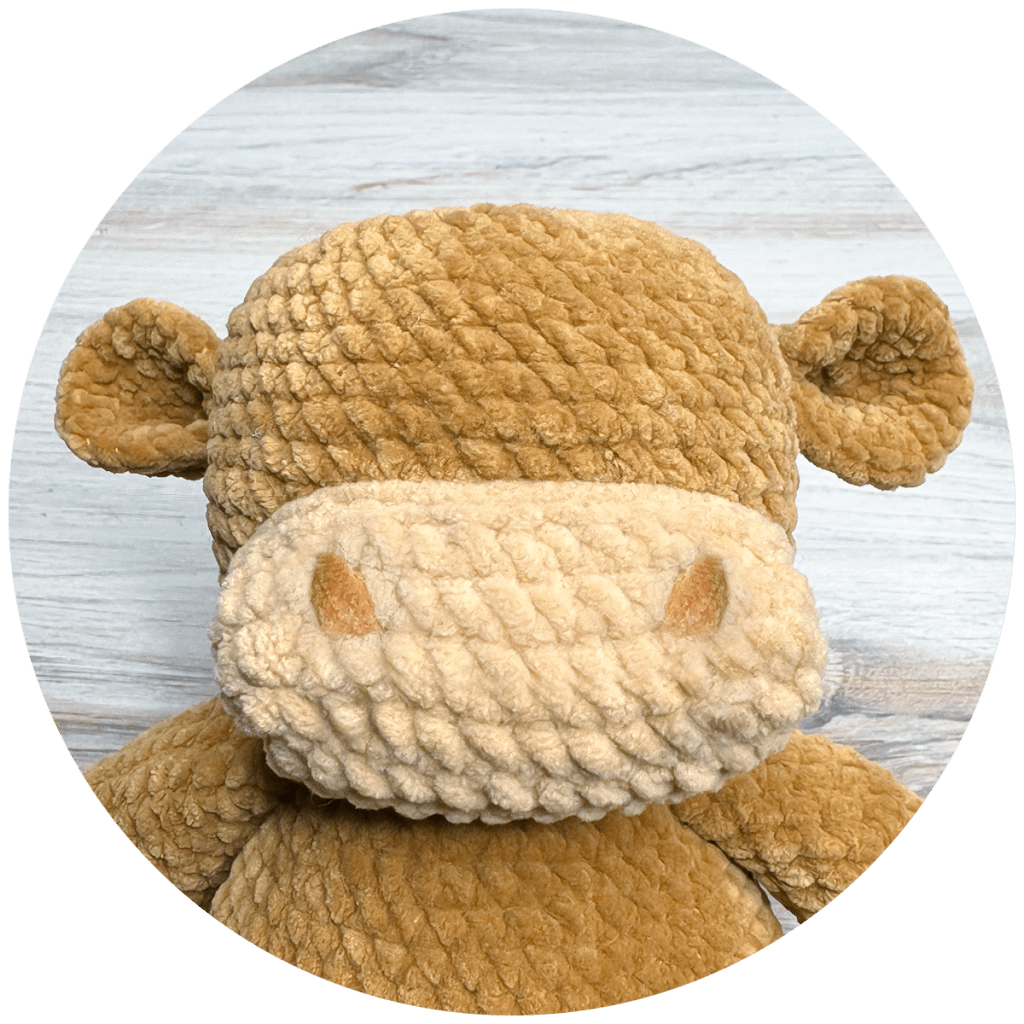
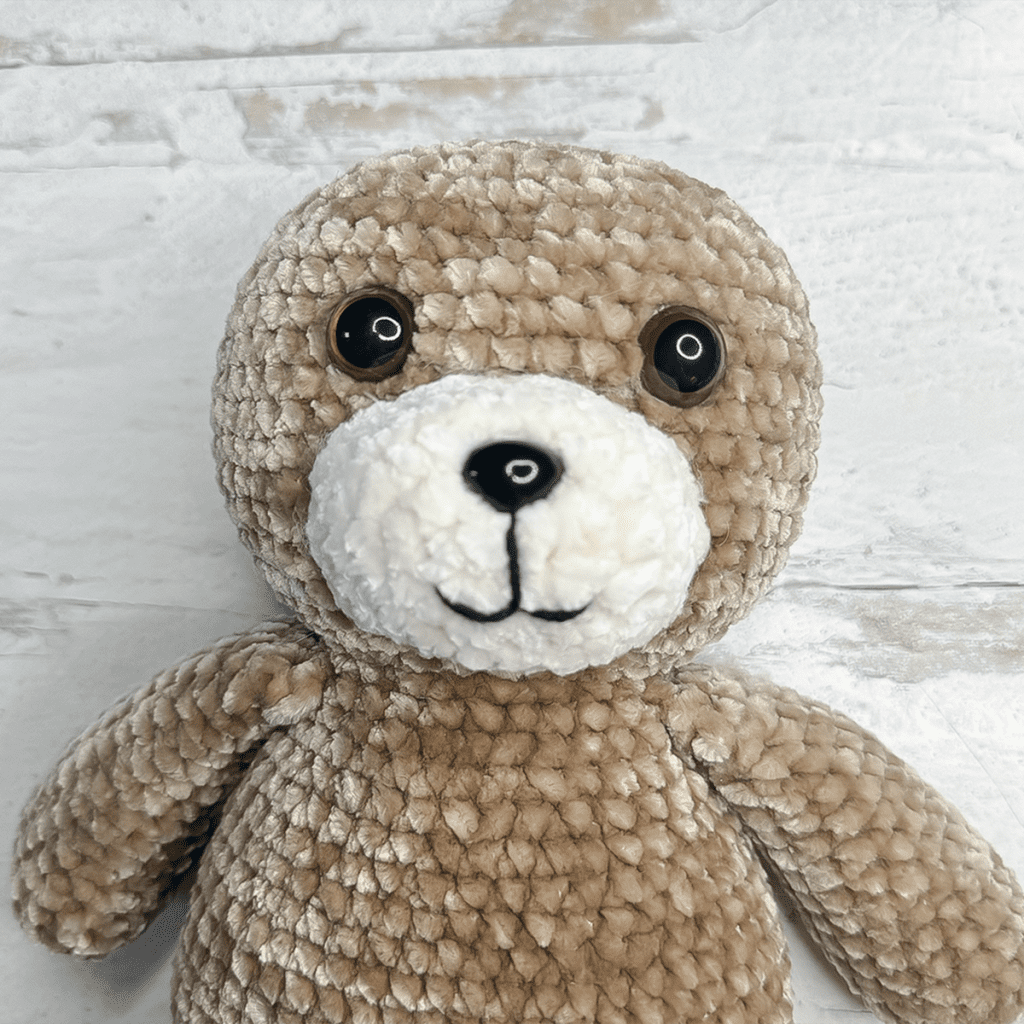
FACIAL FEATURES
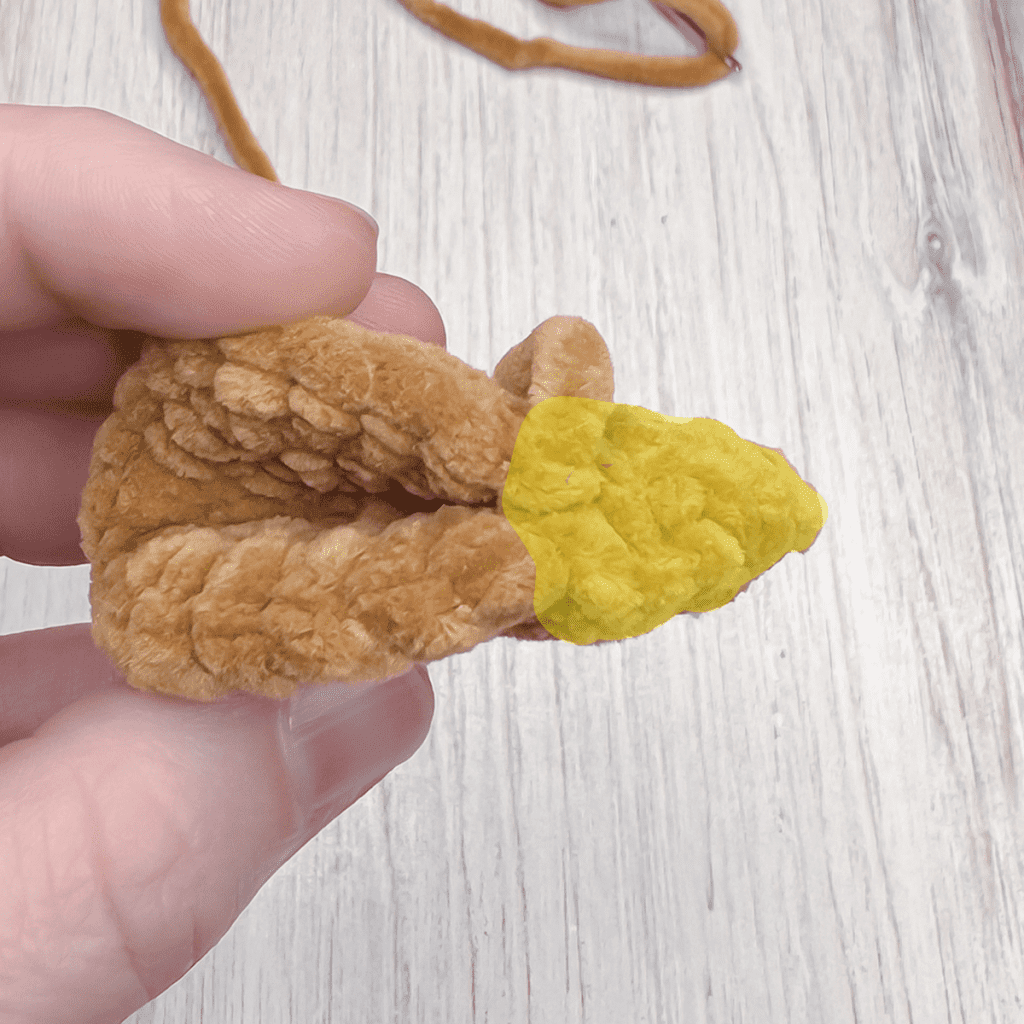
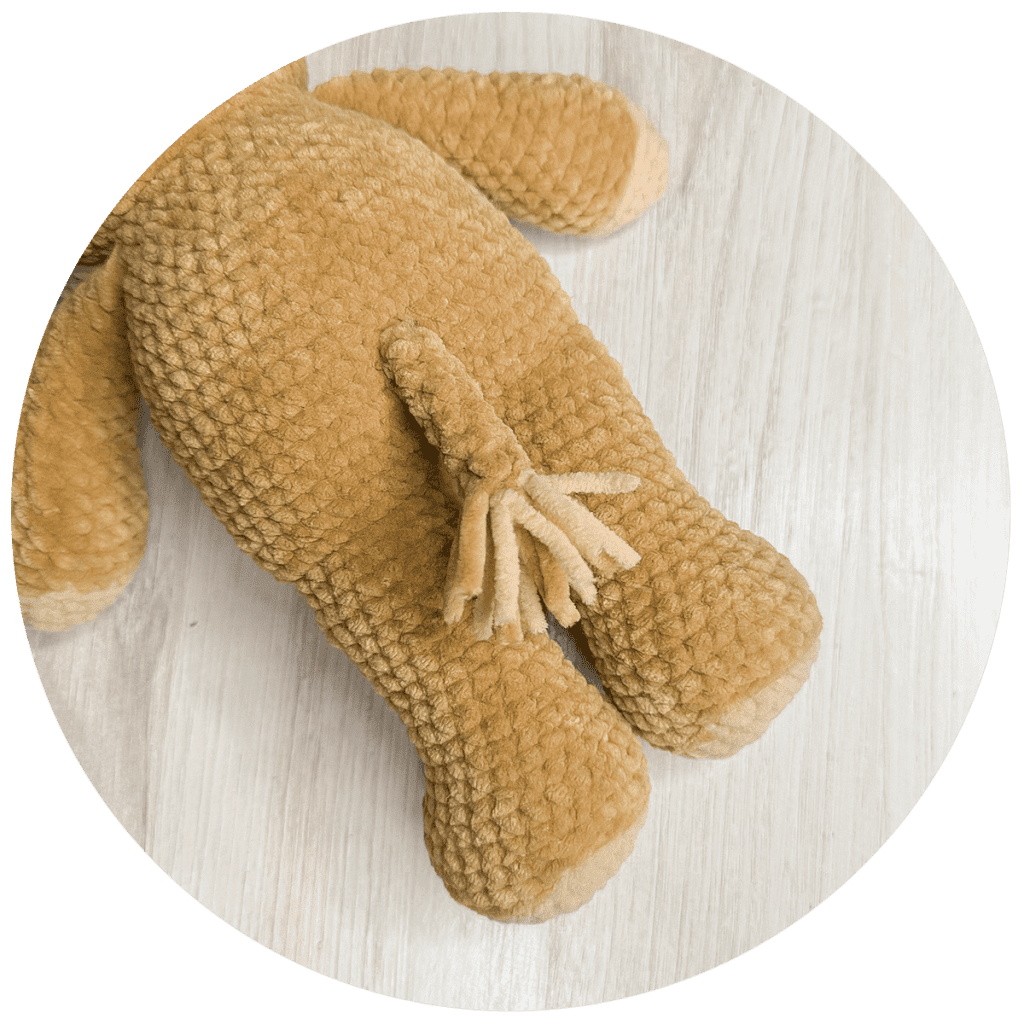
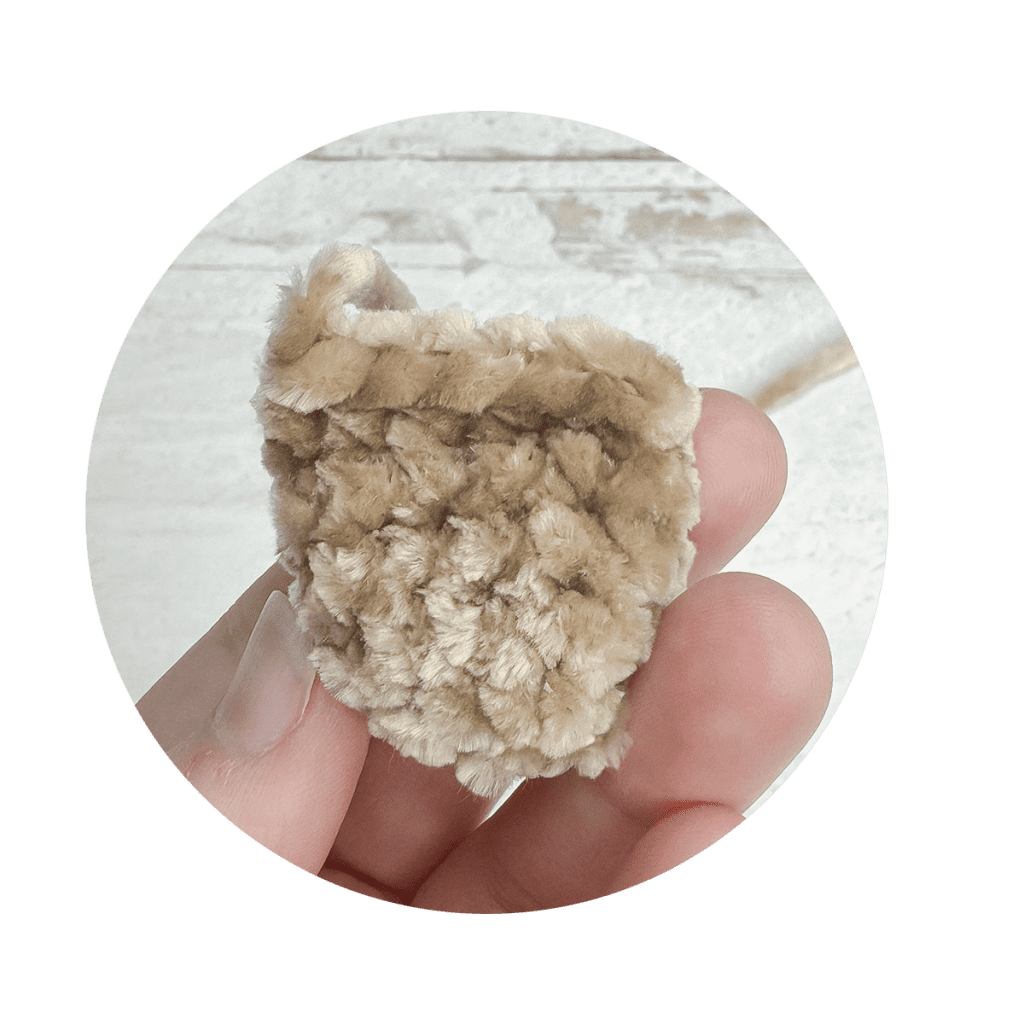
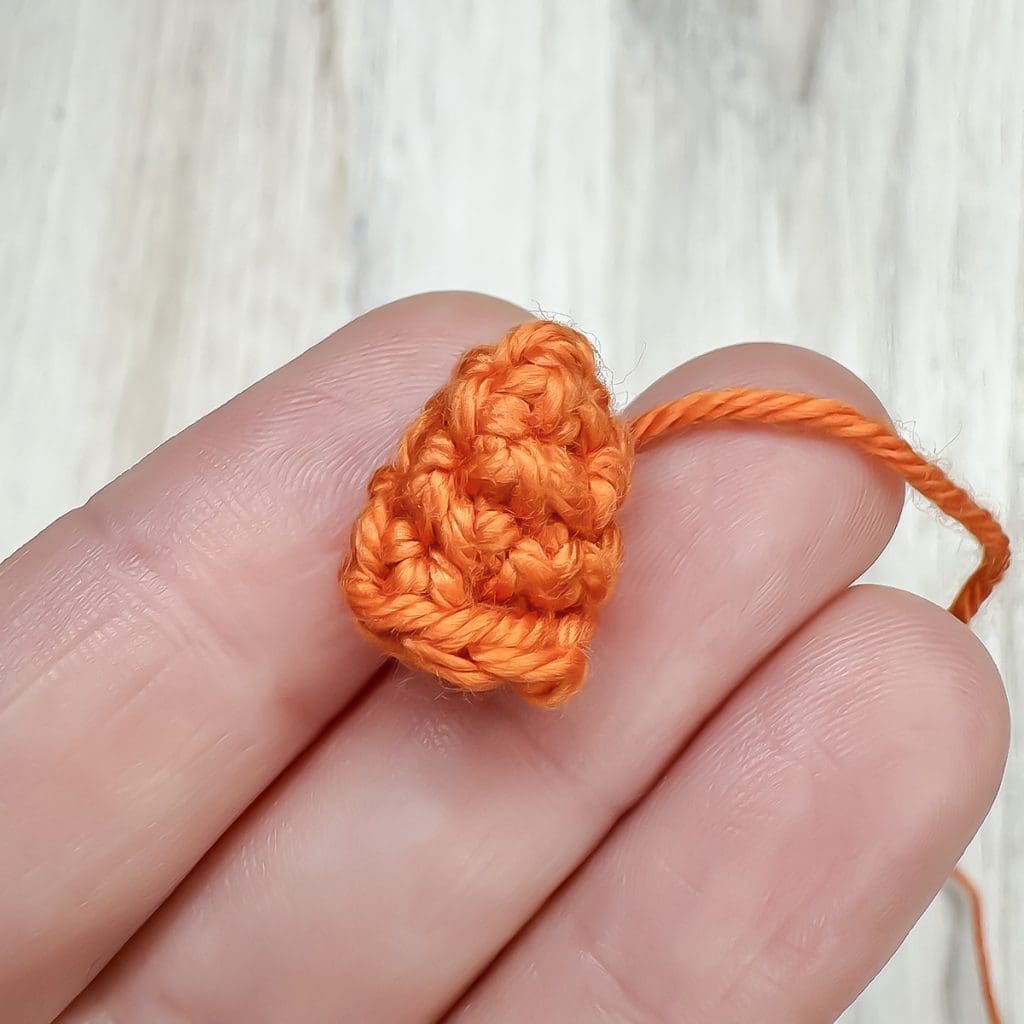
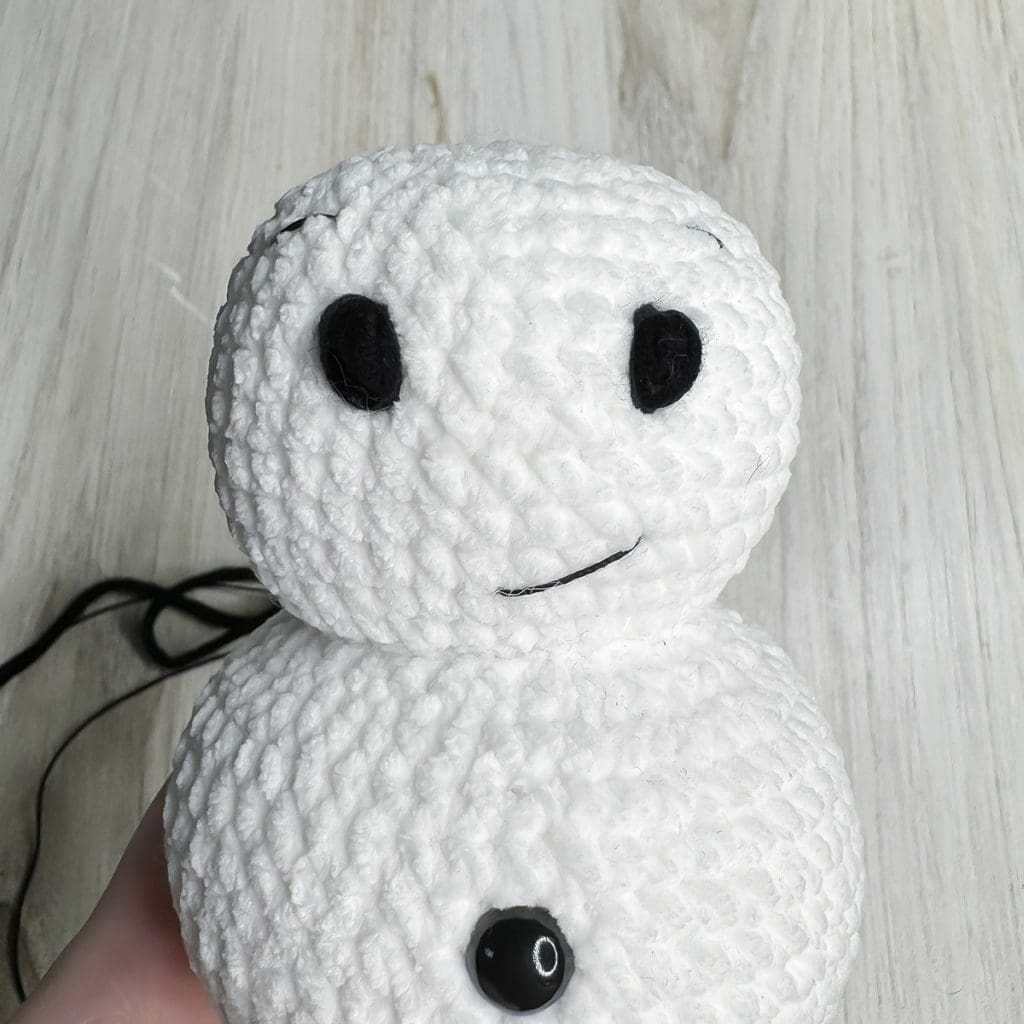
CARROT NOSE
To Begin: With ORANGE DK WEIGHT yarn, make a Magic Circle; CH1.
Round 1: 4 CSC in MC. (4)
Round 2: (INC, CSC) around. (6)
Round 3: (CSC, INC, CSC) around. (8)
Round 4: CSC in each ST around. (8)
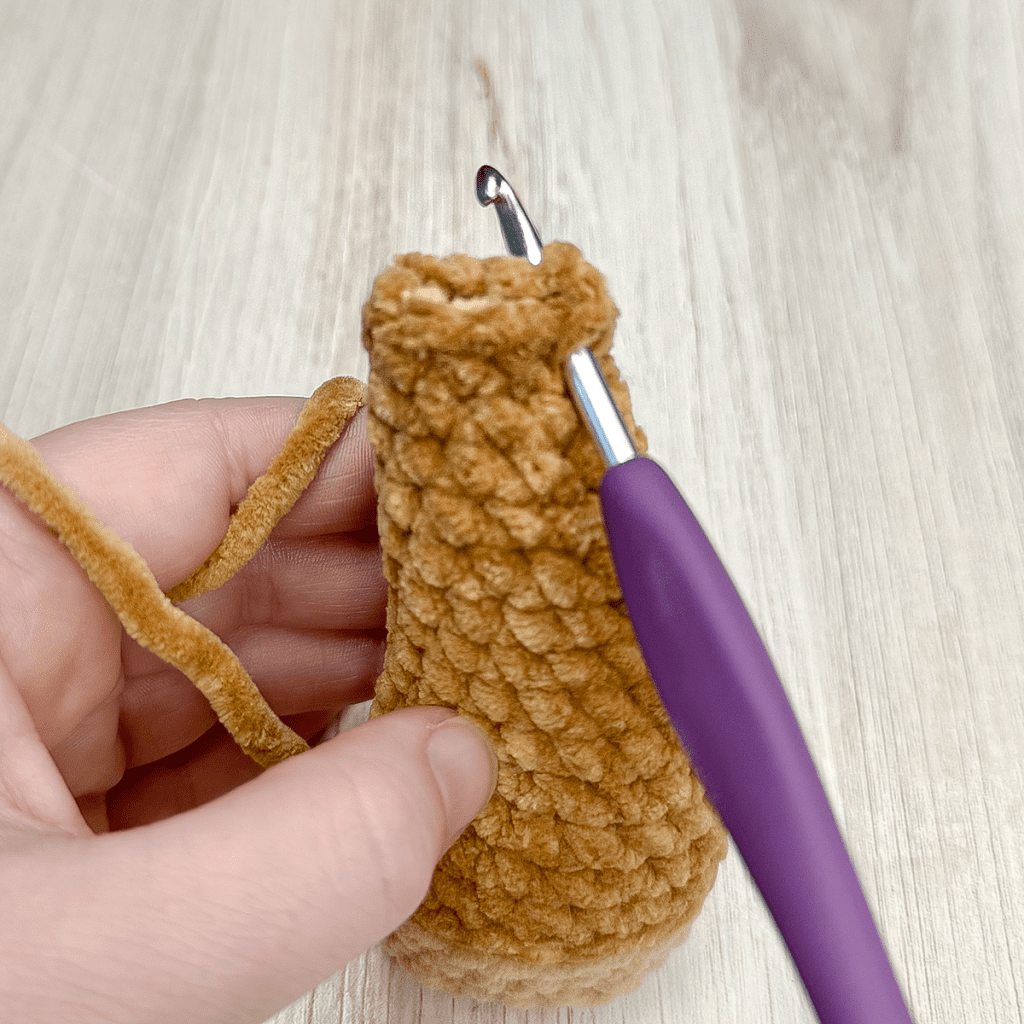
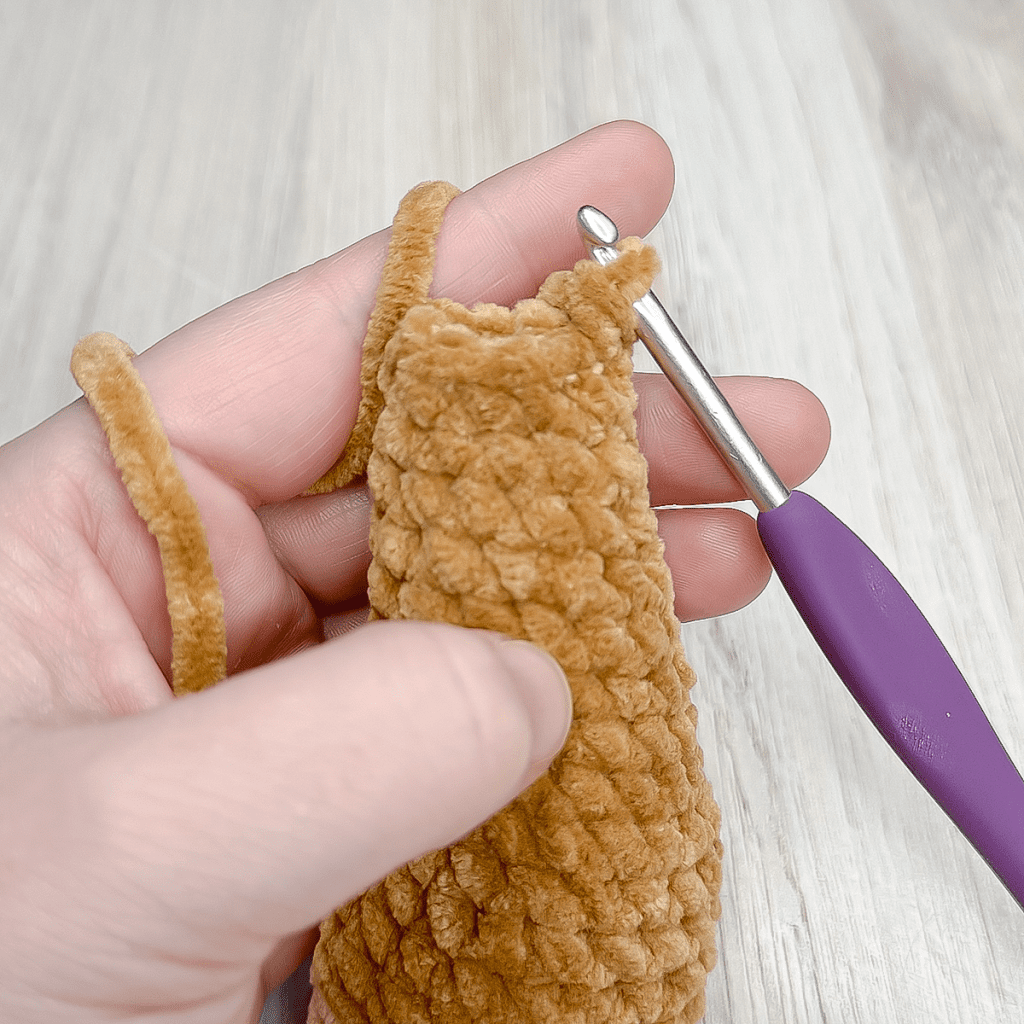
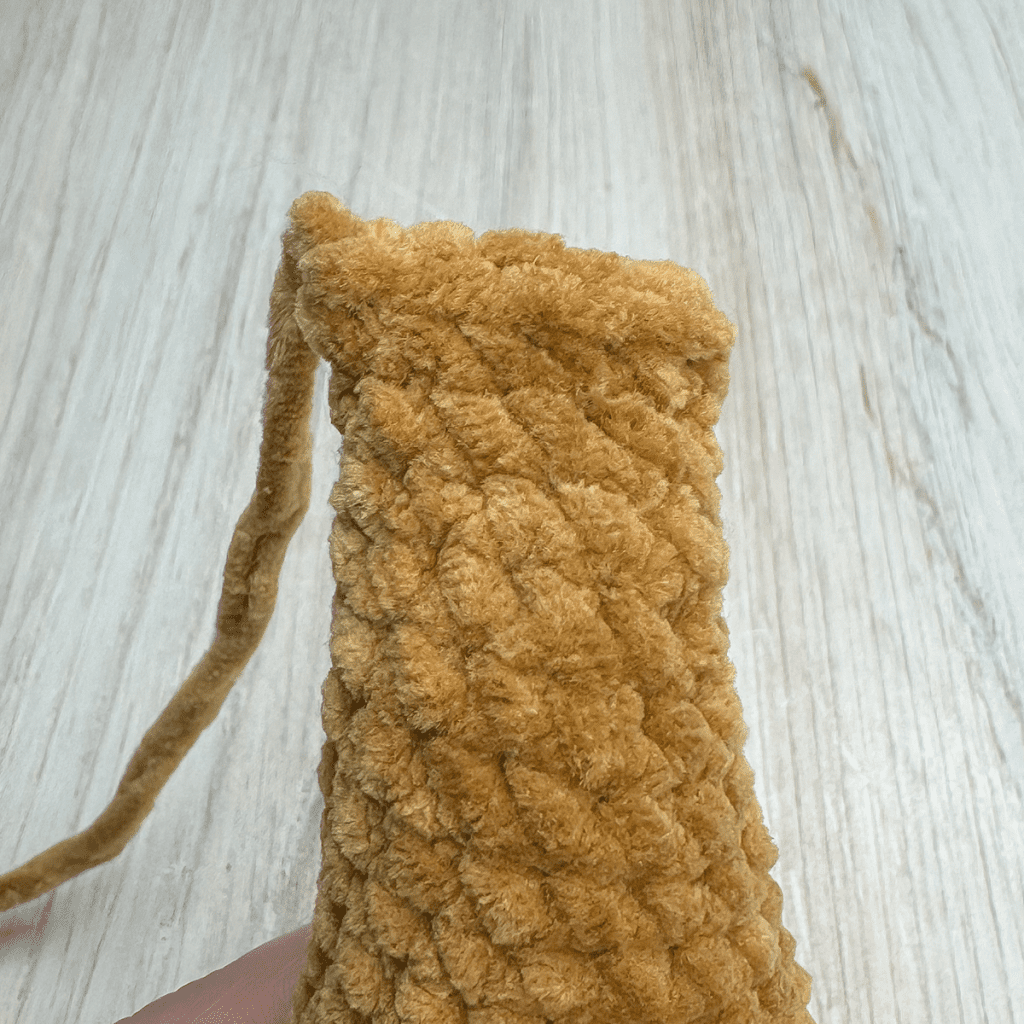
To Finish: SL ST in next ST. Fasten off with a long tail. Secure starting tail and hide inside nose. Add a pinch of stuffing if needed. Set aside.
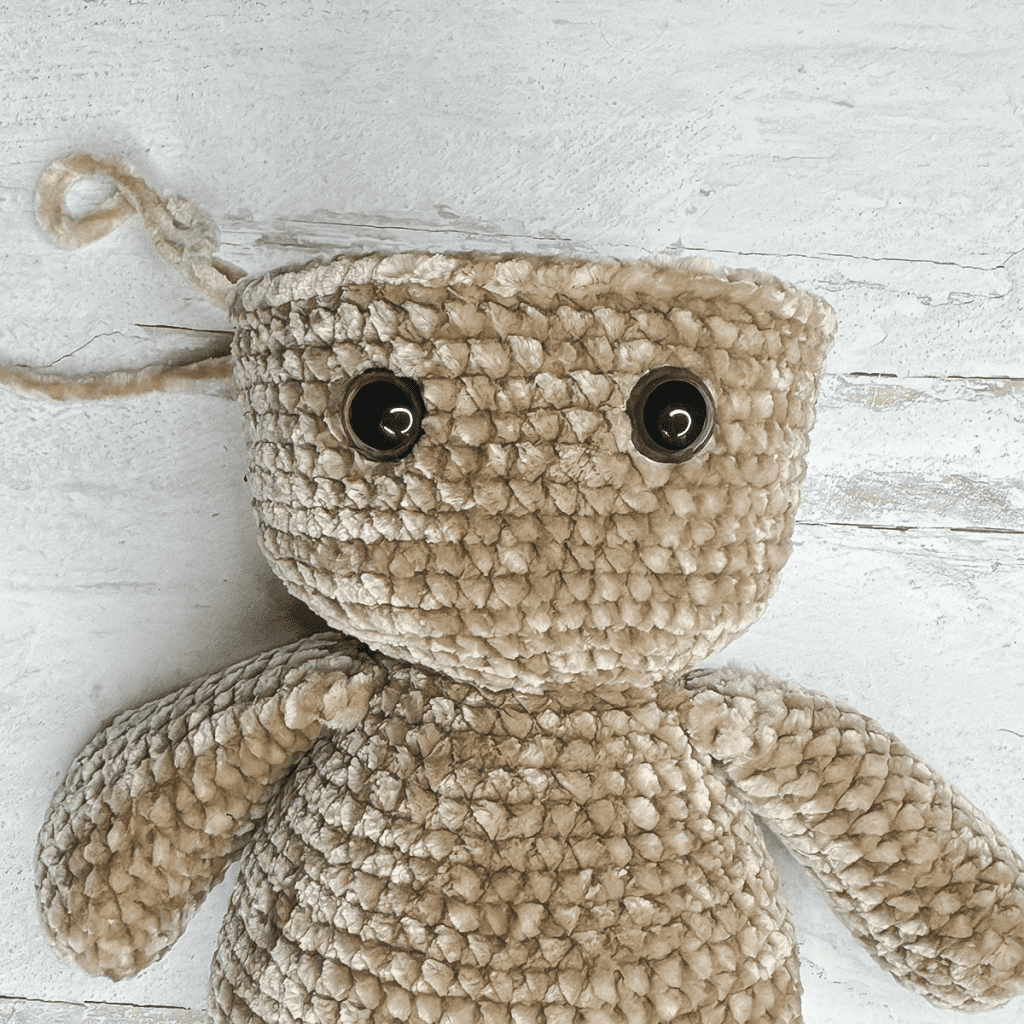
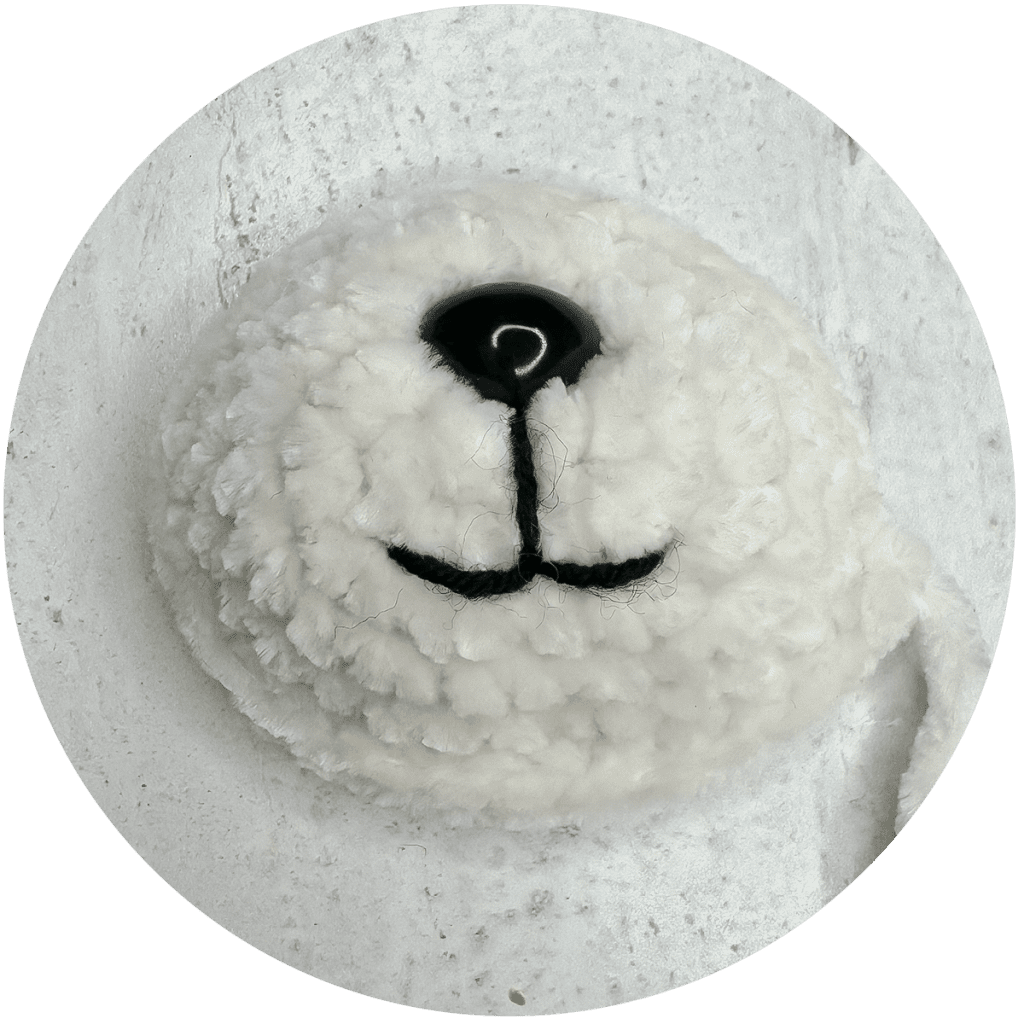
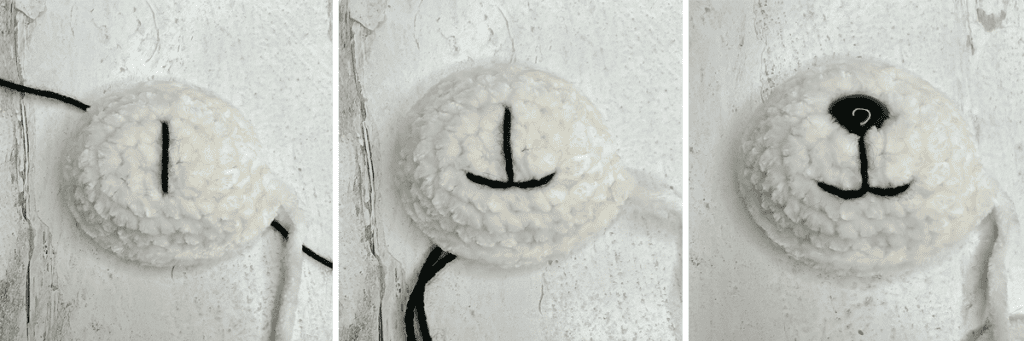
EMBROIDERING THE FACE
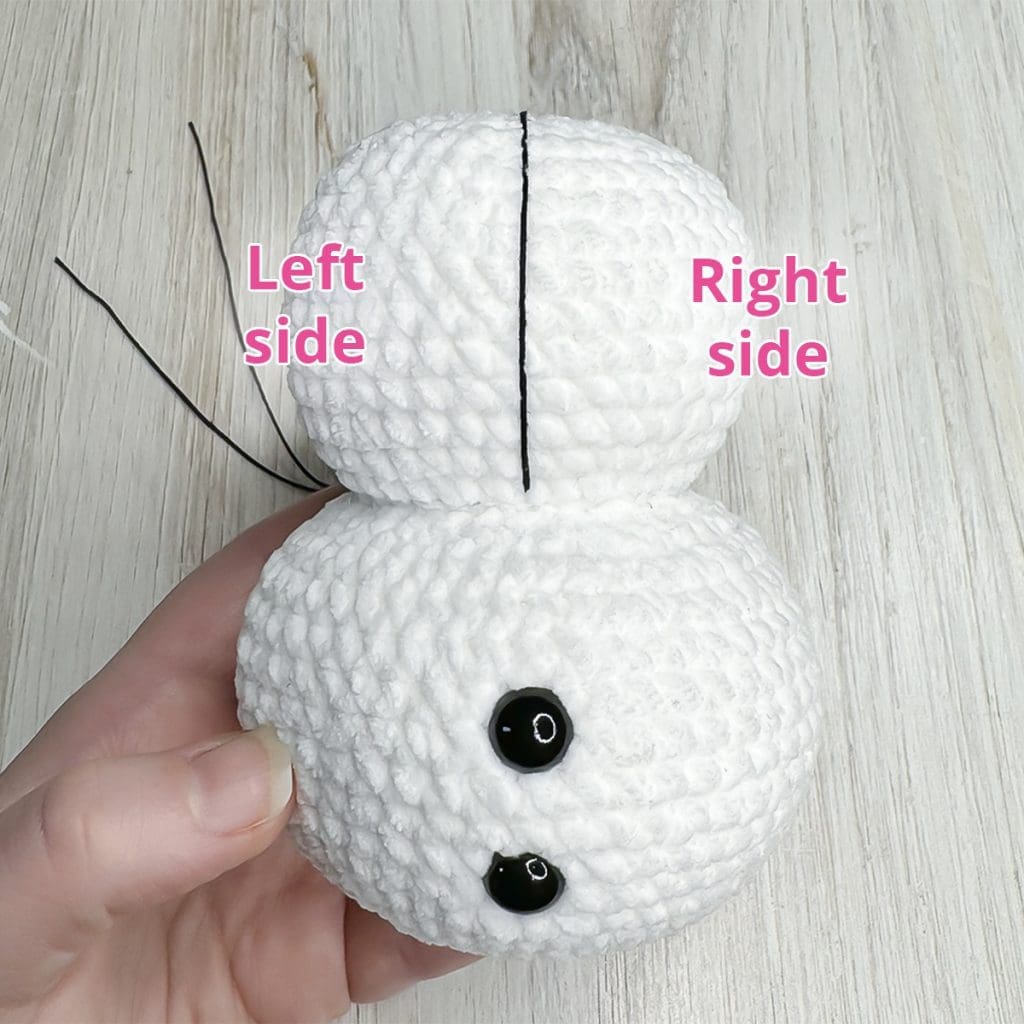
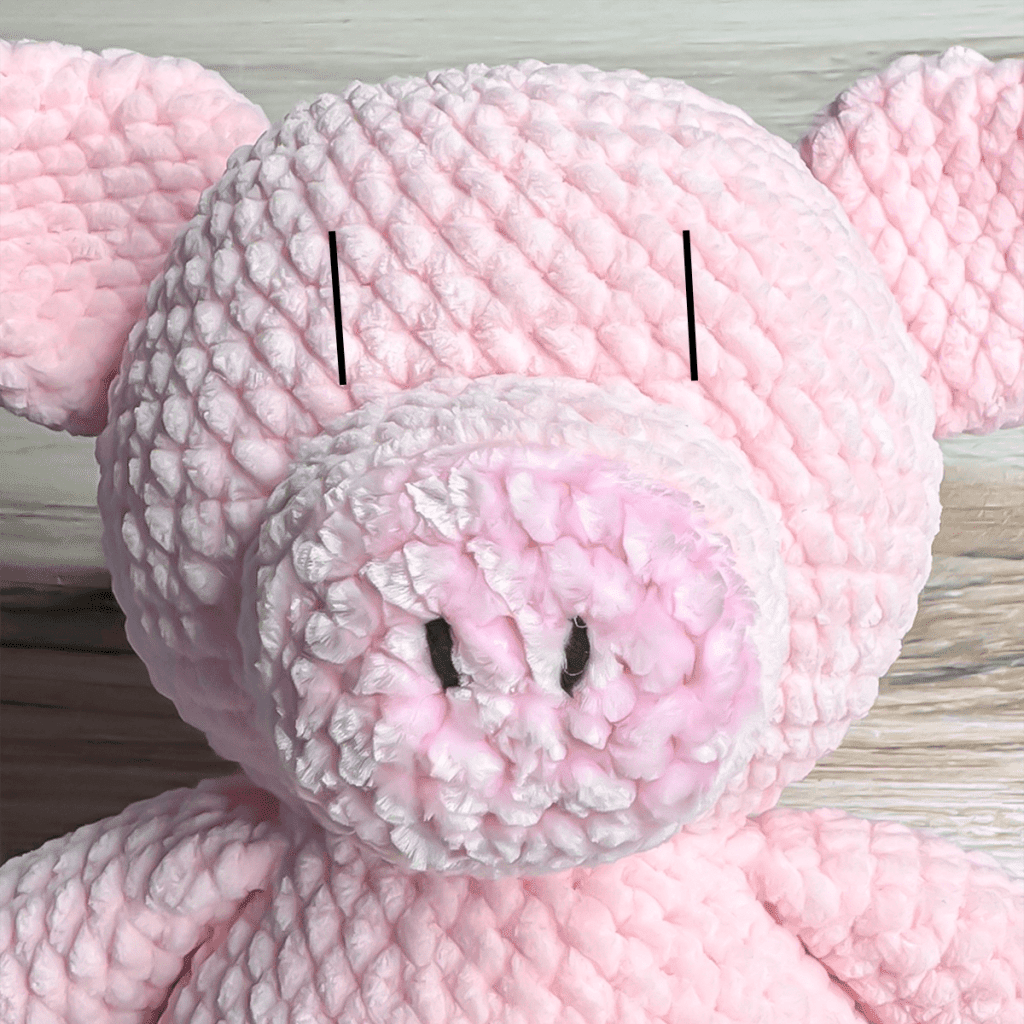
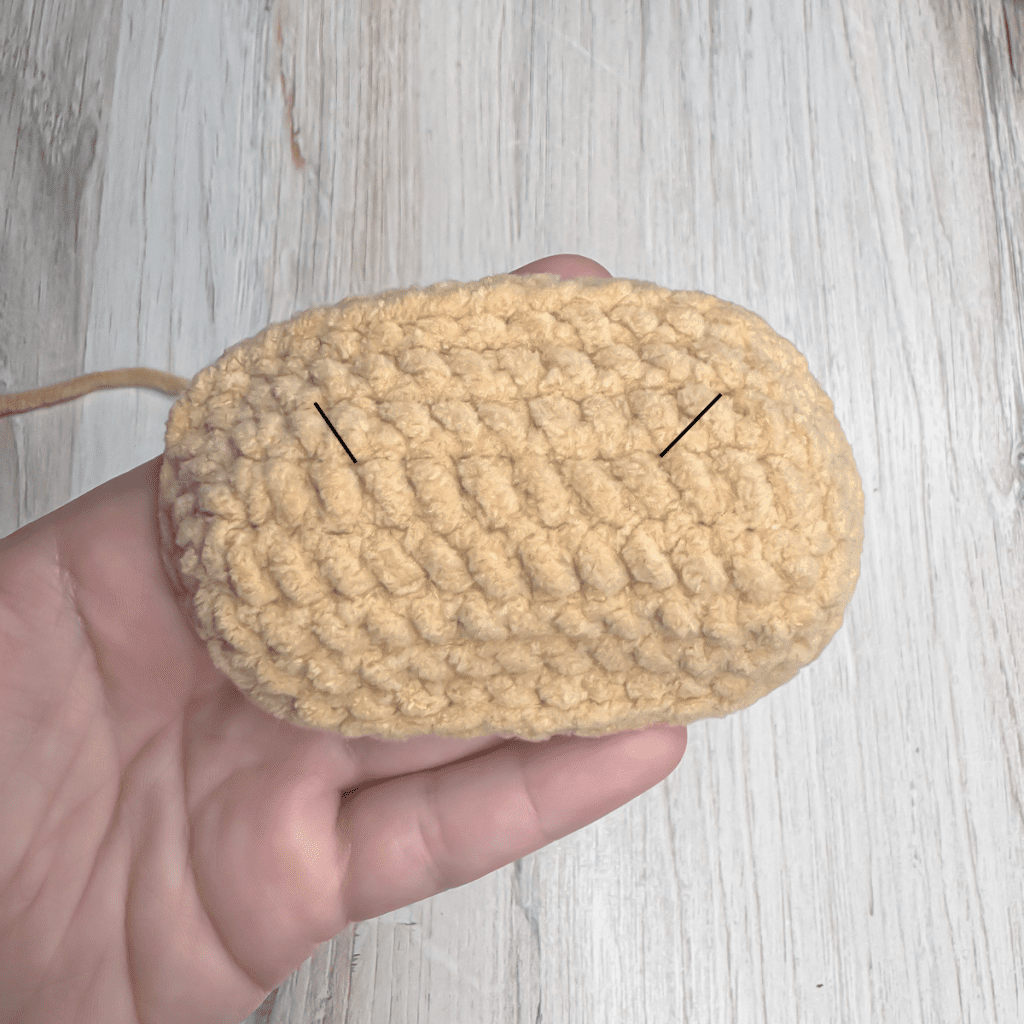
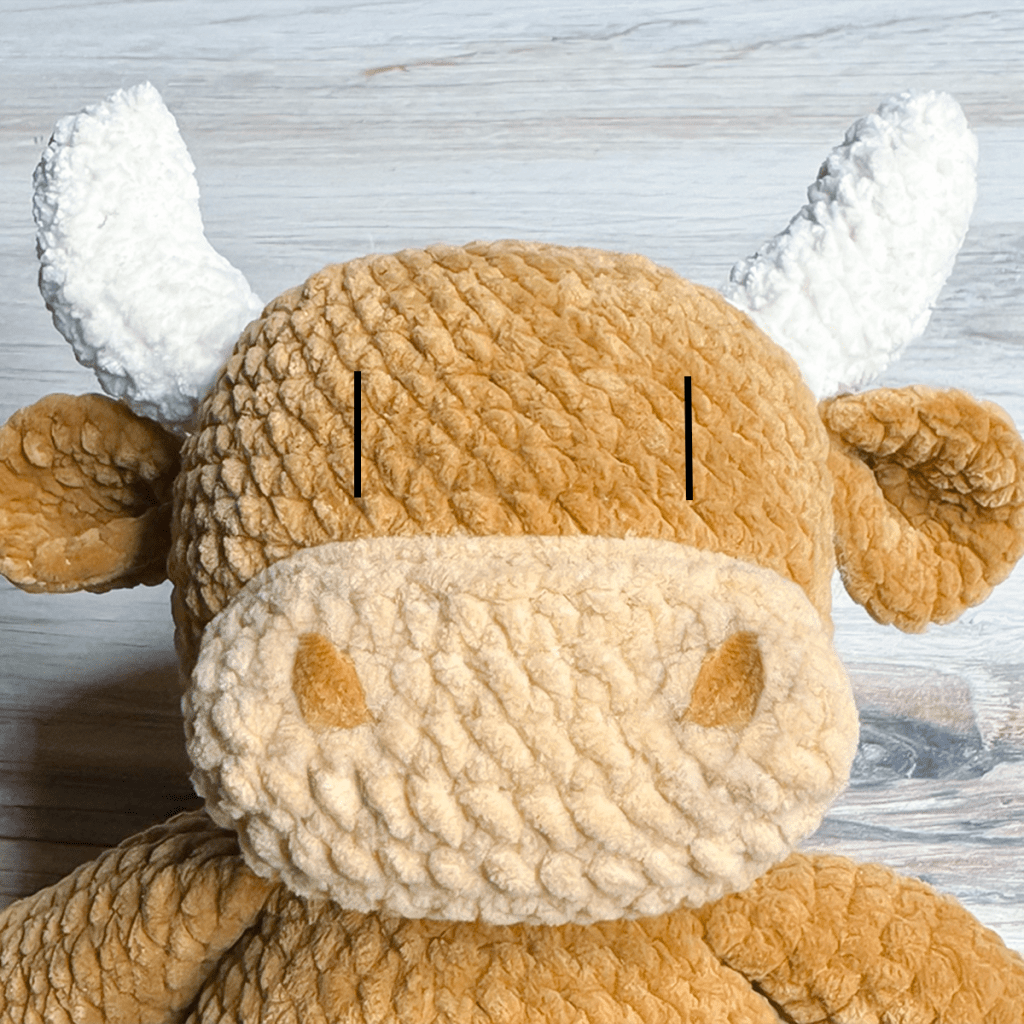
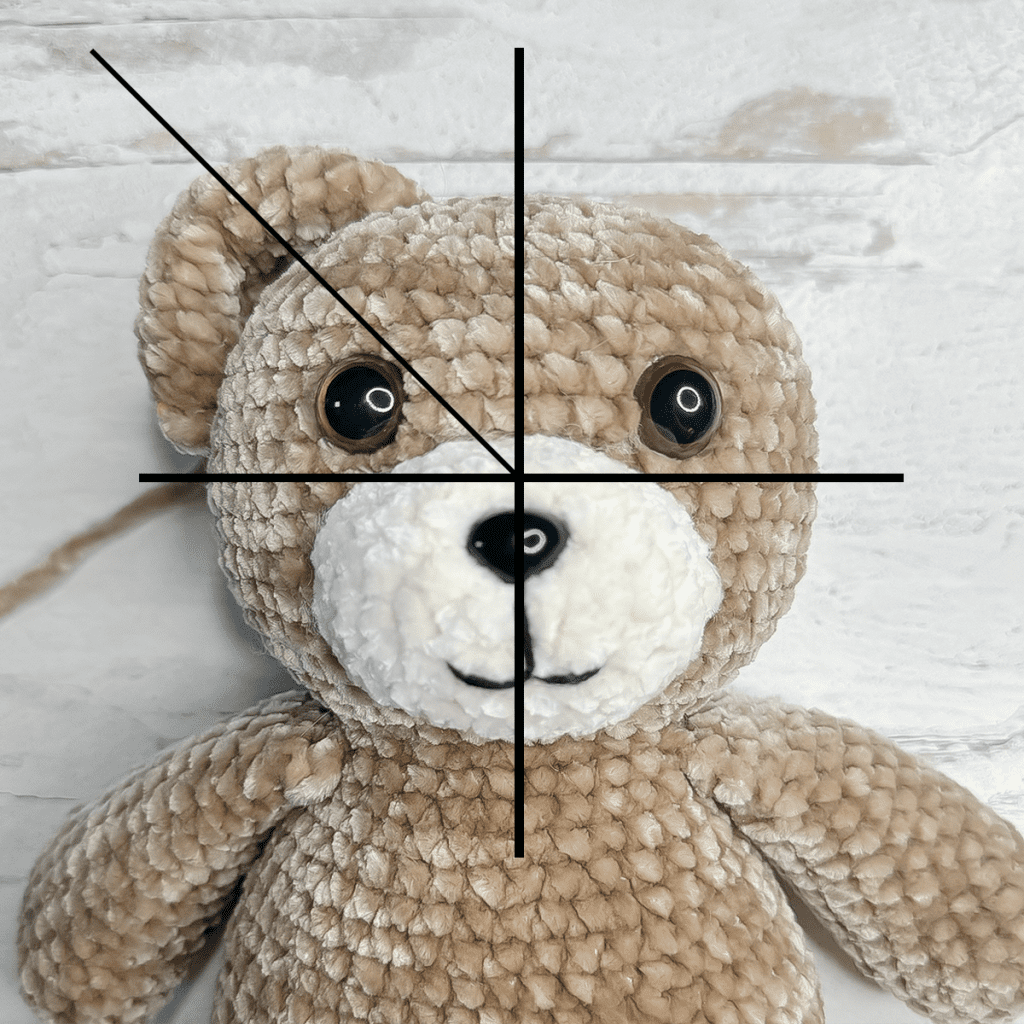
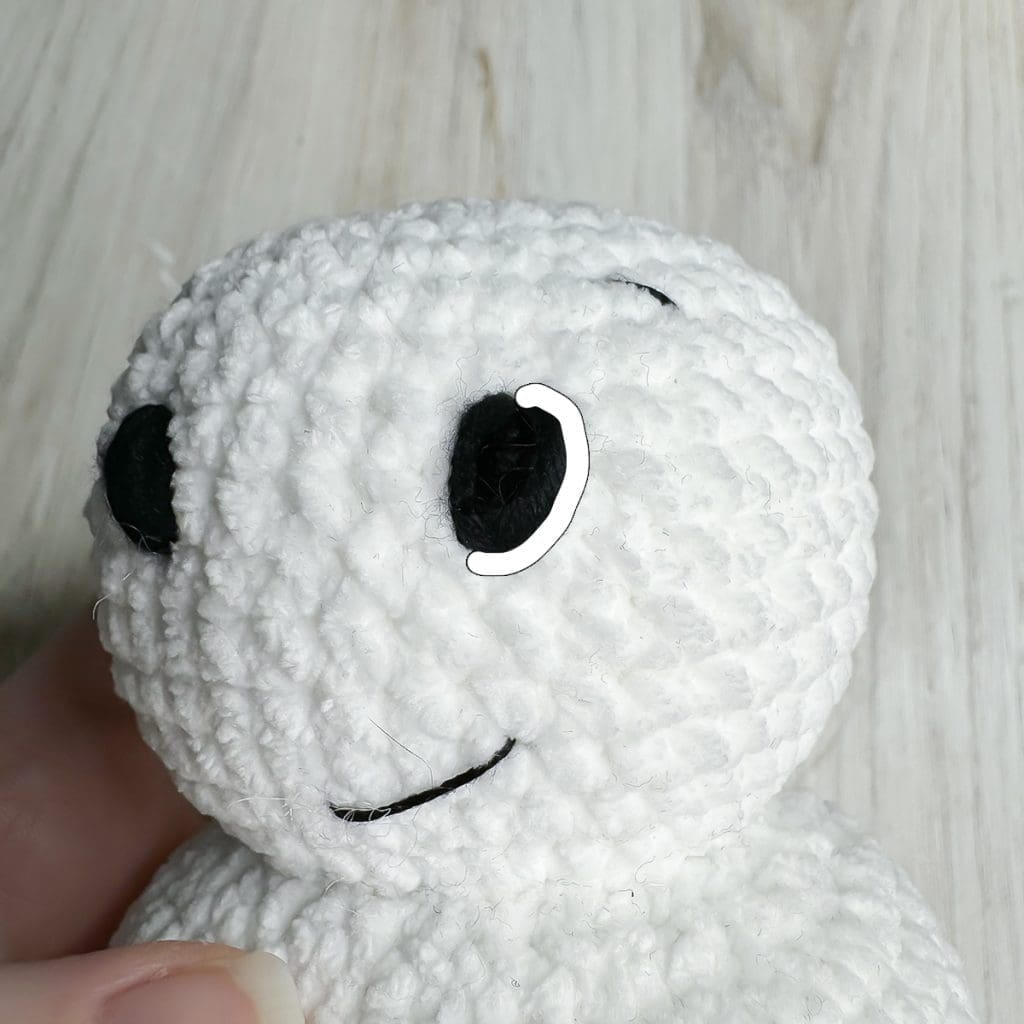
Use a strand of yarn or thread to draw a temporary line down the center of your snowman’s head. (Line it up with the buttons below.)
NOTE: For purposes of this tutorial, “right” and “left” are from your perspective when facing the snowman.
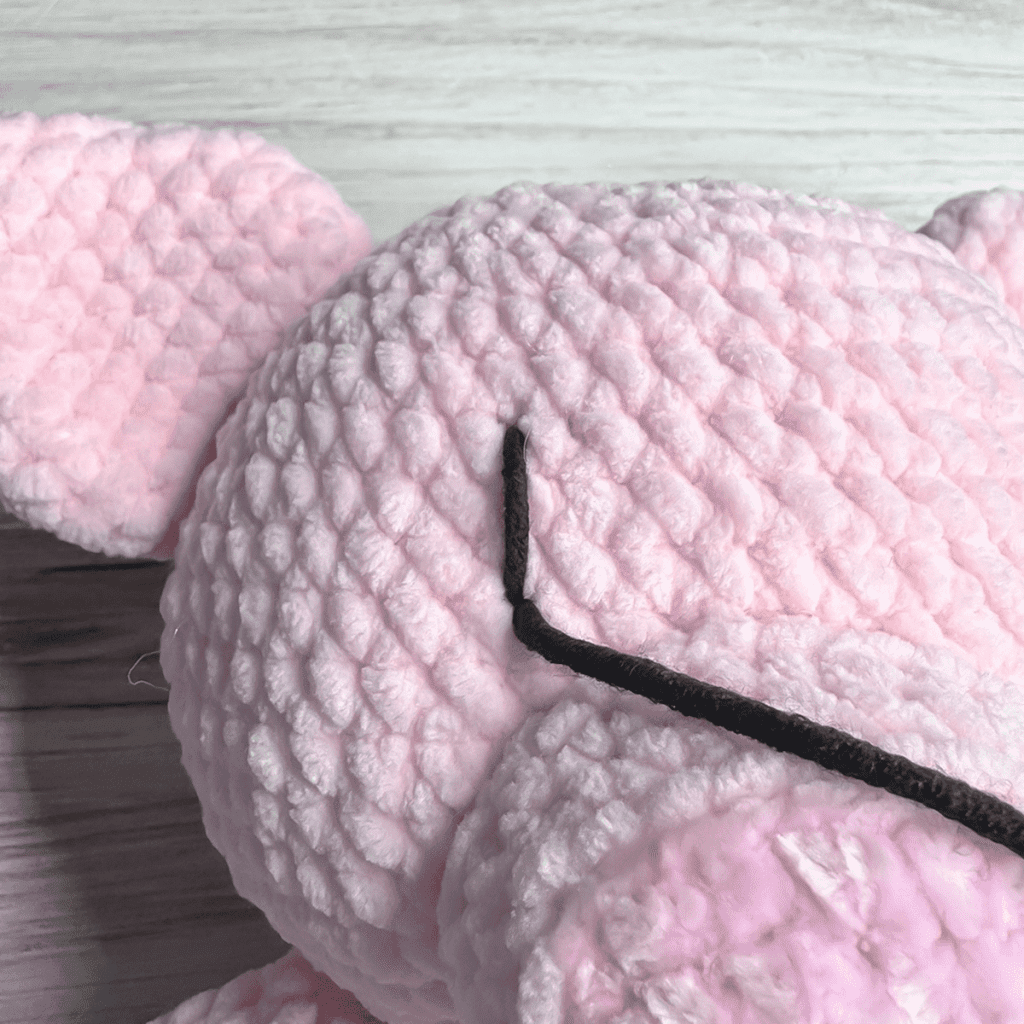
WITH BLACK YARN:
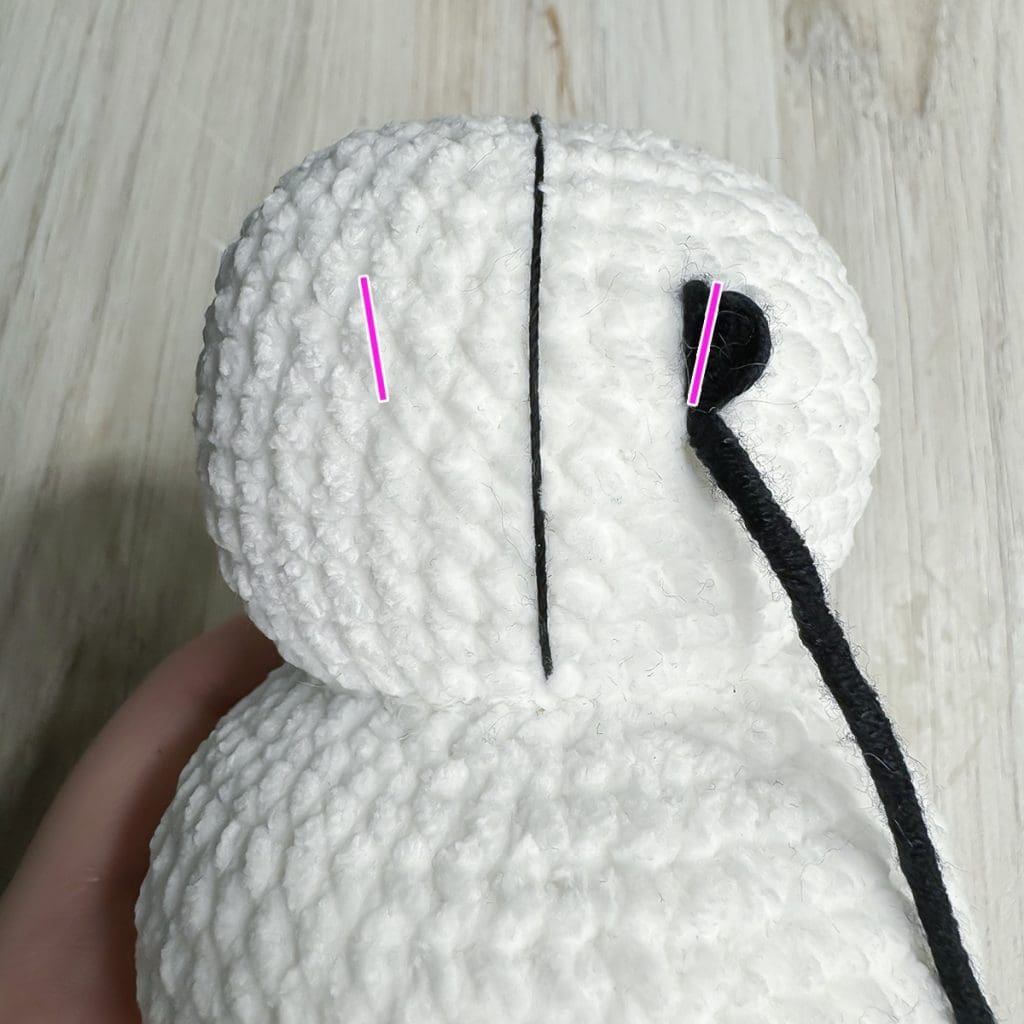
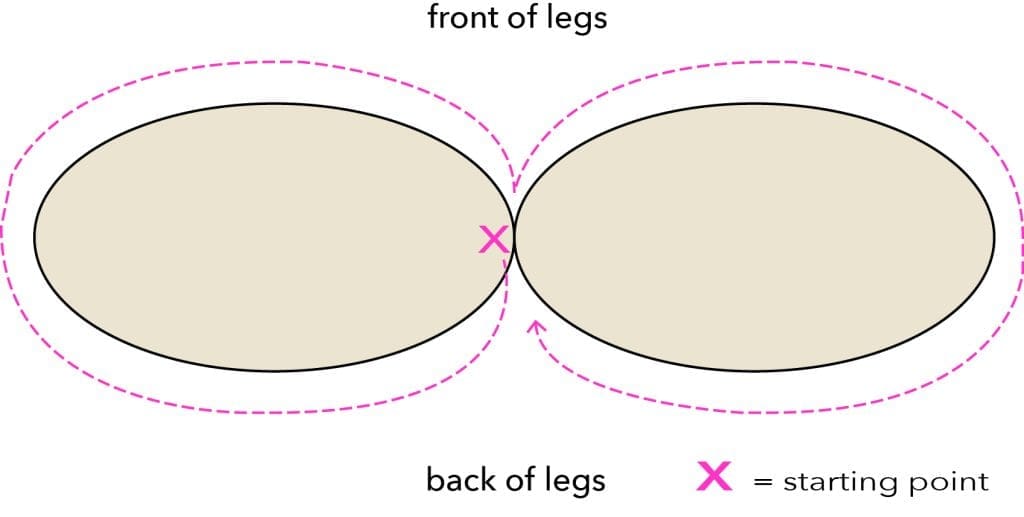
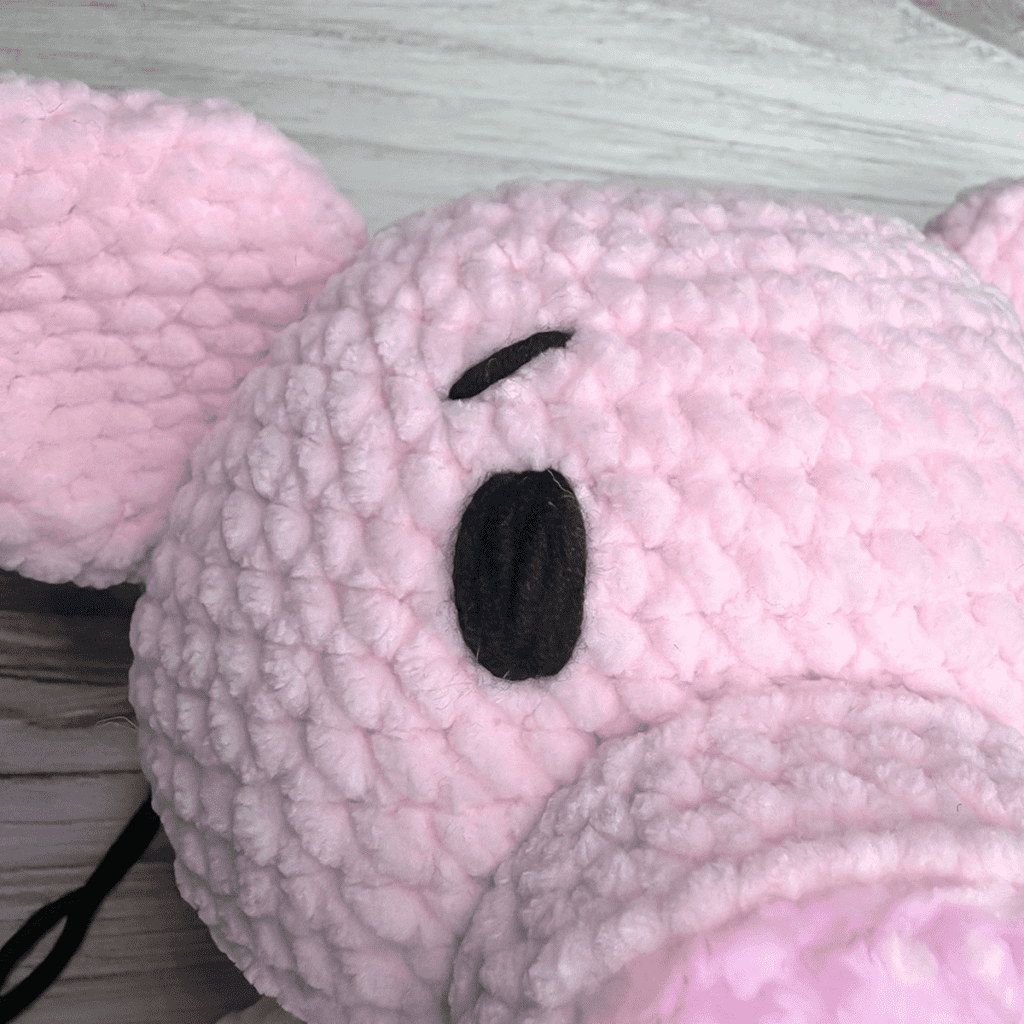
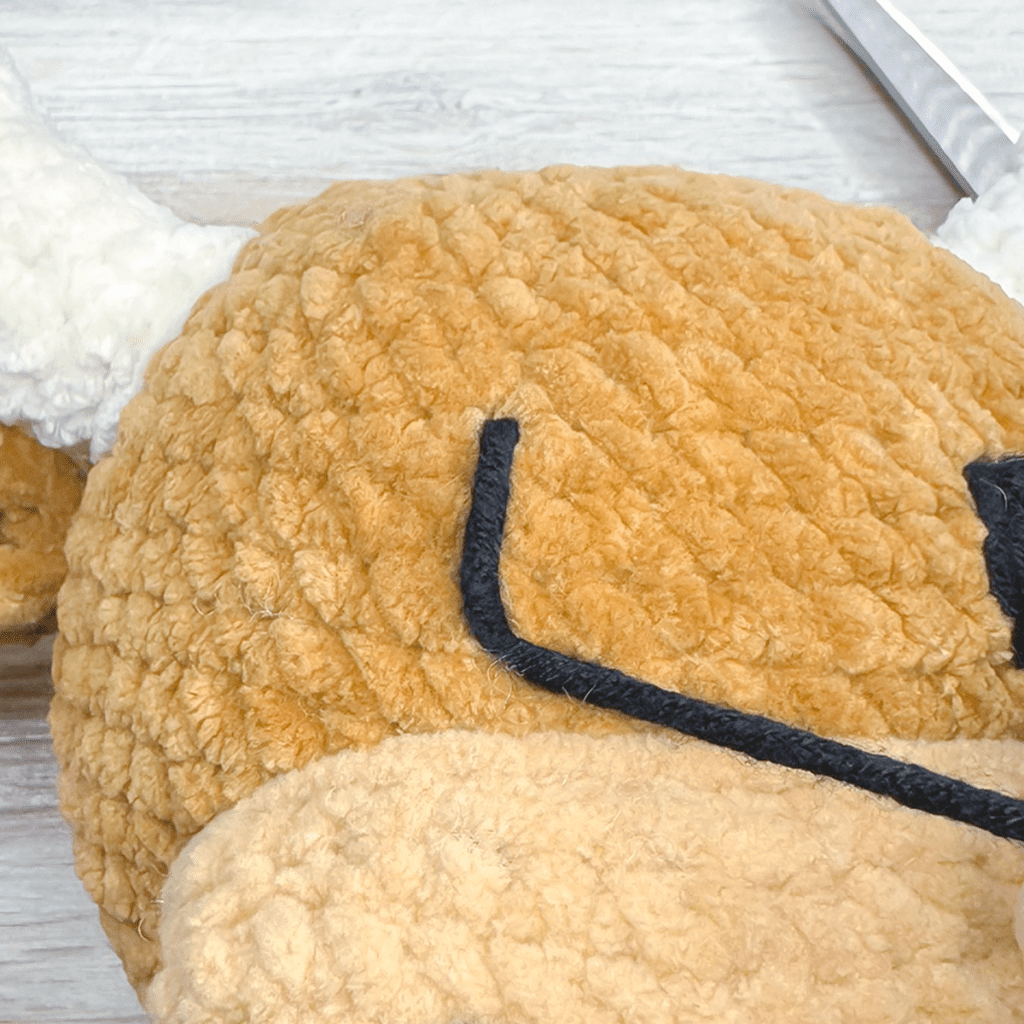
Locate a starting point for the right eye about 2.5-3 stitches to the right of the temporary line, and between the 7th and 8th round counting up from the neck crease.
Coming from the back of the head, draw a line for the right eye that begins there and extends up two rounds and just slightly to the right. Repeat the same line several times until you are happy with the shape and thickness of the eye.
Start the left eye the same distance from the center line as you made the right eye. Draw a line that extends up two rounds and just slightly to the left. Repeat the same line several times until you are happy with the shape and thickness of the eye.
When finished with both eyes, exit out the same stitch on the back of the head where you started. Tie a knot and hide inside head.
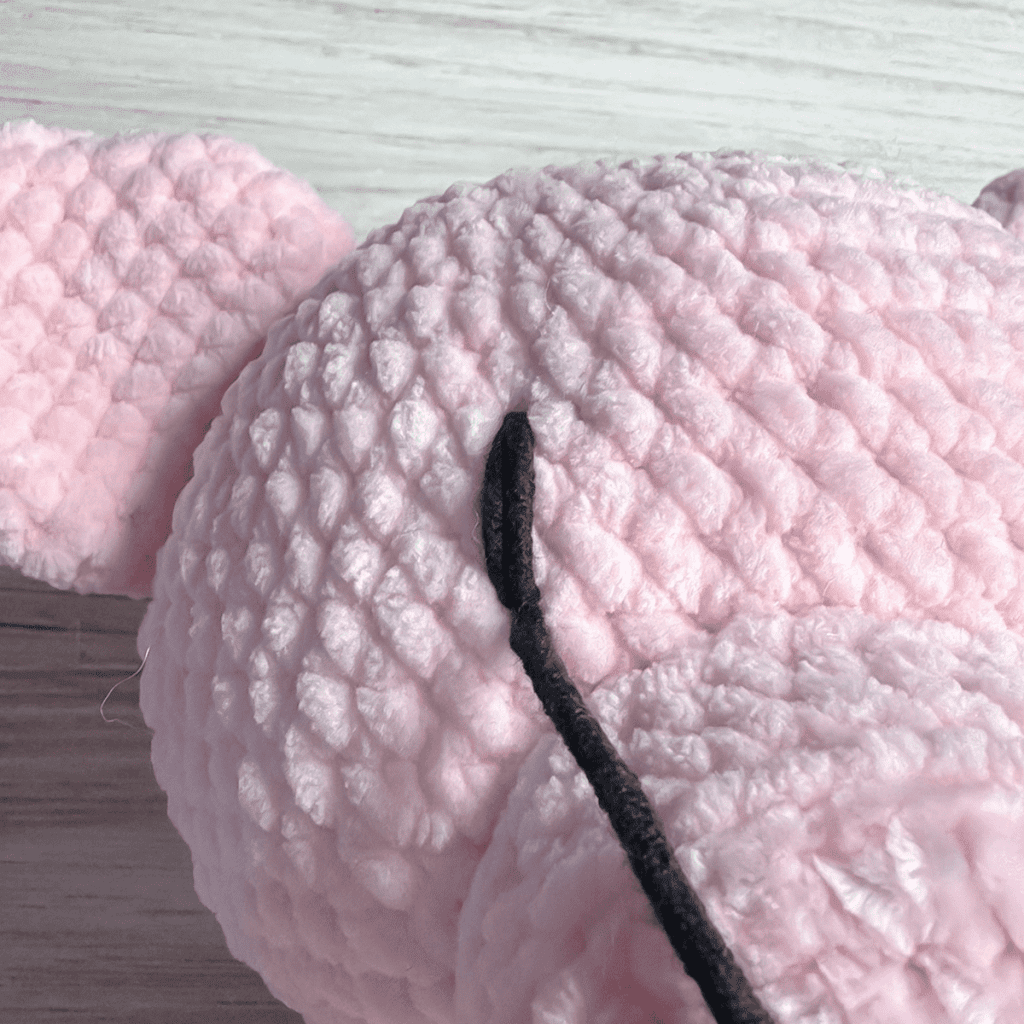
WITH BLACK CROCHET THREAD:
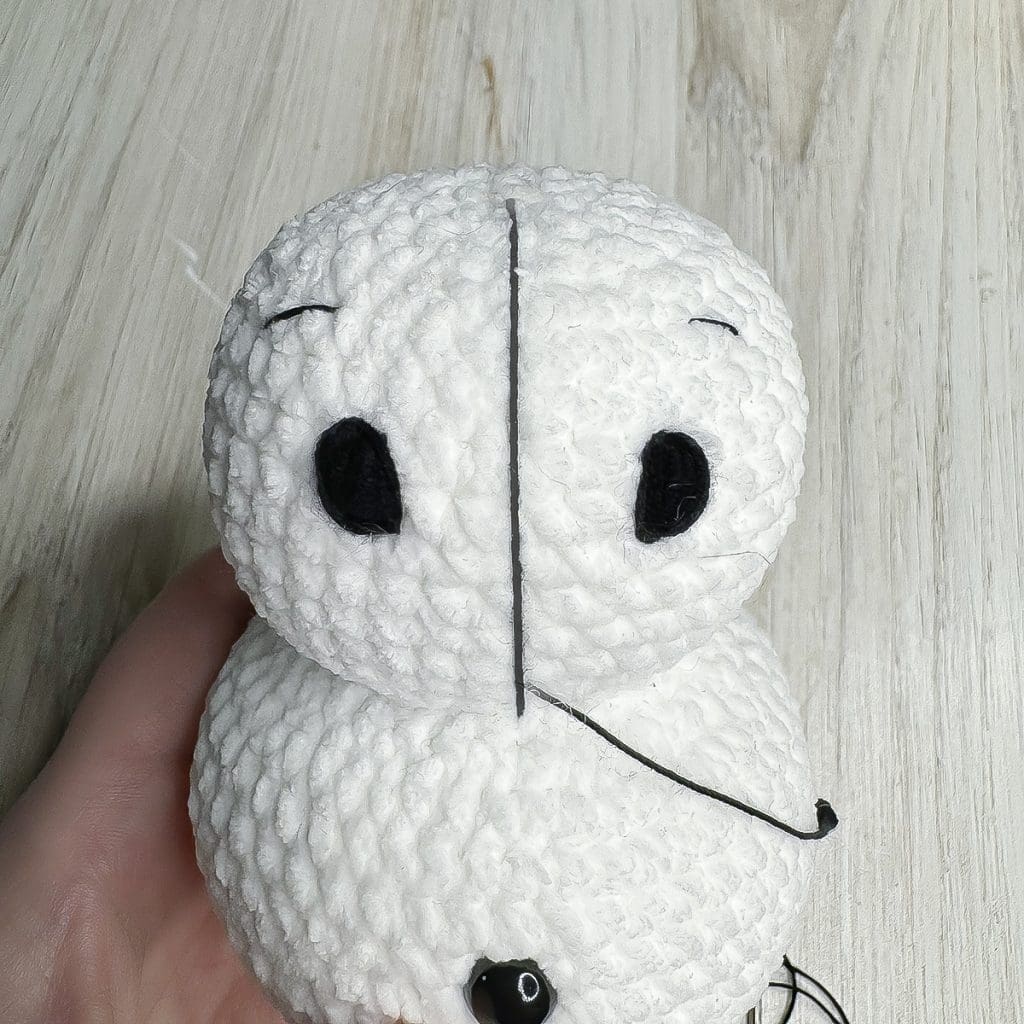
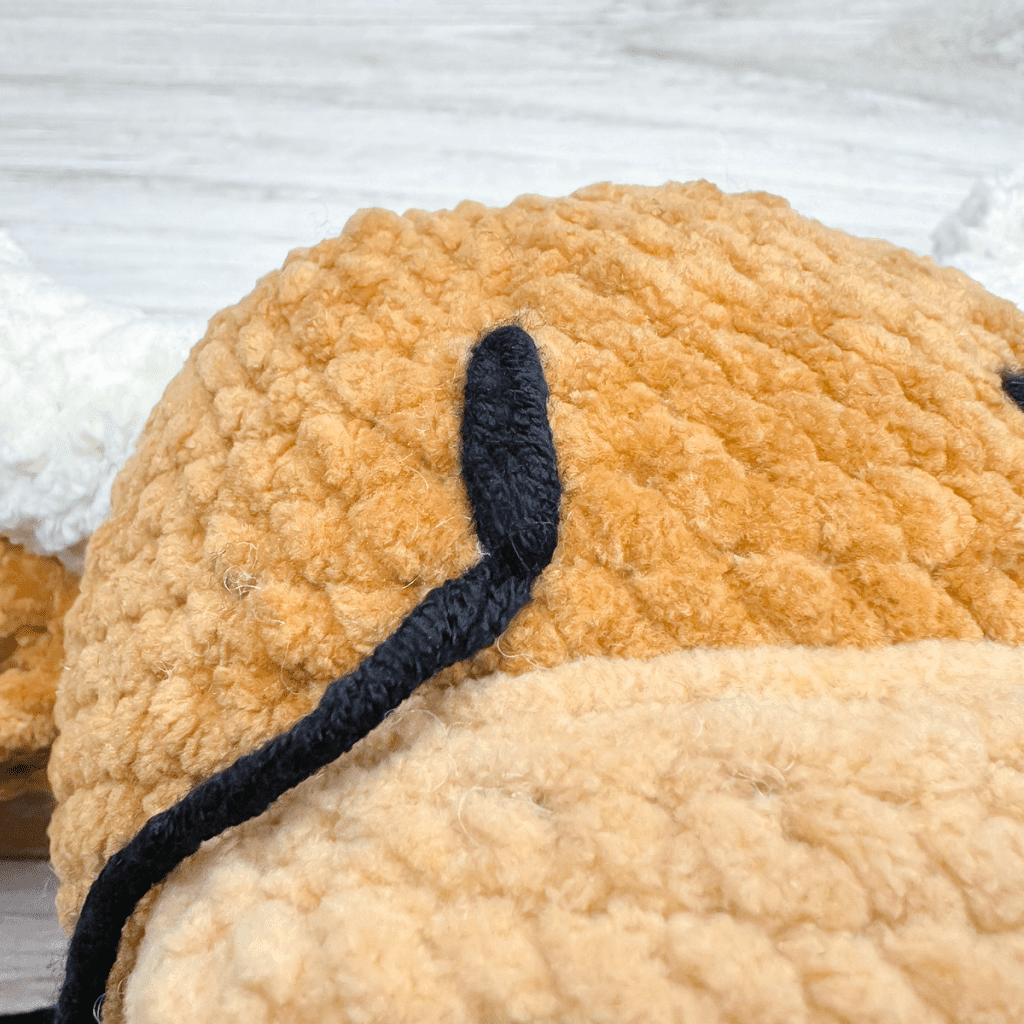
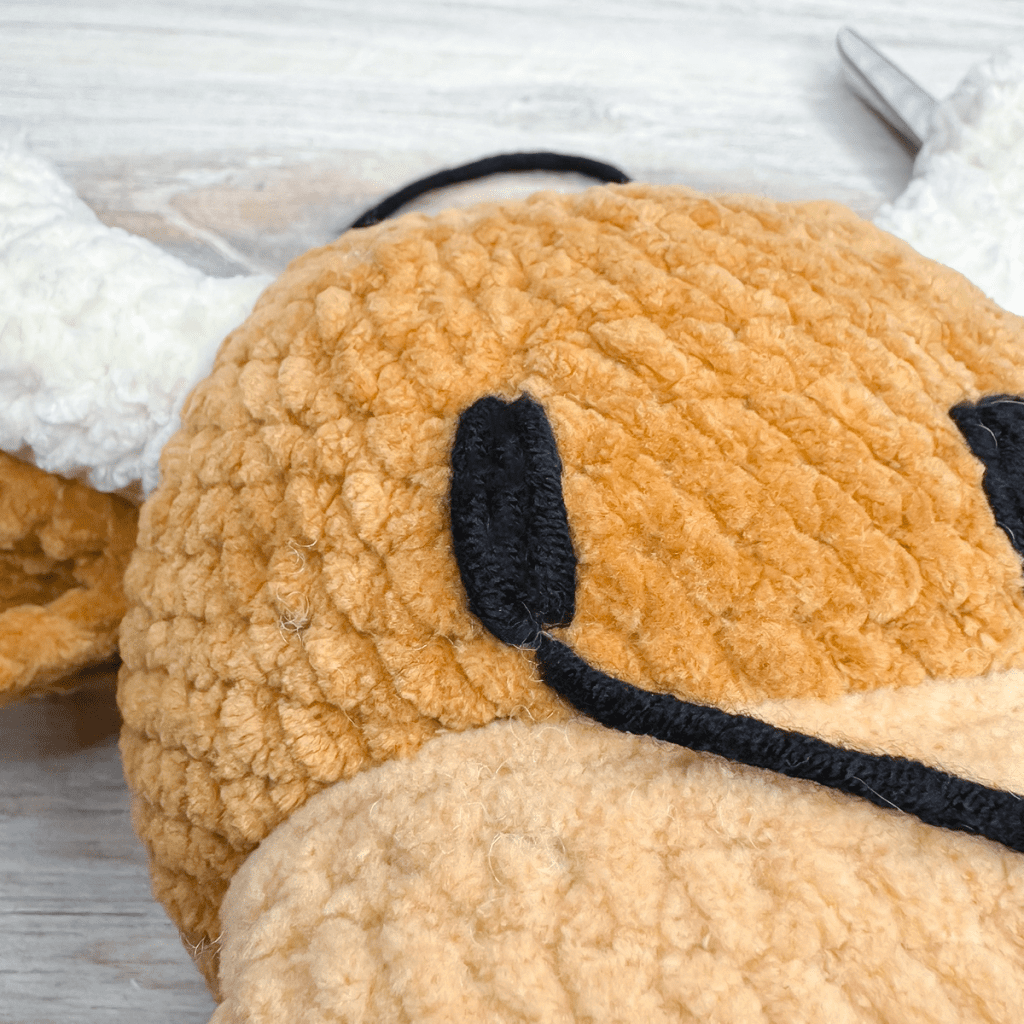
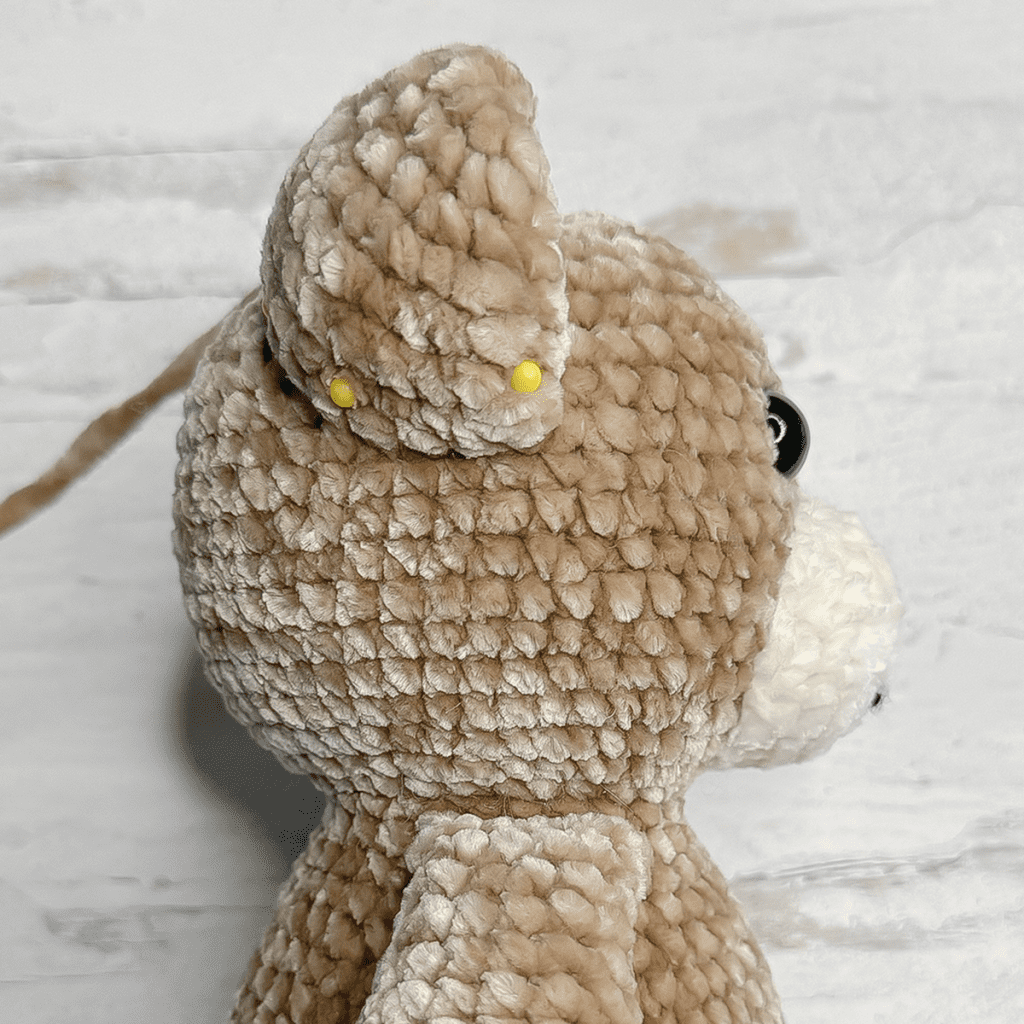
Locate a starting point for the right eyebrow, two rounds up and one stitch to the right of the top of the right eye. Coming from the back of the head, draw a line one stitch to the right and one round down.
Repeat for the left eyebrow, starting two rounds up and one stitch to the left of the top of the left eye. Exit 4 rounds down from the bottom of the eyes, in the very center, to prepare for the next step. (You can remove the temporary line now.)
Draw a line for the mouth; I made one that extends 3 stitches to the right and one round up.
When finished with both eyes, exit out the same stitch on the back of the head where you started. Tie a knot and hide inside head.
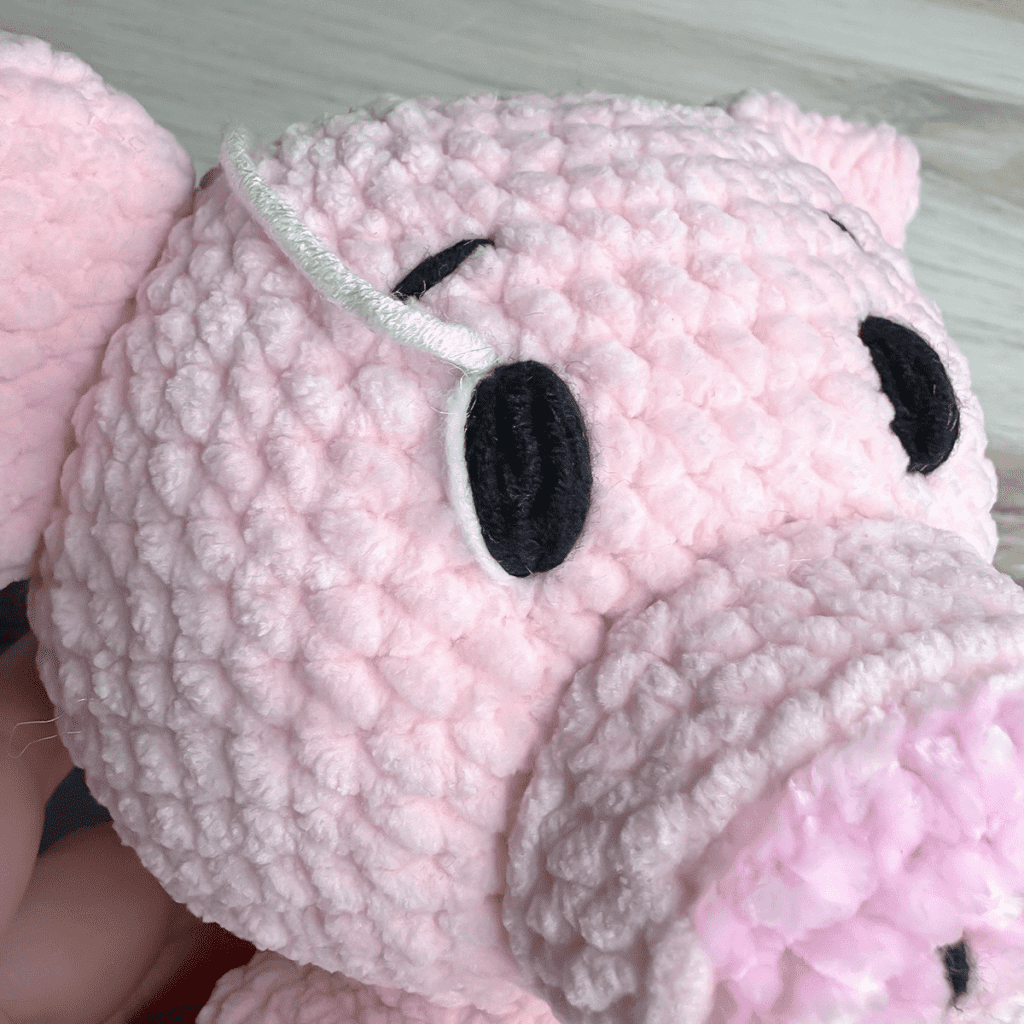
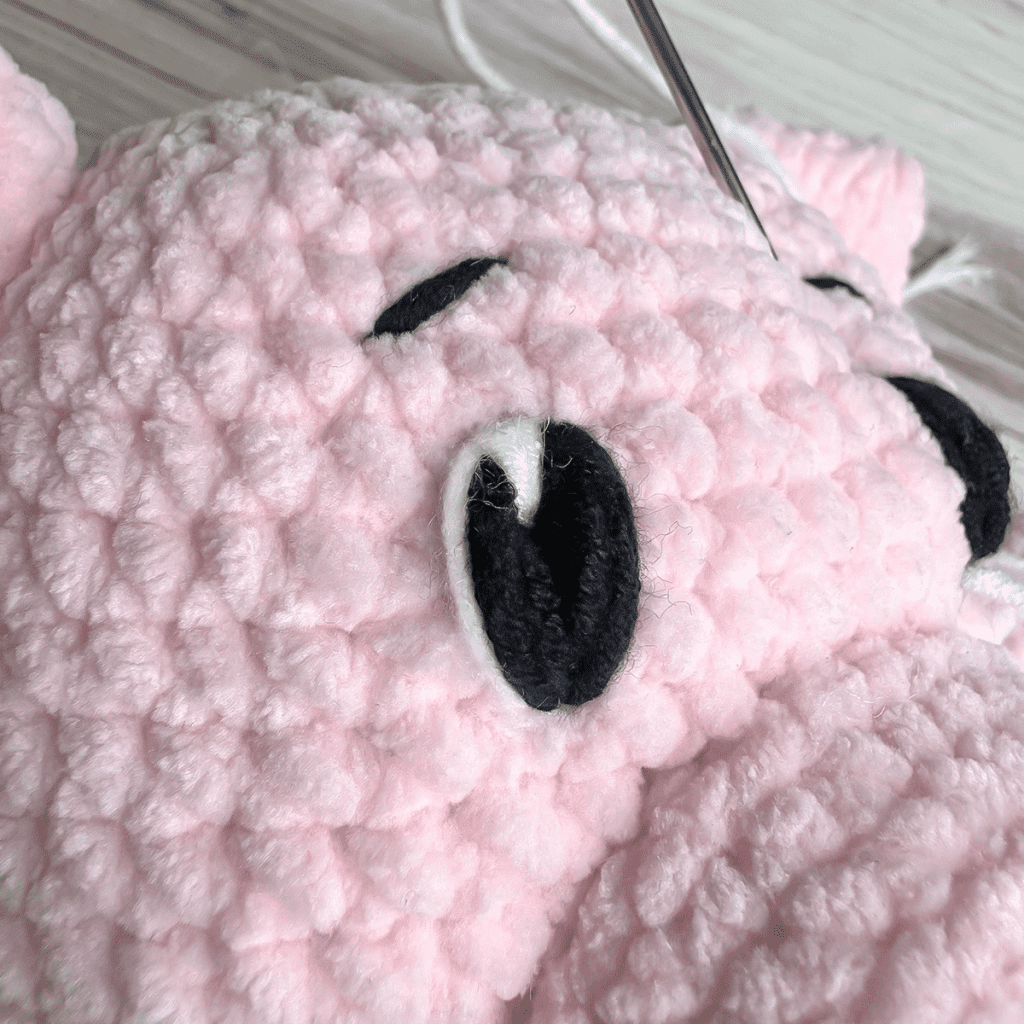
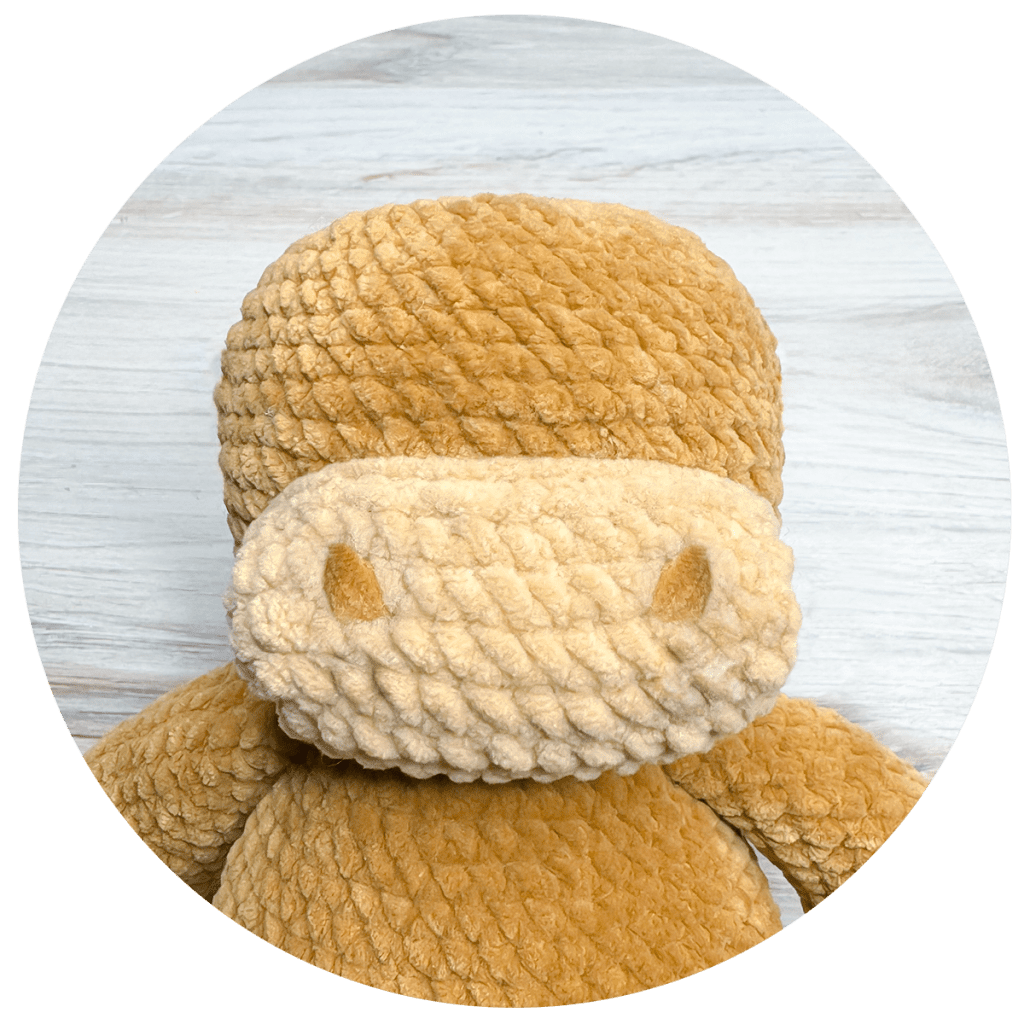
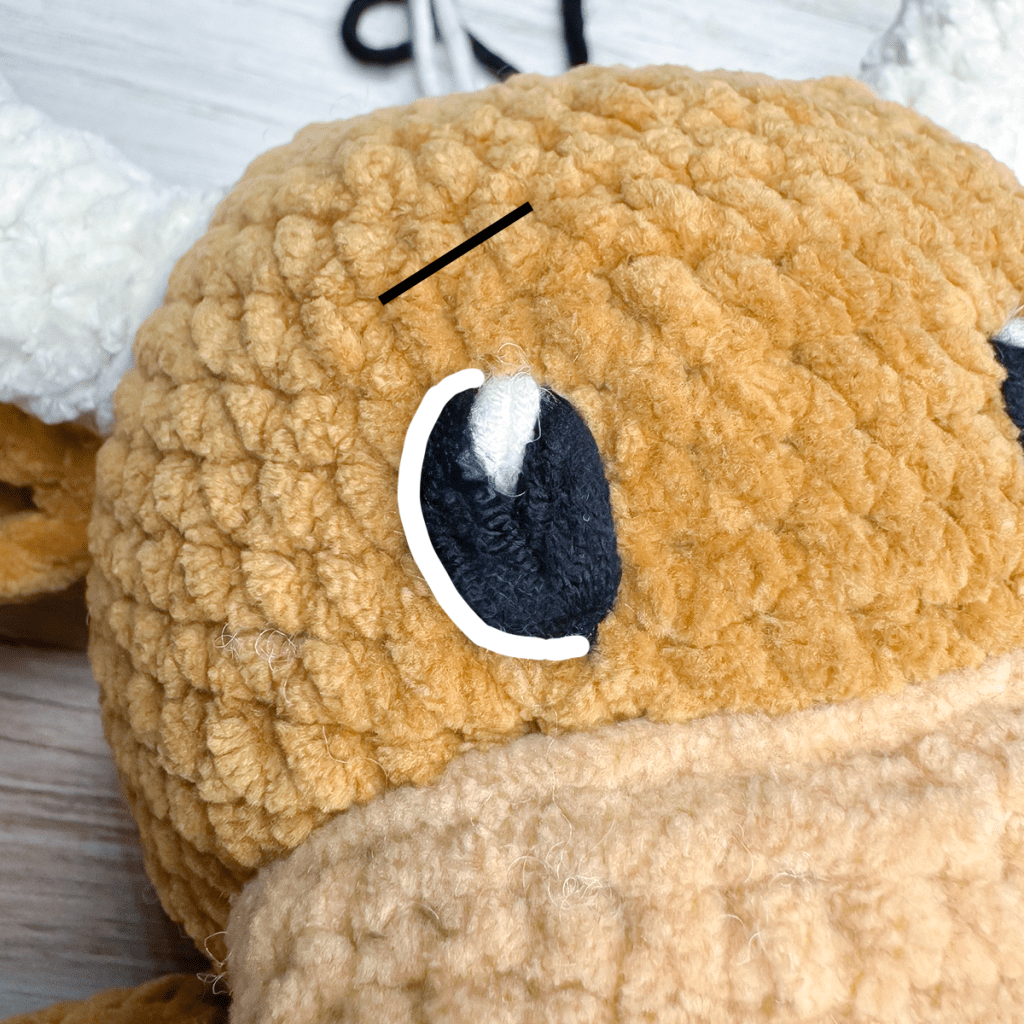
WITH WHITE YARN OR CROCHET THREAD:
Coming from the back of the head, draw a line from the top of the eye to the bottom, and guide it to the outside of the eye. (I used medium weight yarn so I only needed one pass, but you might need to repeat the step several times if you use thread.)
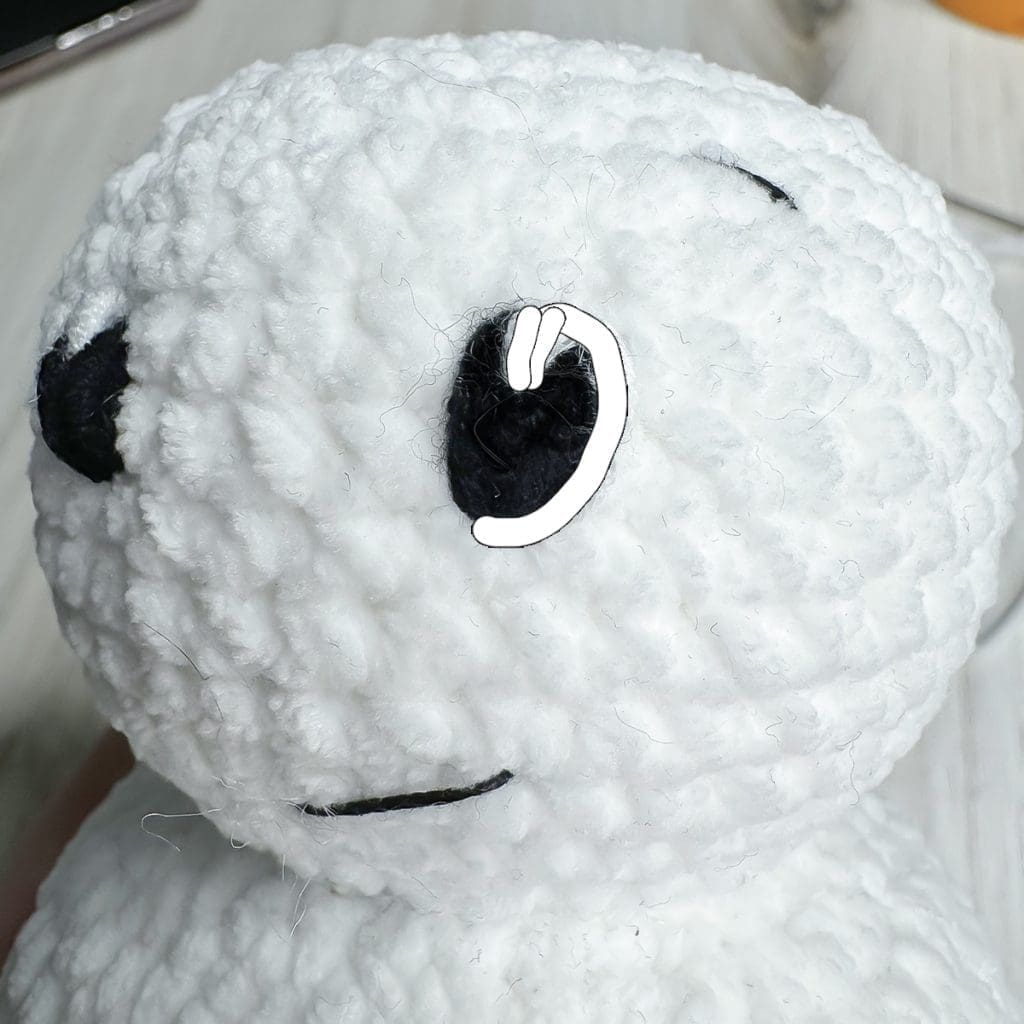
Draw a small line from the top of the eye down one round (half the height of the eye). Repeat as needed for desired thickness. (I used medium weight yarn and repeated once, but you might need to repeat the step several times if you use thread.)
Exit through the same stitch you entered from the back of the head. Tie a knot and hide inside head.
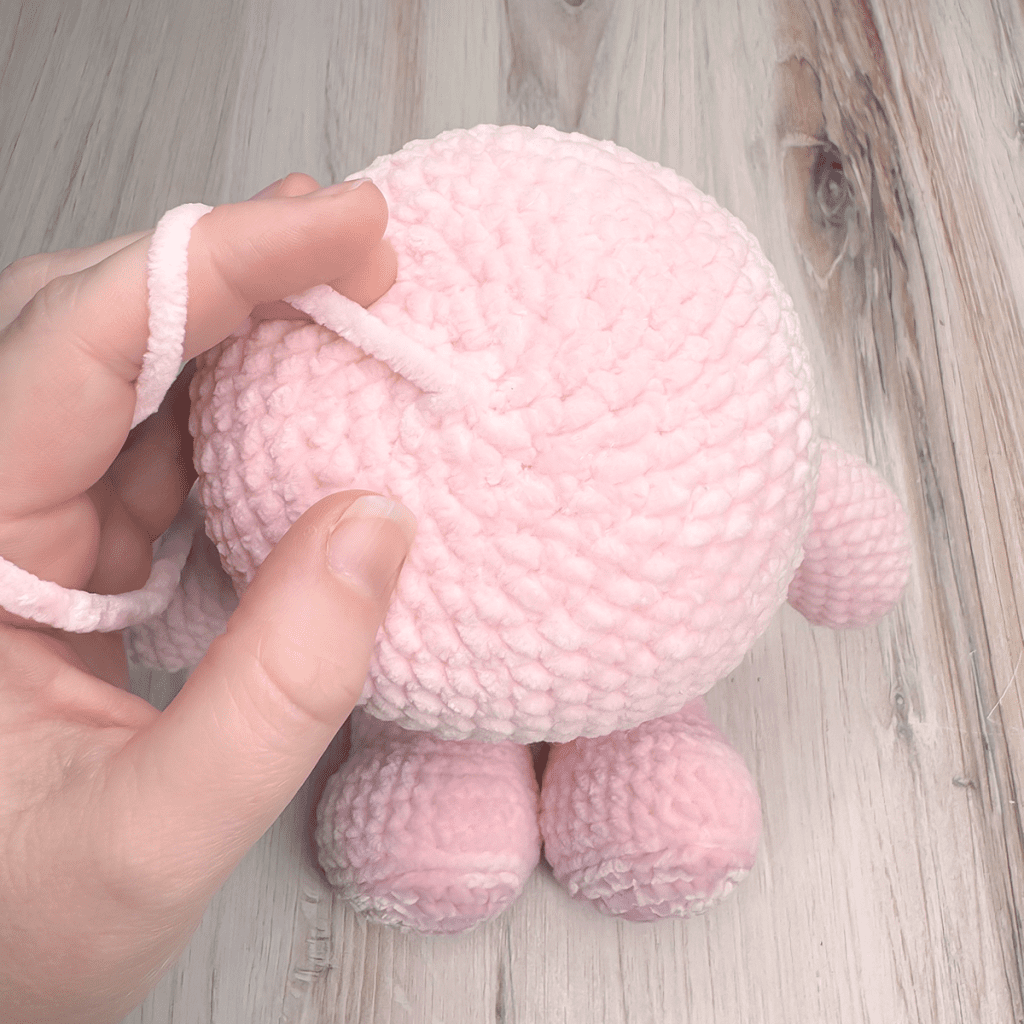
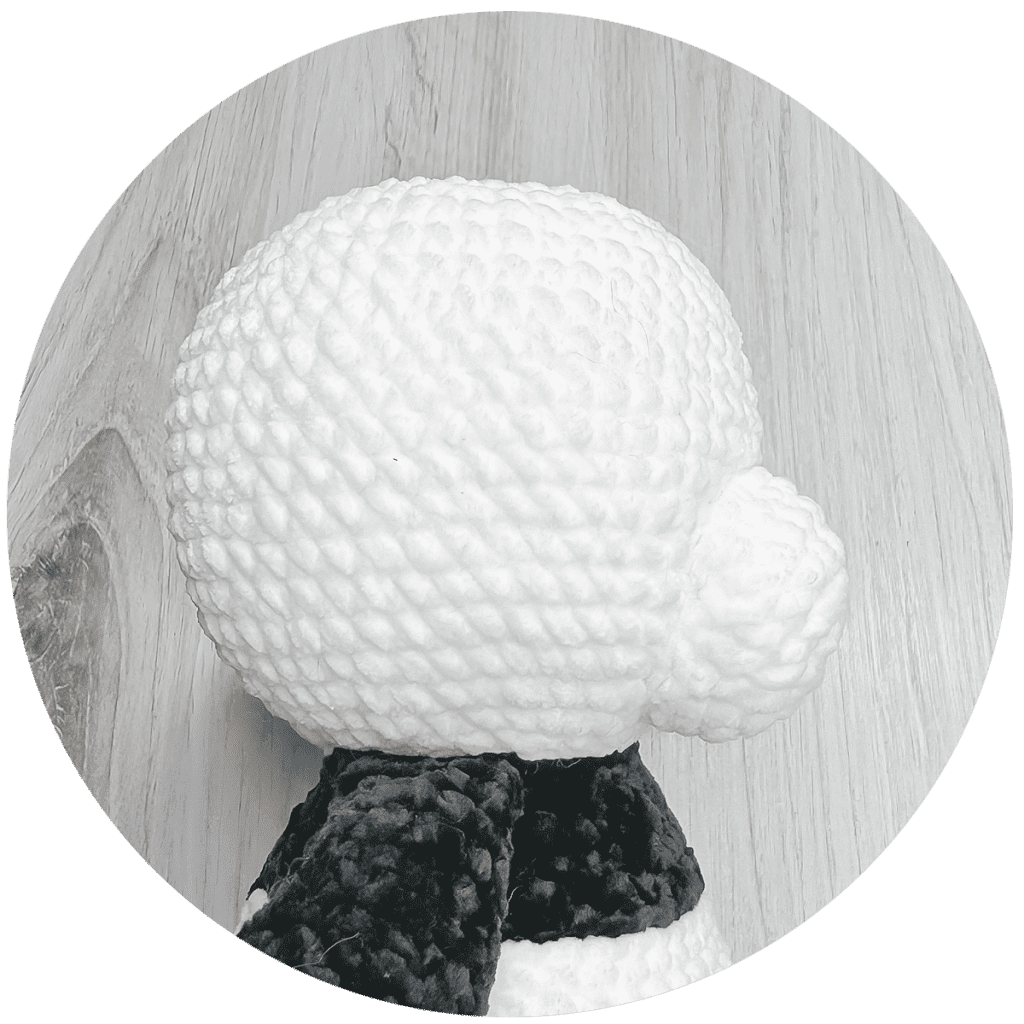
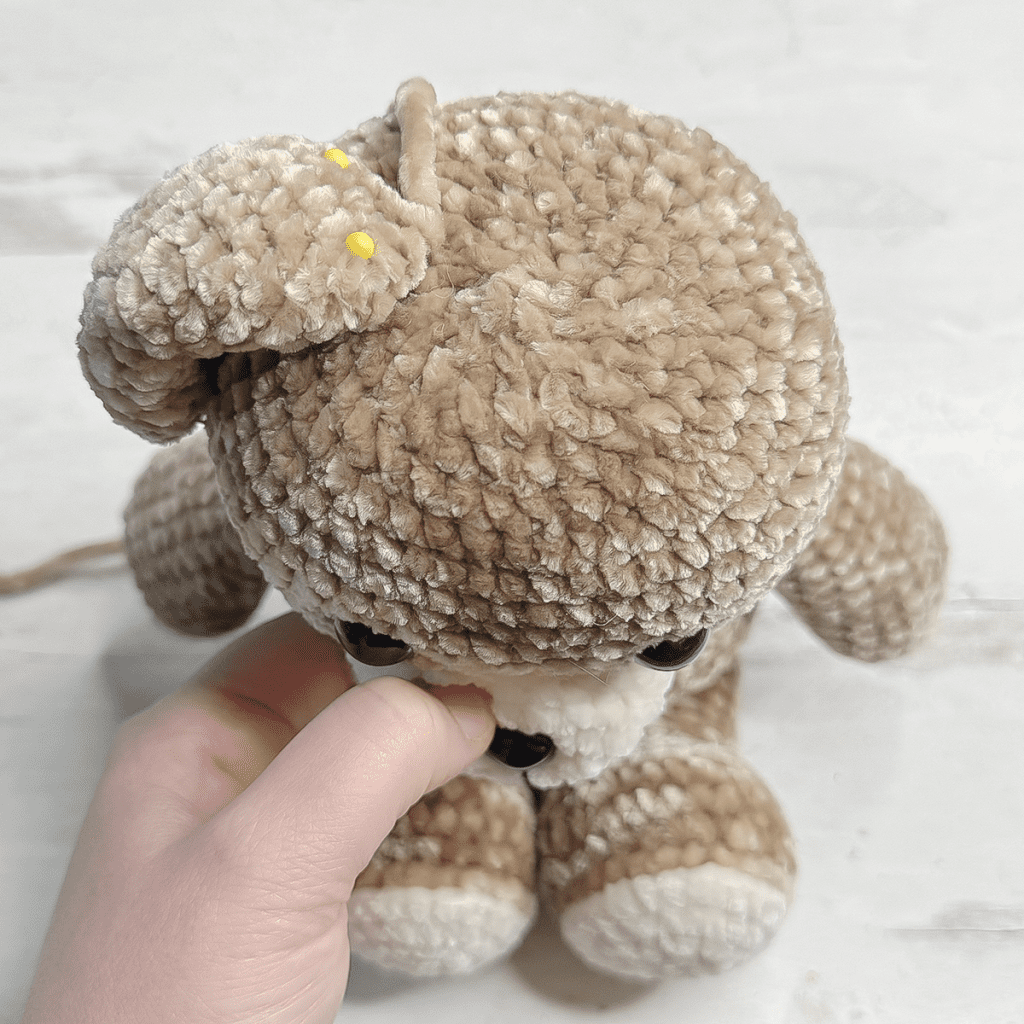
ATTACHING THE NOSE
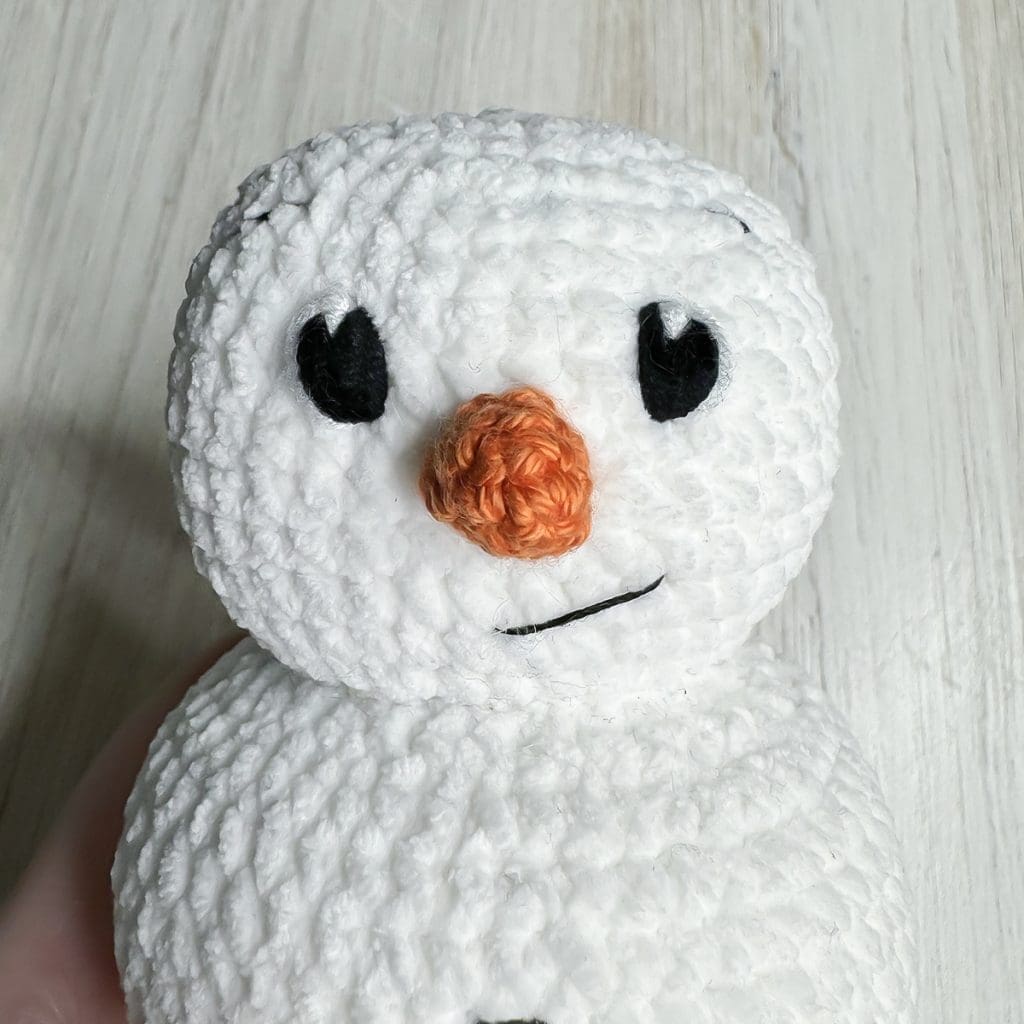
Use finishing tail to sew nose to face, centered between the eyes and the mouth.
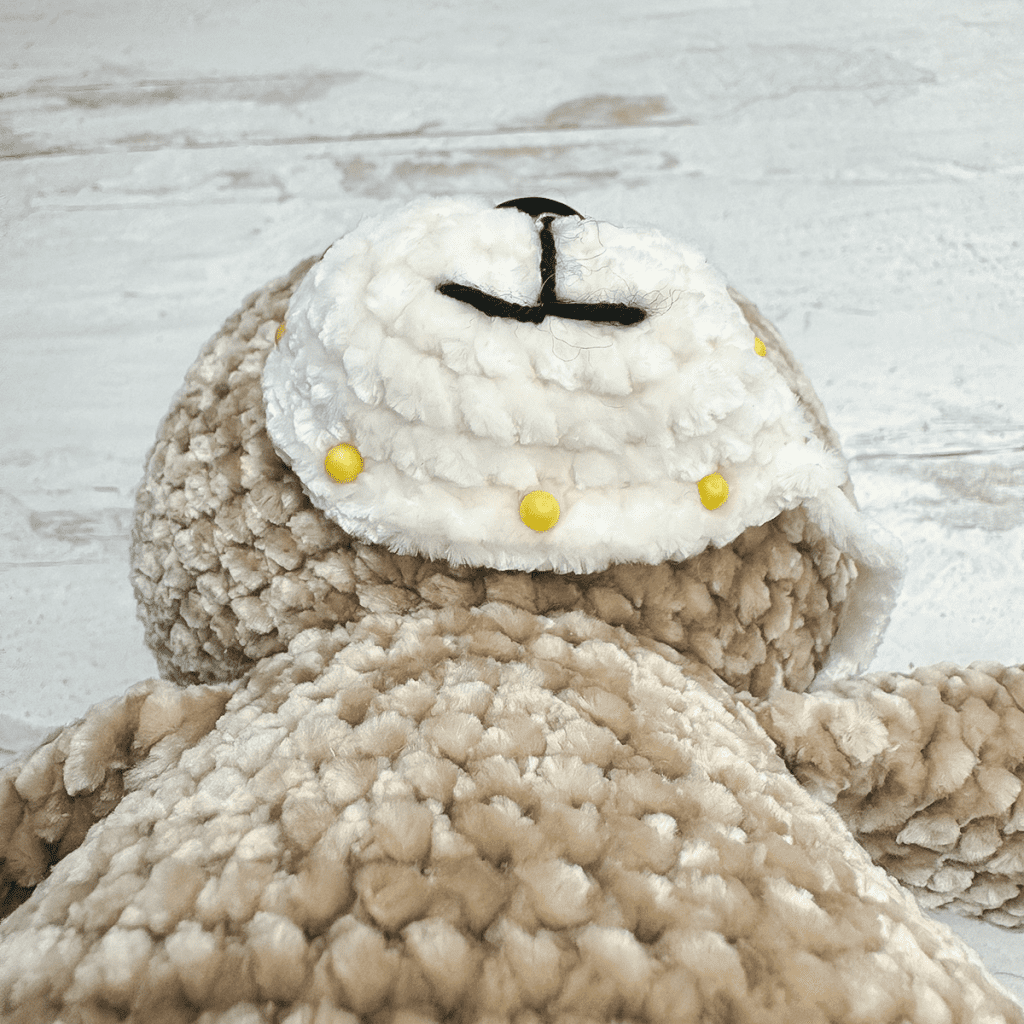
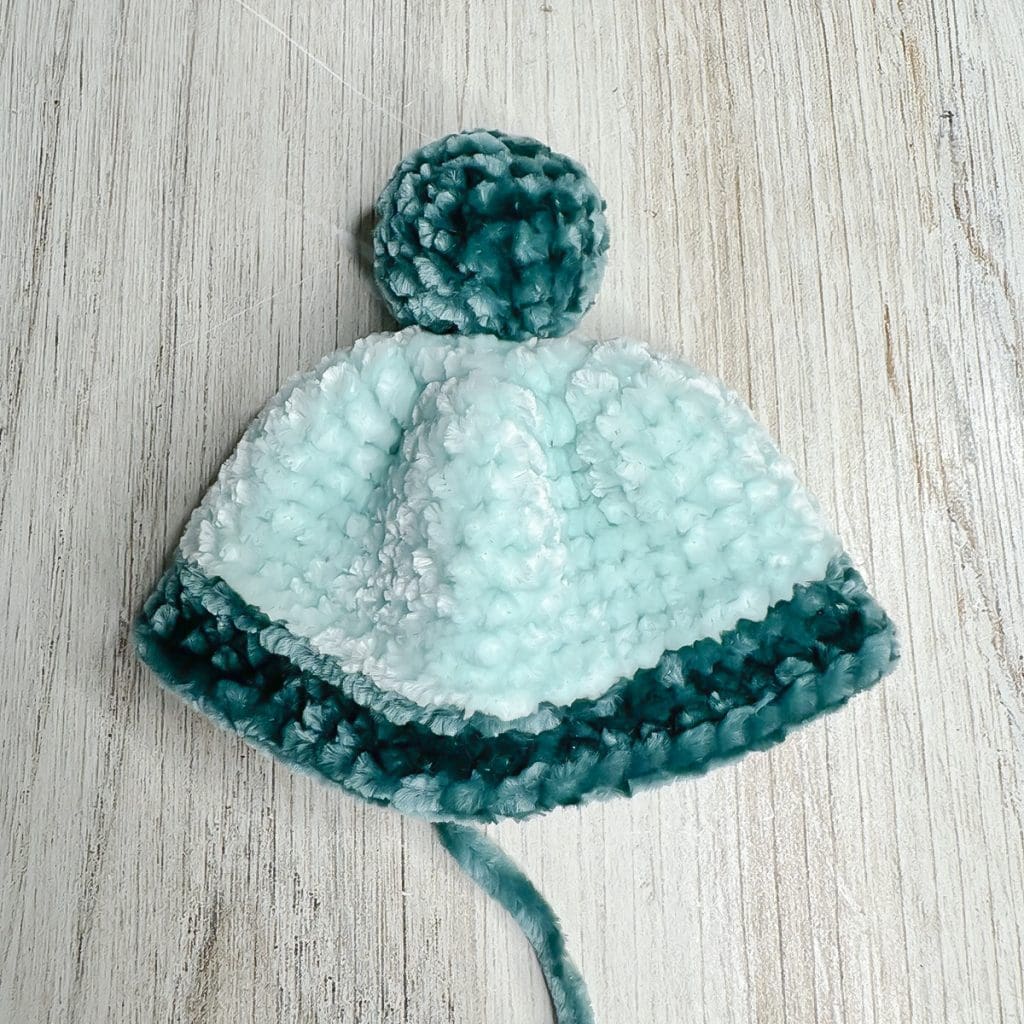
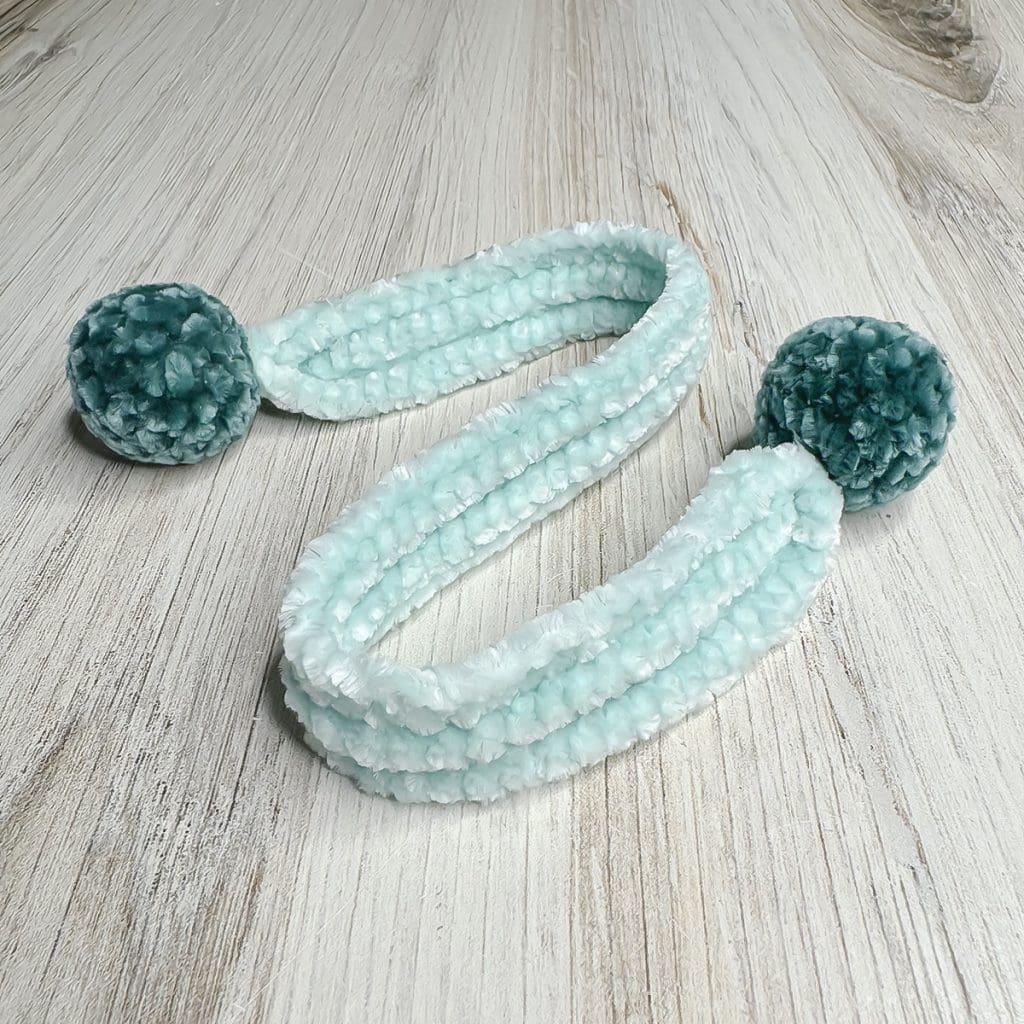
HAT AND SCARF
For these items, you’ll need a main color and a secondary color.
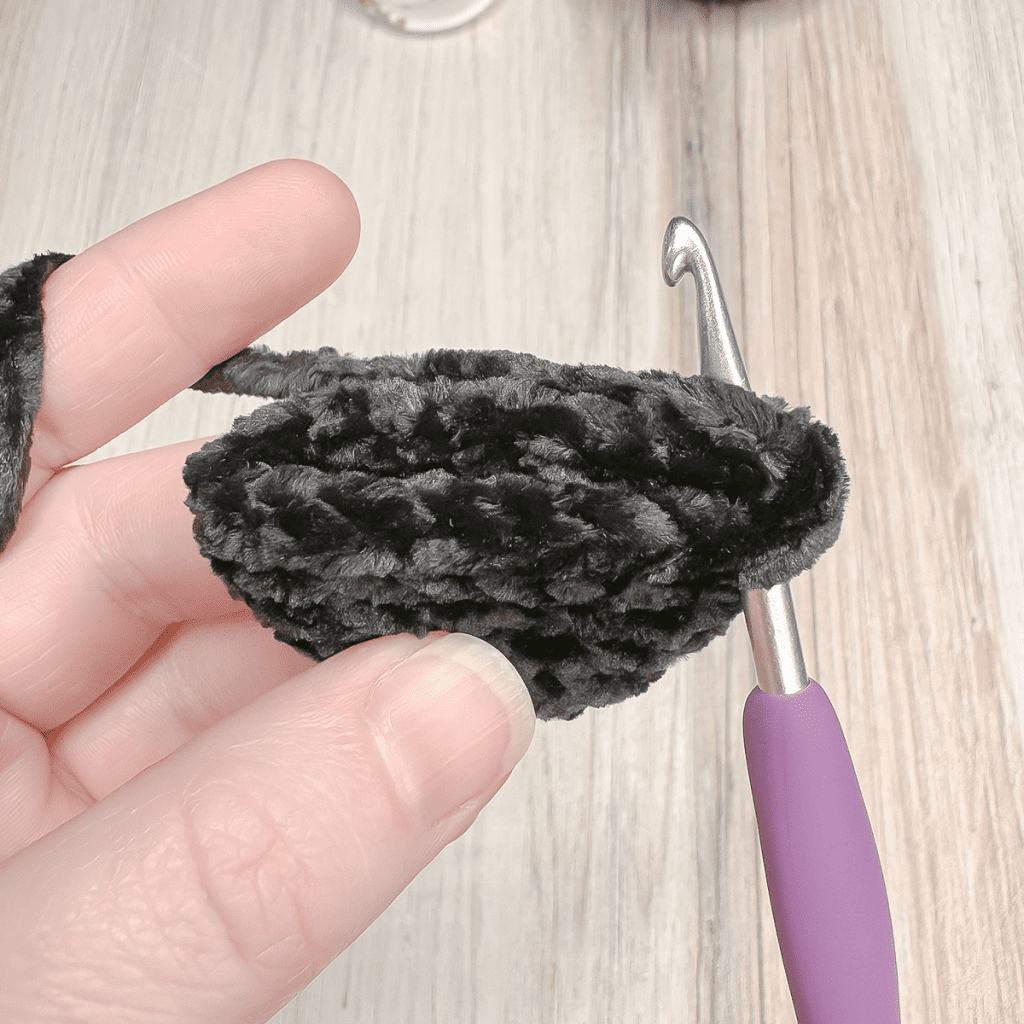
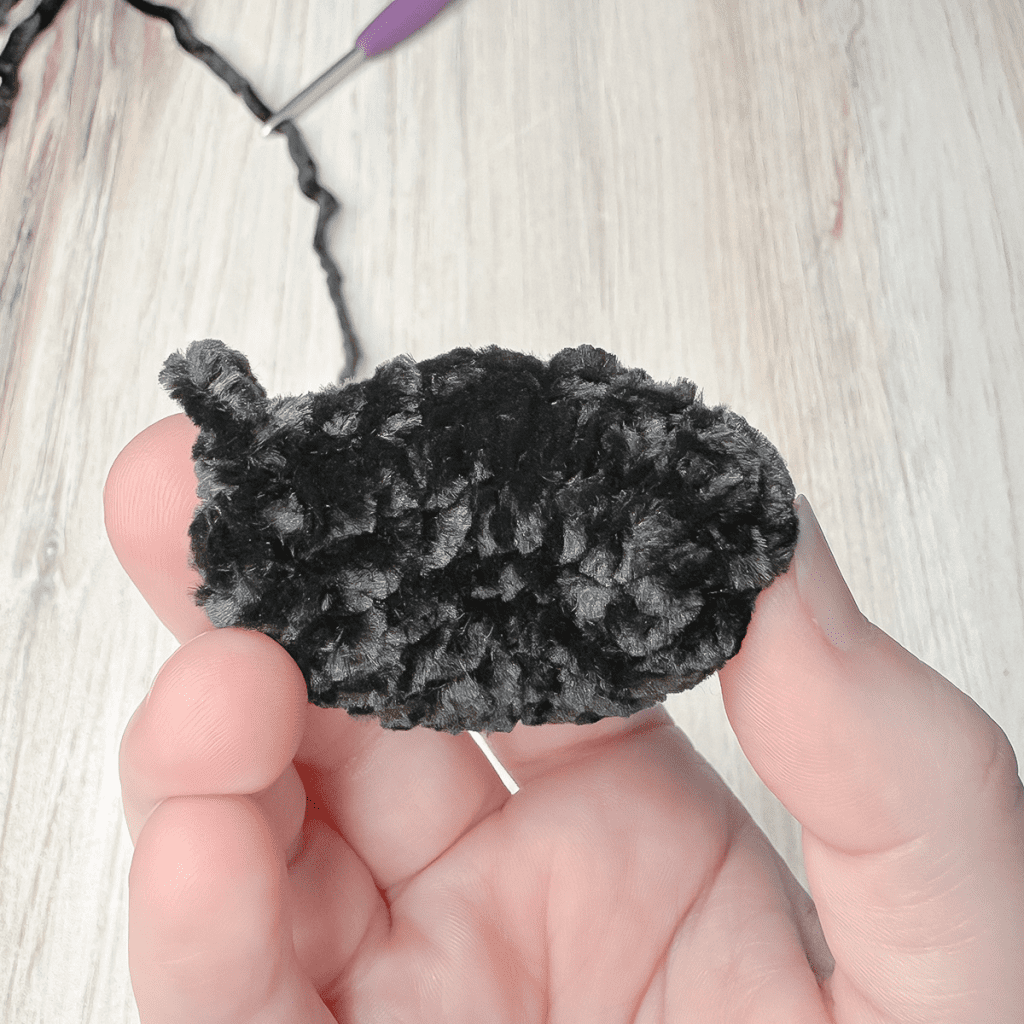
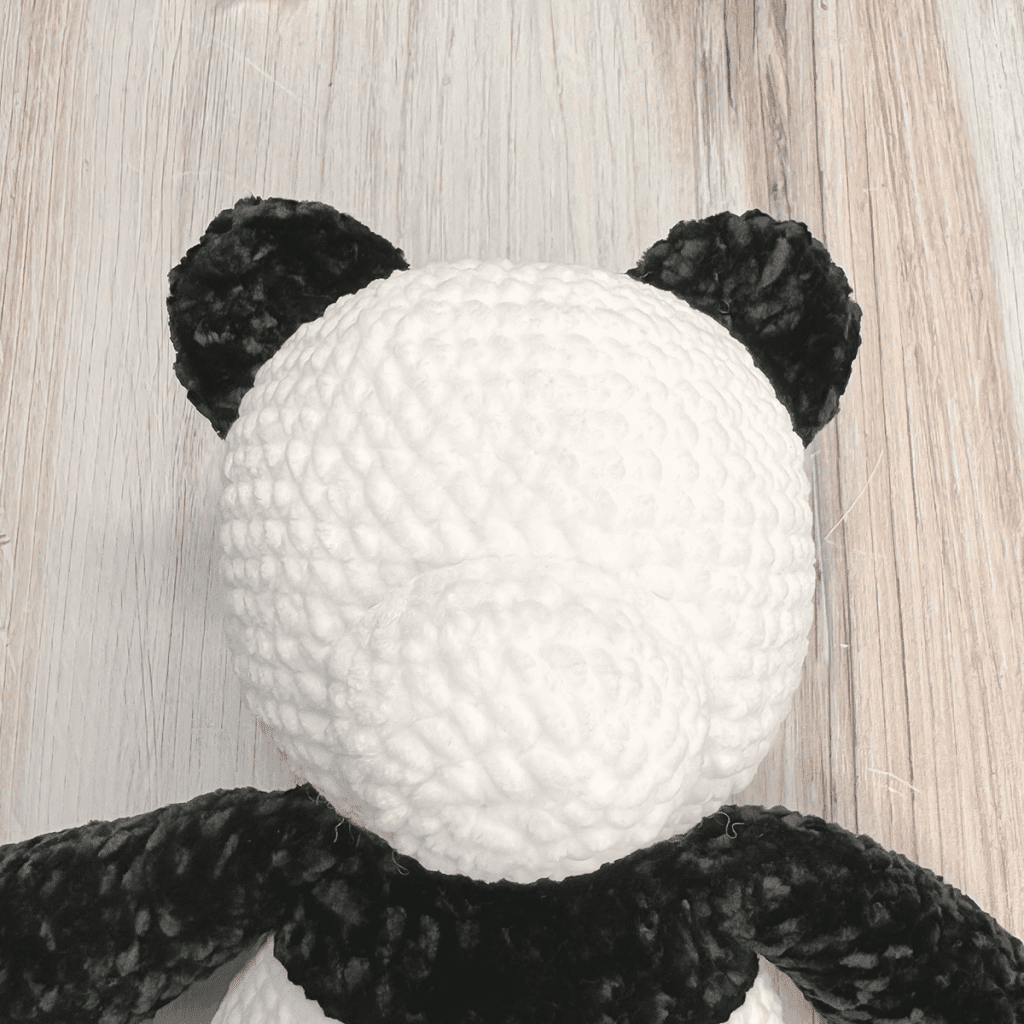
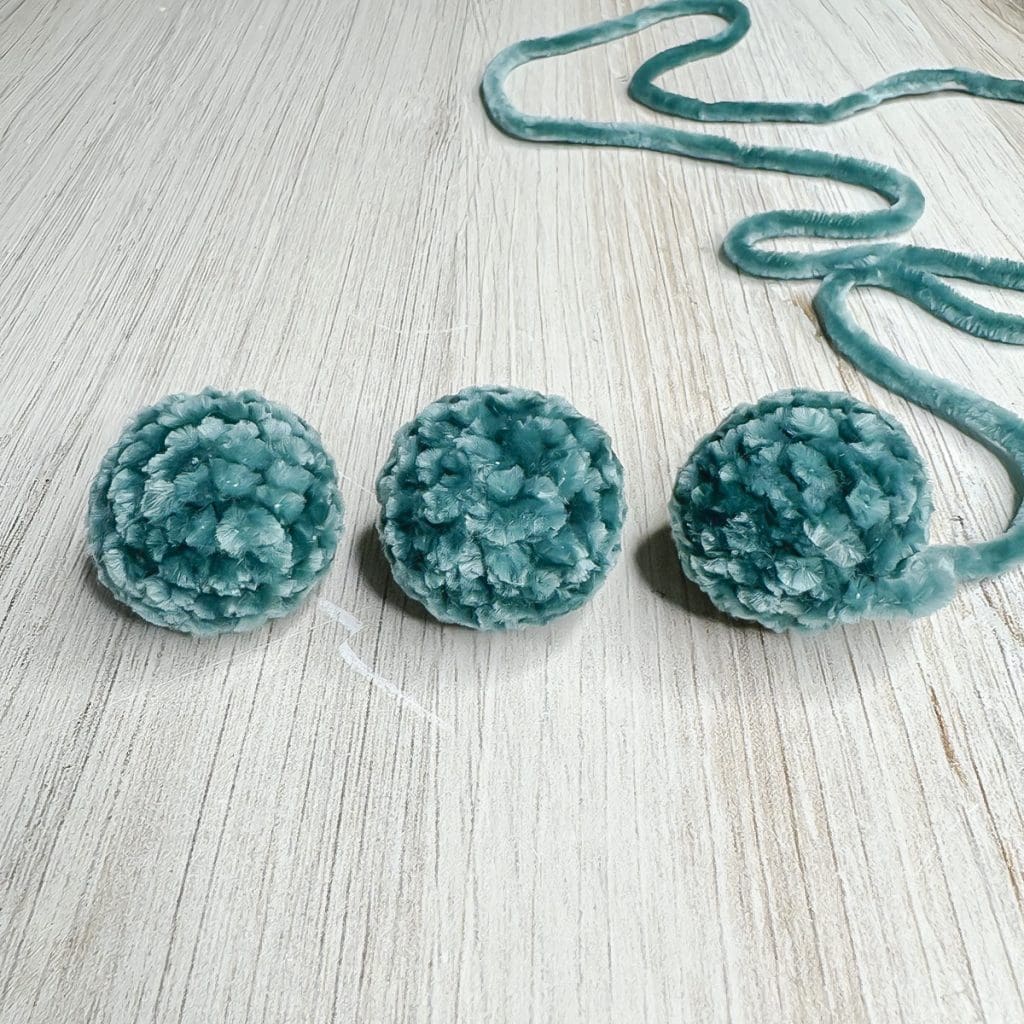
POM PATTERN (MAKE 3)
To Begin: With SECONDARY COLOR, make a Magic Circle; CH1.
Round 1: 8 CSC in MC. (8)
Round 2: INC in each ST around. (16)
Rounds 3-6: CSC in each ST around. (16)
Round 7: DEC in each ST around. (8)
To Finish: Fasten off with a long tail. Thread tail through a yarn needle and weave the needle in and out of the outer loops of the previous round, all the way around. Slowly pull circle closed. (Be careful if you’re using single-ply yarn, it breaks easily!)
Tie a knot to secure. For TWO of the poms, hide the knots and tails inside the poms; for the THIRD pom, leave the tail visible so you can use it to sew the pom to the hat.
HAT PATTERN
To Begin: With MAIN COLOR, make a Magic Circle; CH1.
Round 1: 11 CSC in MC. (11)
Round 2: INC in each ST around. (22)
Round 3: INC in each ST around. (44)
(If it’s super wavy at this point, you’re doing it right.)
Rounds 4-10: CSC in each ST around. (44)
Switch to SECONDARY COLOR; fasten off MAIN COLOR.
Round 11: With a looser tension, SL ST in each ST around. (44)
Round 12: CSC in BLO of each ST around. (44)
Round 13: CSC in each ST around. (44)
To Finish: SL ST in each of the next 2 STS to smooth down the round, then fasten off, leaving a long tail for sewing hat to snowman. Secure other ends.
Use the finishing tail from pom to attach it to the top of the hat. Use the finishing tail from the hat to sew it to the snowman’s head. Secure with a knot and hide inside head.
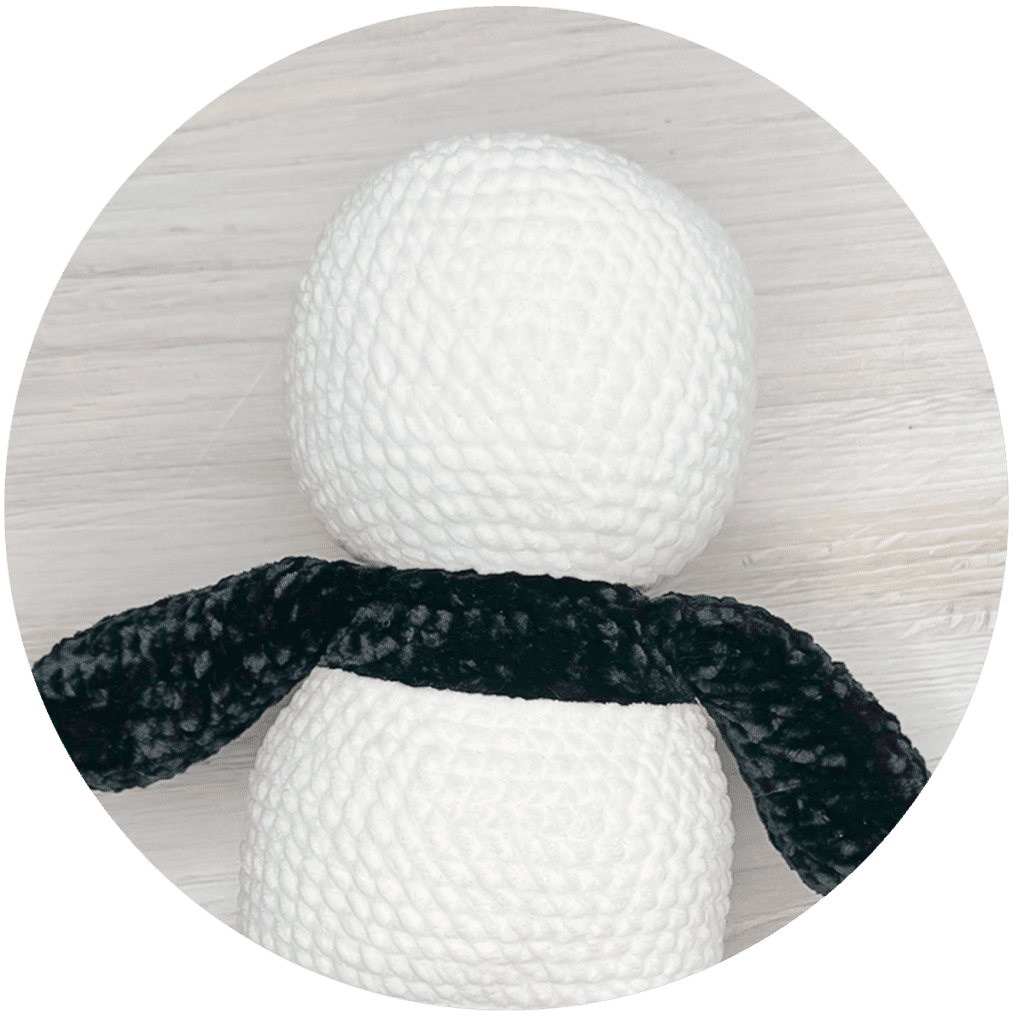
SCARF PATTERN
To Begin: With MAIN COLOR, CH71.
Row 1: CSC in 2nd CH from hook and in each remaining CH. (70)
Rows 2-4: CH1, turn. CSC in BLO of each ST across. (70)
To Finish: Fasten off. Use starting tail to cinch one end and attach a pom. Use finishing tail to cinch other end and attach a pom. Tie around snowman. (You can add a discreet stitch to keep it in place if desired.)
You’re done!
I hope you’ve enjoyed this pattern.
Thank you for your support!
Remember, you can get ad-free PDFs of all of my blog patterns by becoming a member.