Thank you to Lion Brand Yarn for providing the yarn for this sample.
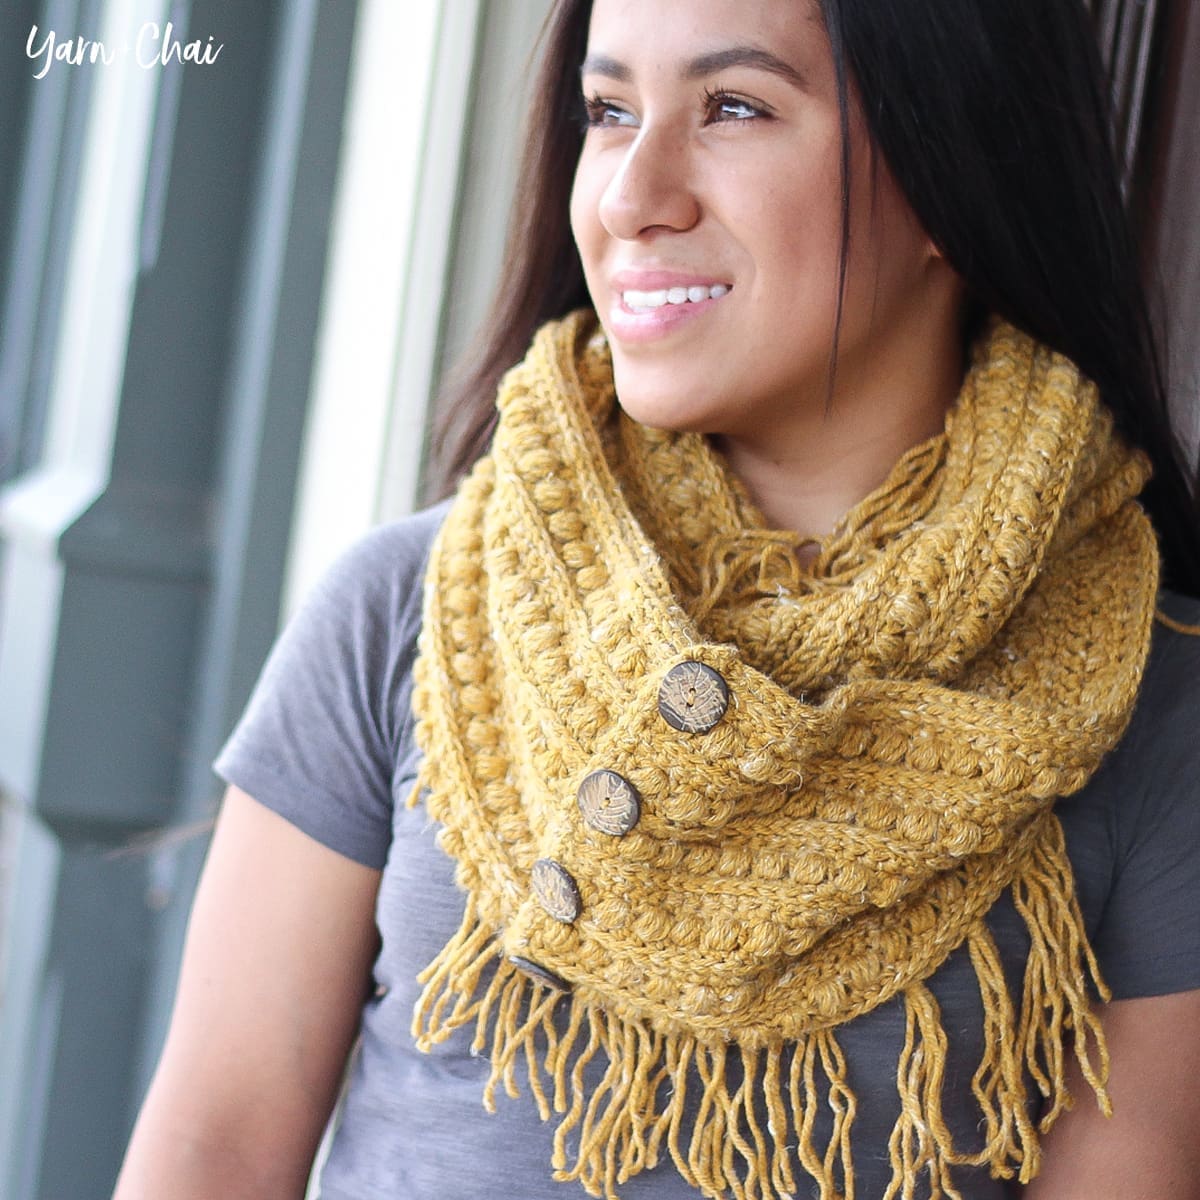
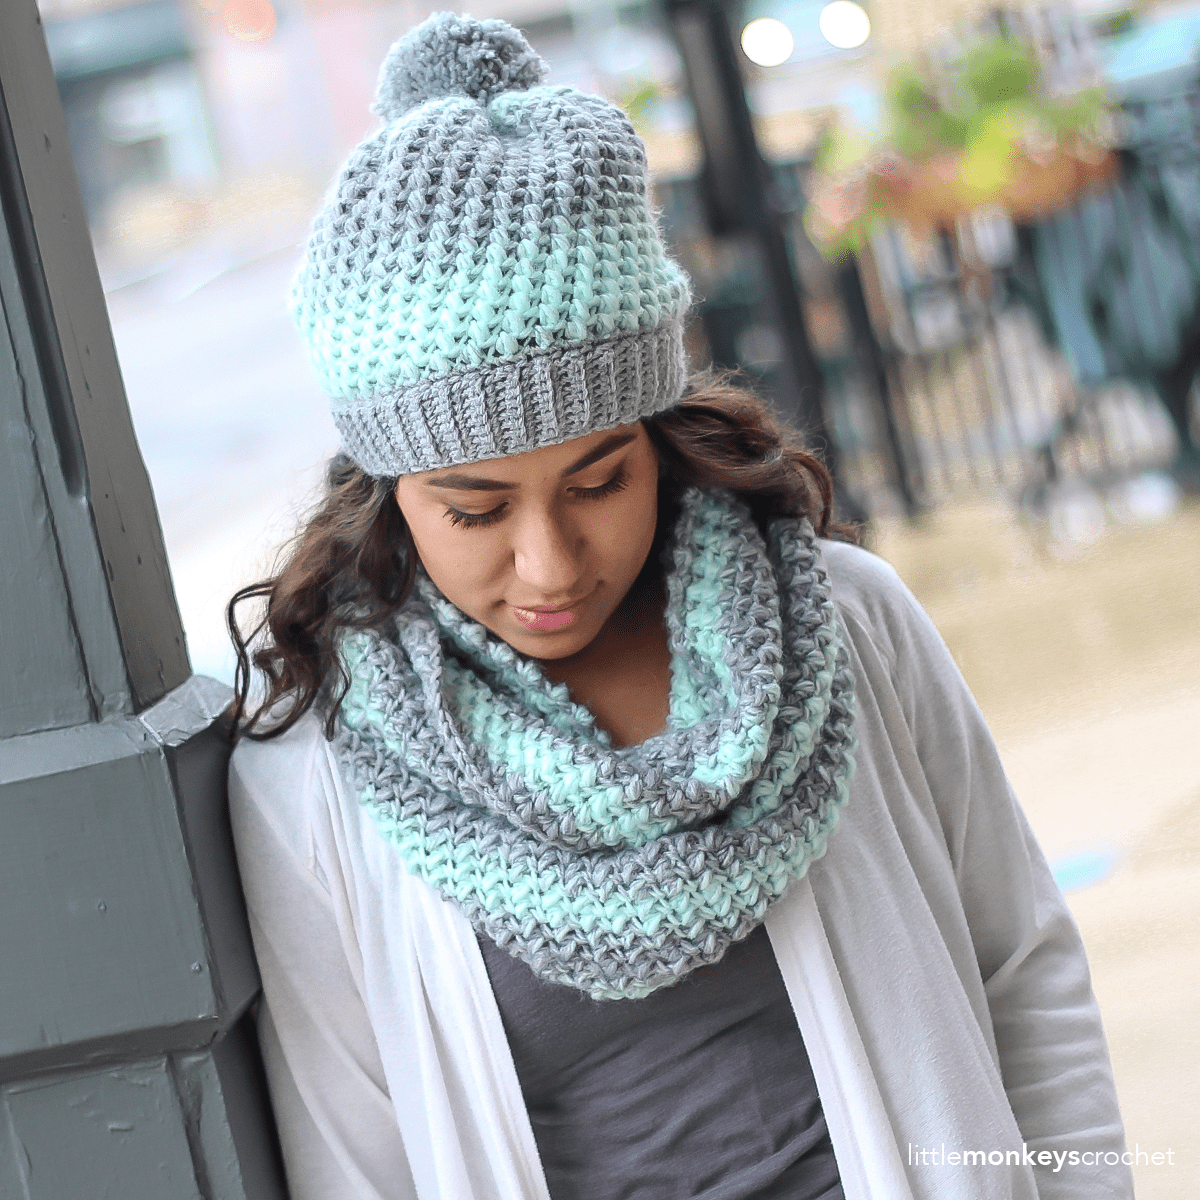
Have you used Lion Brand’s Scarfie yarn yet? It is sooo soft and fluffy. My first experience with it was when I designed the Macchiato Slouch and I always knew I’d come back to it again someday. Now there are even more combos to choose from then there were back then, and I am just obsessed with this Mint & Silver! I paired it with Wool-Ease Gray Heather (for the band of the hat, because I wanted to make sure the entire band was one solid color) and it was a perfect match.
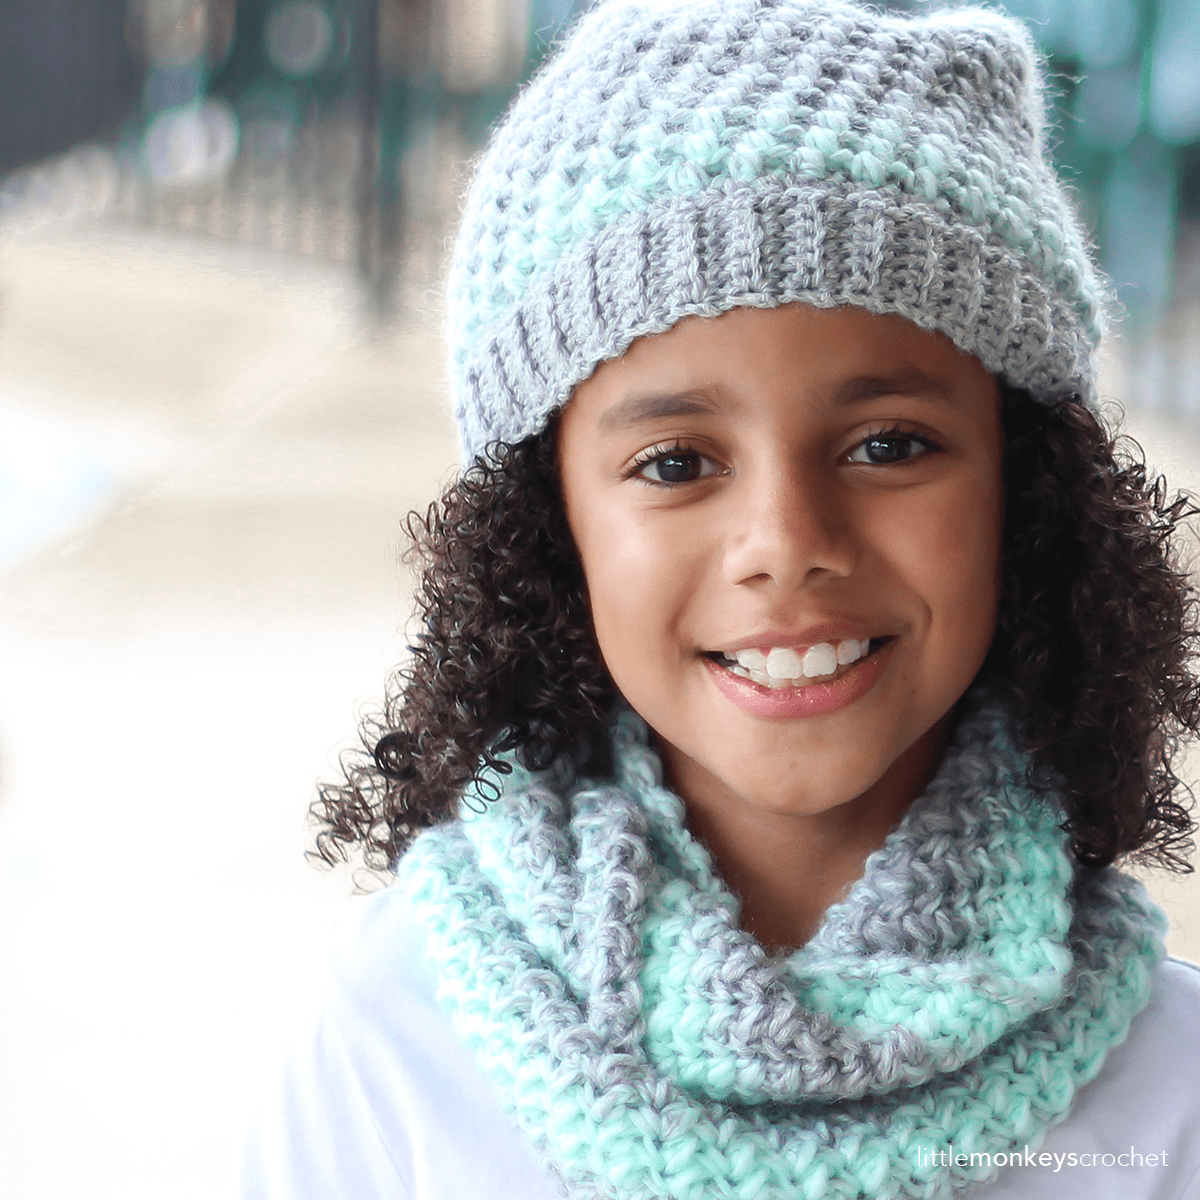
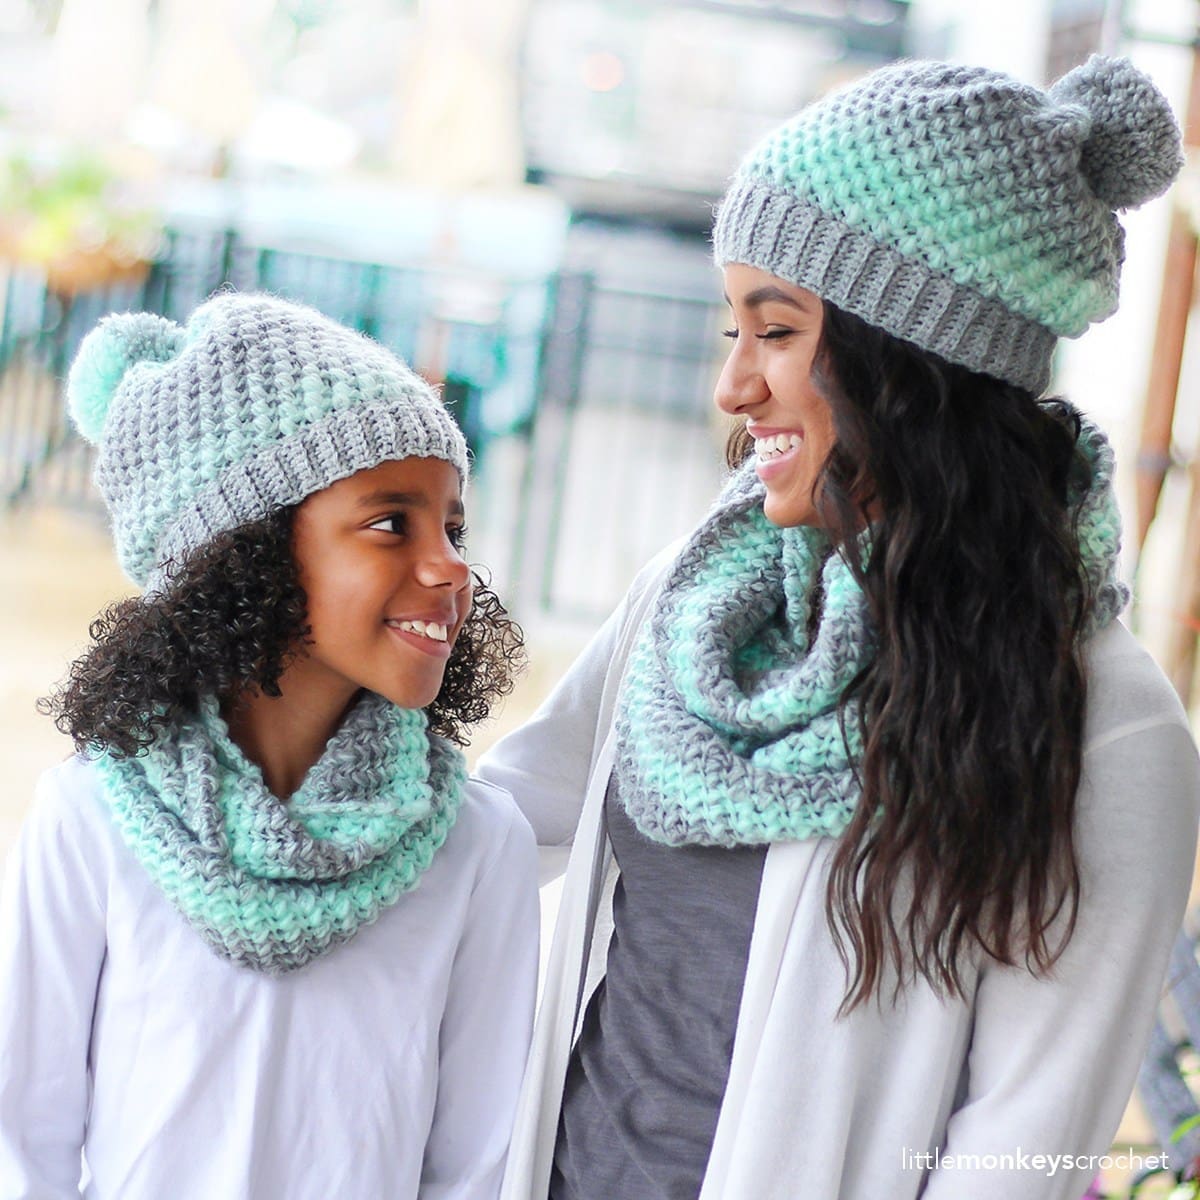
I designed this set as a part of Lion Brand’s “12 Days of Christmas” promotion, and knew you guys would be excited to have it available in both adult and child sizes. You can even grab the kit on lionbrand.com, which comes with the pattern and enough yarn to make two sets – one for you and one for your mini-me!
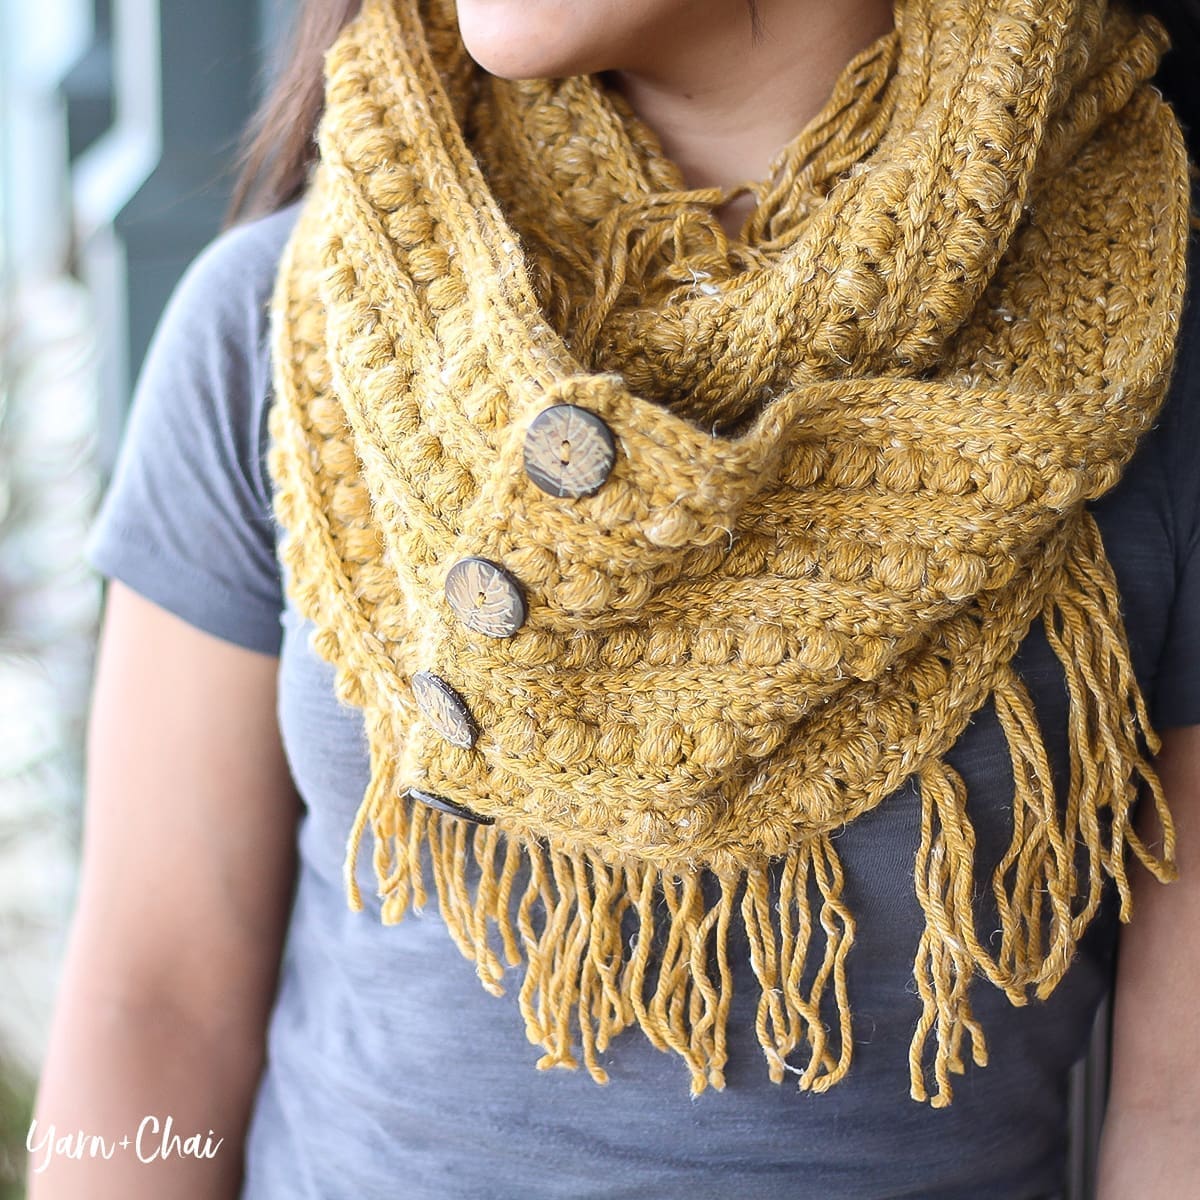
The hat is made up mostly of mini bean stitches, which I love because they give basically the same look as a regular bean stitch but use less yarn.
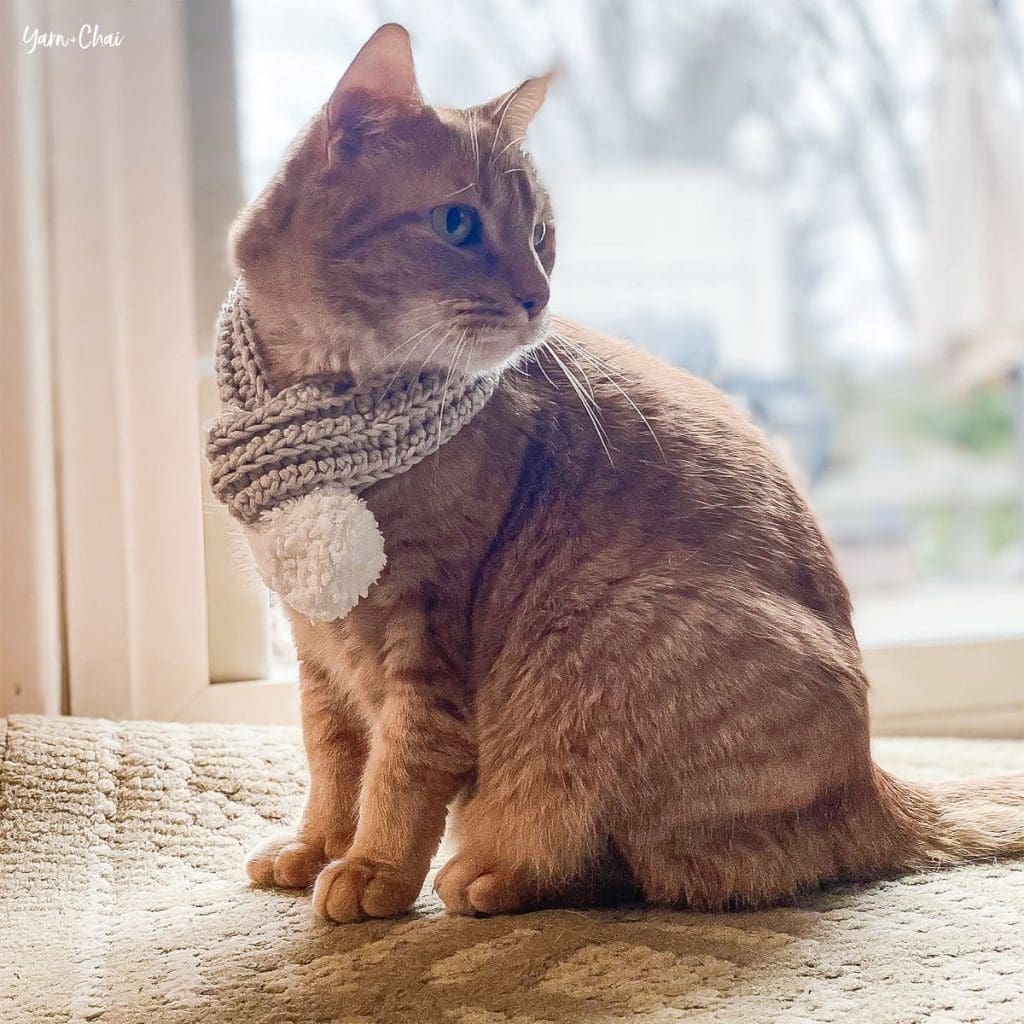
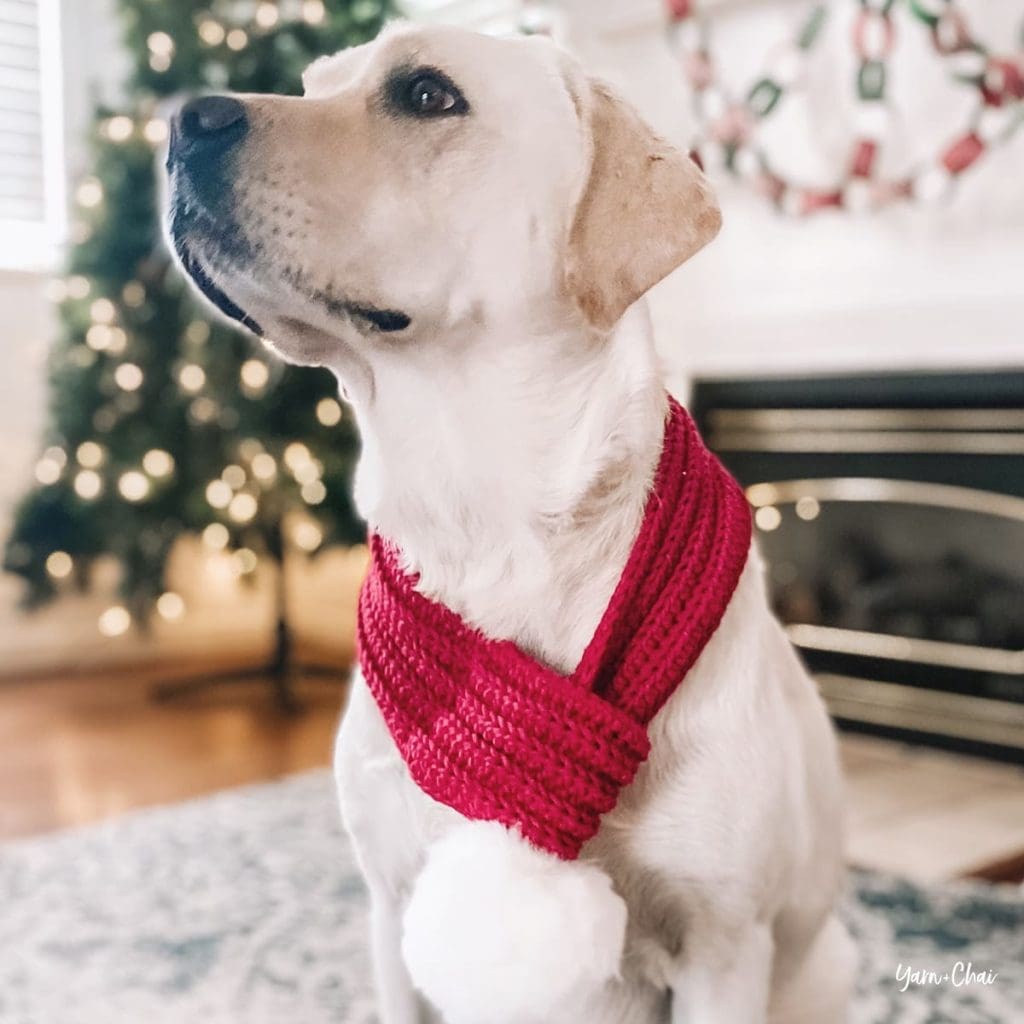
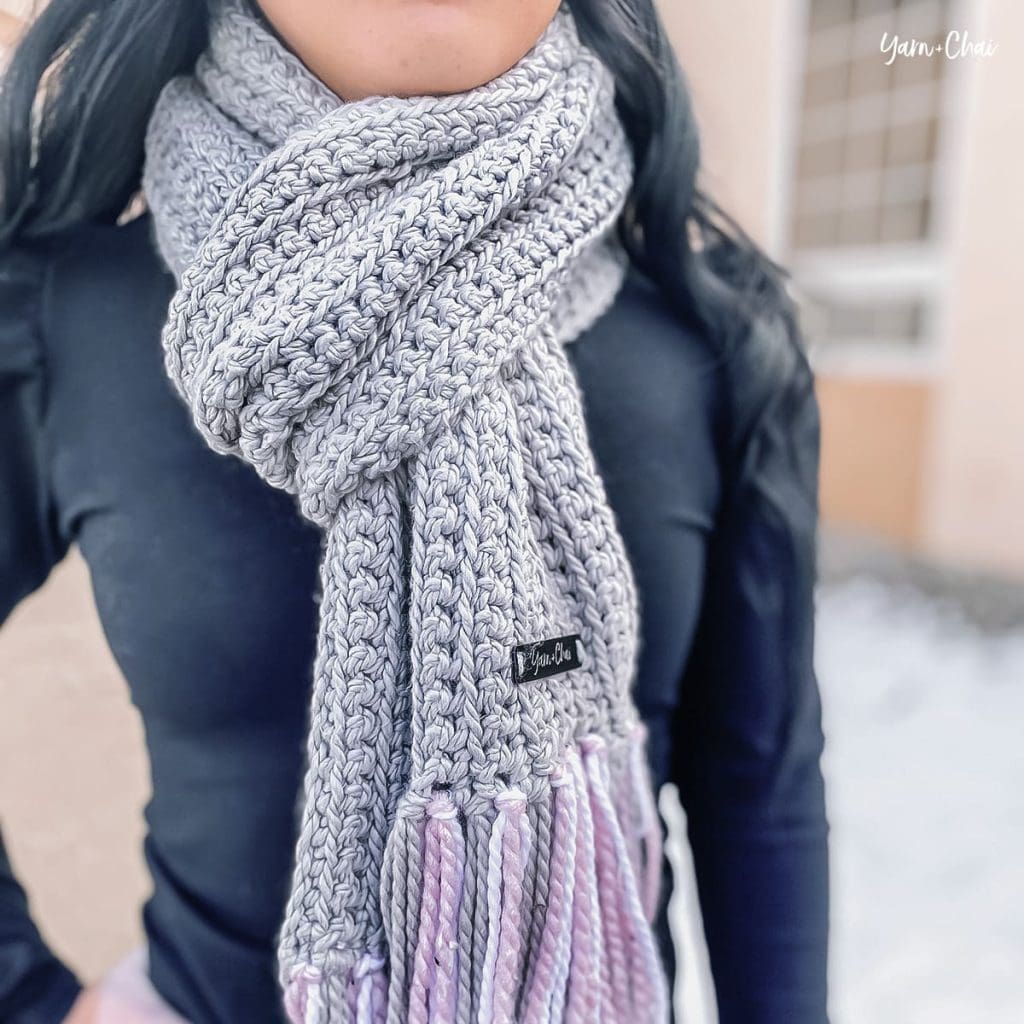
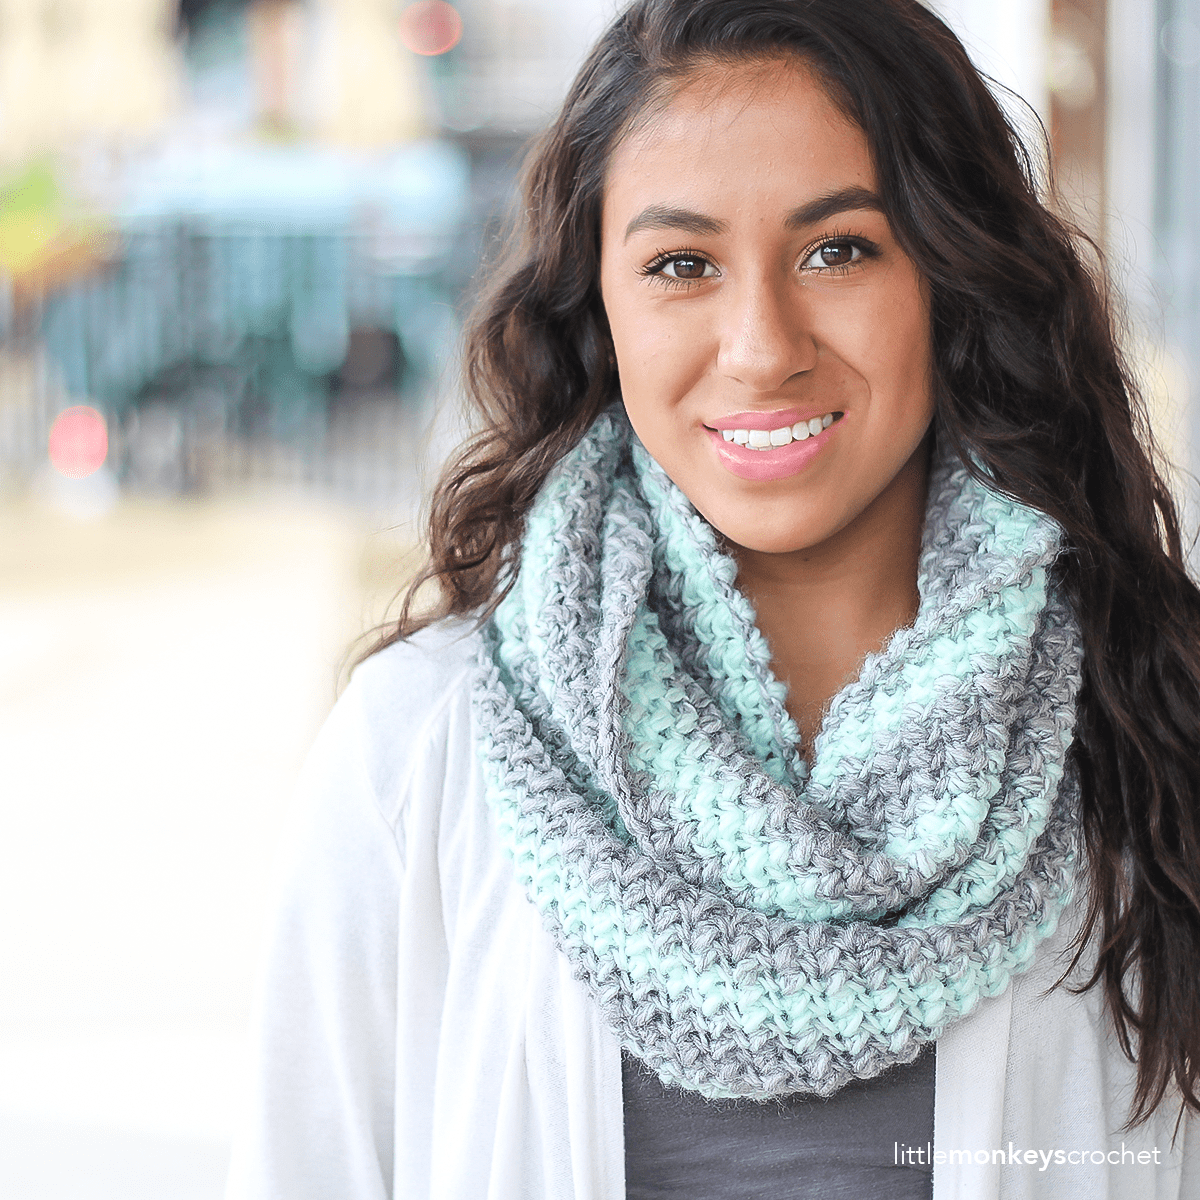
The finished products are so fluffy and soft! I love fluffy accessories. Besides the obvious fact that they are soft on your skin, they also tend to lay really nicely. This infinity scarf was so easy to style on my model because of its light, airy feel.
Can I also give a shoutout to my models? Because seriously, they rocked this shoot. You’d never know they had just met, like, two and a half minutes before this photo. 🙂
Prefer a PDF?
This pattern can be completed using the 100% free version right here on this page. However, many people prefer the convenience of a printable, ad-free PDF.
All-Access Passholders get the ad-free version of this and all of my other blog patterns. It’s a pretty sweet deal, if I do say so myself! Learn more about it here or continuing scrolling for the free version.
LANDON SLOUCH AND SCARF (ADULT AND CHILD SIZES)
Difficulty: Easy
Hooks: K (6.5mm) and H (5.0mm)
Yarn:
3 skeins of Lion Brand Scarfie in “Mint/Silver” (#826-217)
1 skein of Lion Brand Wool-Ease in “Grey Heather” (#620-151)
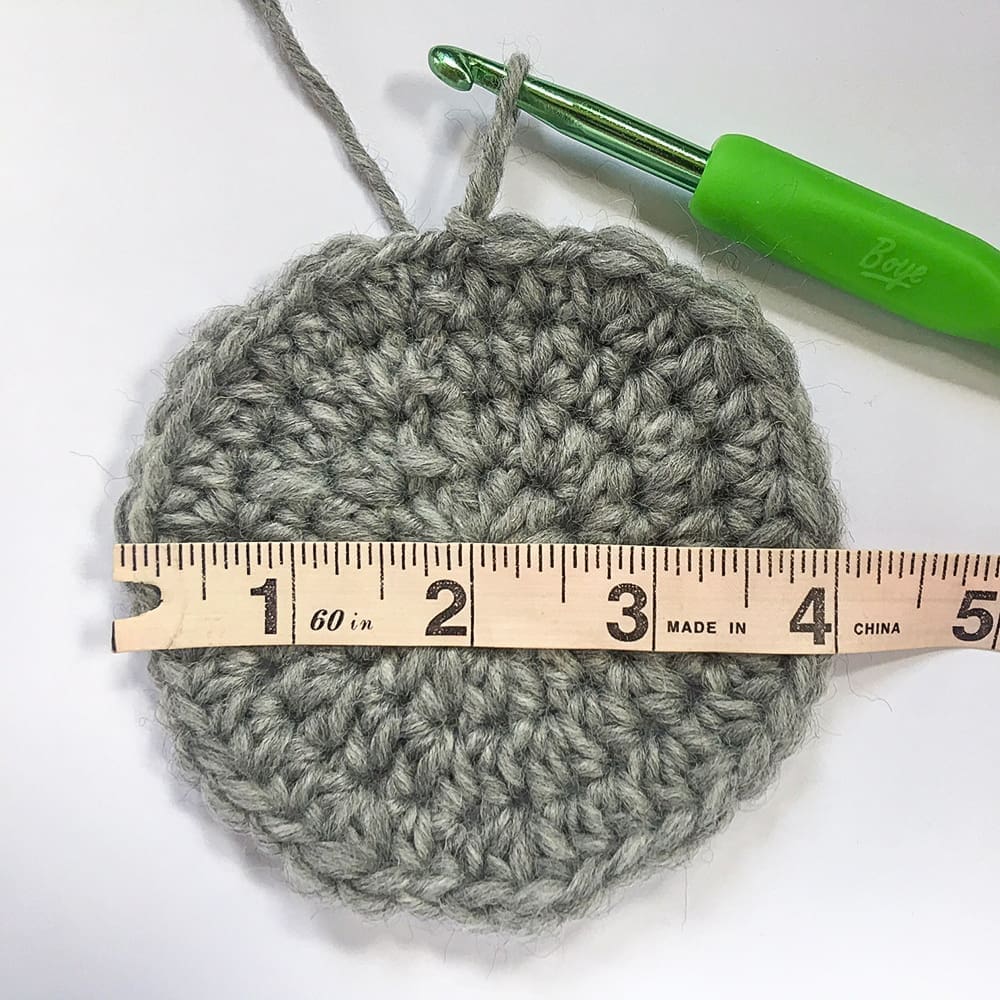
Gauge: With larger hook and Scarfie yarn, 4 increase rounds of HDC = 4” diameter. (Begin first round with 10 HDC in a magic circle, then increase each round for a total of 4 rounds.) Use whatever hook size you need to obtain the correct gauge. This guage can be used for all 4 patterns.
You’ll Also Need: Yarn needle, scissors, pom maker (optional)
Abbreviations Used:
MC (magic circle – tutorial here)
ST/STS (stitch/stitches)
SL ST (slip stitch)
SK (skip)
CH (chain)
SC (single crochet)
BLO (back loop only)
MBS (mini bean stitch – see “Special Stitch”)
Special Stitch – Mini Bean Stitch (MBS):
Insert hook into stitch, yarn over, pull through (2 loops on hook), yarn over, insert hook into same stitch, yarn over, pull through (4 loops on hook), yarn over, pull through all 4 loops, chain 1 to close stitch. (Because this stitch creates two sets of top loops, it counts as 2 stitches in final round counts.)
Notes:
(1) Patterns are written in American Standard terms.
(2) Any CH1s at the beginning of rounds do not count as stitches.
(3) All patterns are designed in a continuous spiral for a seamless finished look. Do not join, chain up or turn unless instructed.
 (4) For the finished measurements of the hats, height is measured from the bottom of the band to the top of the body, pom not included. Width is measured across the bottom of the body of the hat, at the point where the body and the band meet. (Band of hat is smaller but will stretch to fit.)
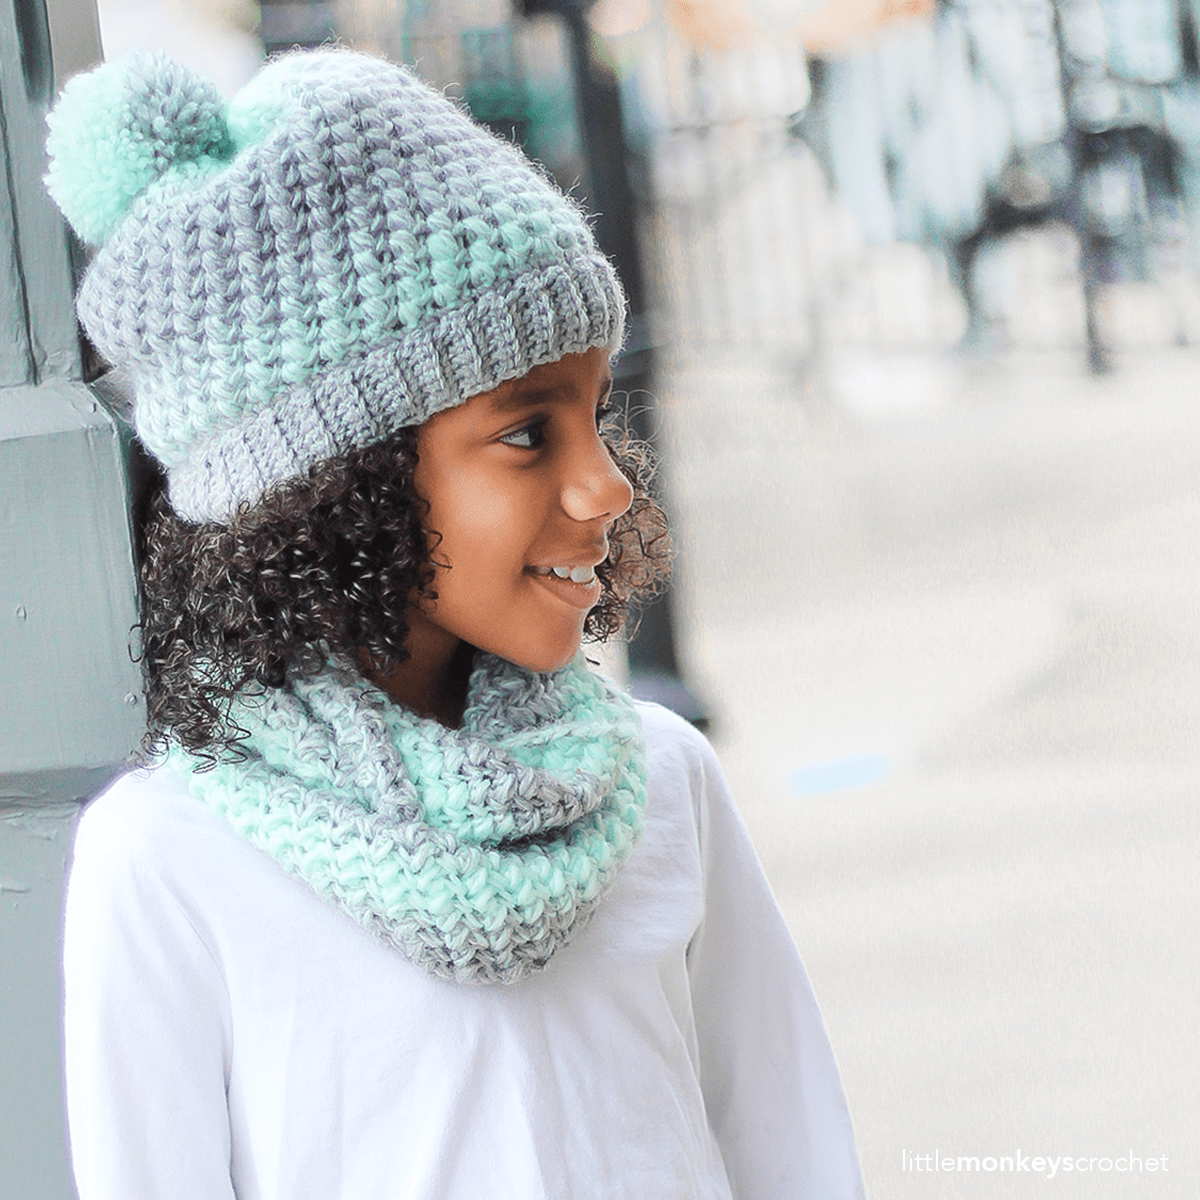
(5) The poms on the hats are optional. You will have more than enough yarn left over to make two poms in either Scarfie (shown on the child-size sample) or Wool-Ease (shown on the adult-size sample).
(6) Due to the nature of the ombre yarn used, no two hats or scarves will look the same.
– – – – – – – – – –
LANDON SLOUCH HAT (TEEN / ADULT SMALL)
Finished Size: 9” tall x 10” wide
Yarn: Lion Brand Scarfie (130 yards) and Wool-Ease (45 yards)
With larger hook and Scarfie yarn,
Round 1: 10 HDC in MC. (10)
Round 2: 2 HDC in each ST around. (20)
Round 3: 2 HDC in each ST around. (40)
Round 4: (2 HDC in each of the next 7 STS, HDC in next ST, 2 HDC in each of the next 7 STS, HDC in next ST, 2 HDC in each of the next 3 STS, HDC in next ST) 2 times. (74)
Rounds 5-20: (MBS in next ST, SK next ST) around. (74)
Round 21: (MBS in next ST, SK next ST) around. Join with a SL ST to the top of the first ST of the round. (74)
Switch to smaller hook and Wool-Ease yarn. Fasten off Scarfie yarn.
Round 22: CH1. SC in each ST around. Join with a SL ST to the top of the first ST of the round. (74)
– – – – – –
Next we’re going to make the band of the hat, and we will be working in vertical rows, attaching it to Round 22 (the final round of the hat) with SL STS as we go. If you need a little extra help, click here for a video tutorial on how to add ribbing at the end of a project.
– – – – – –
CH9.
Row 1: SC in 2nd chain from hook and in each of the remaining 7 chains. SL ST into the first SC from Round 22, the stitch on which your CH9 was built. SL ST into the next SC from Round 22. (8, plus the two slip stitches along Round 22)
The section we just created, built on the CH9, will hereafter be referred to as the “ribbing.”
Row 2: CH1, turn. Skipping over the 2 SL STS you put in Round 22, SC in BLO of each of the first 7 STS of the ribbing. SC in both loops of the last ST. (8)
Row 3: CH1, turn. SC in 1st ST. SC in BLO of each of the remaining 7 STS of the ribbing. SL ST in each of the next 2 STS of Round 22. (8, plus the 2 SL STS along Round 22)
Row 4: CH1, turn. Skipping over the 2 SL STS you put in Round 22, SC in BLO of each of the first 7 STS of the ribbing. SC in both loops of the last ST. (8)
Rows 5-74: Repeat Rows 3-4 all the way along Round 22.
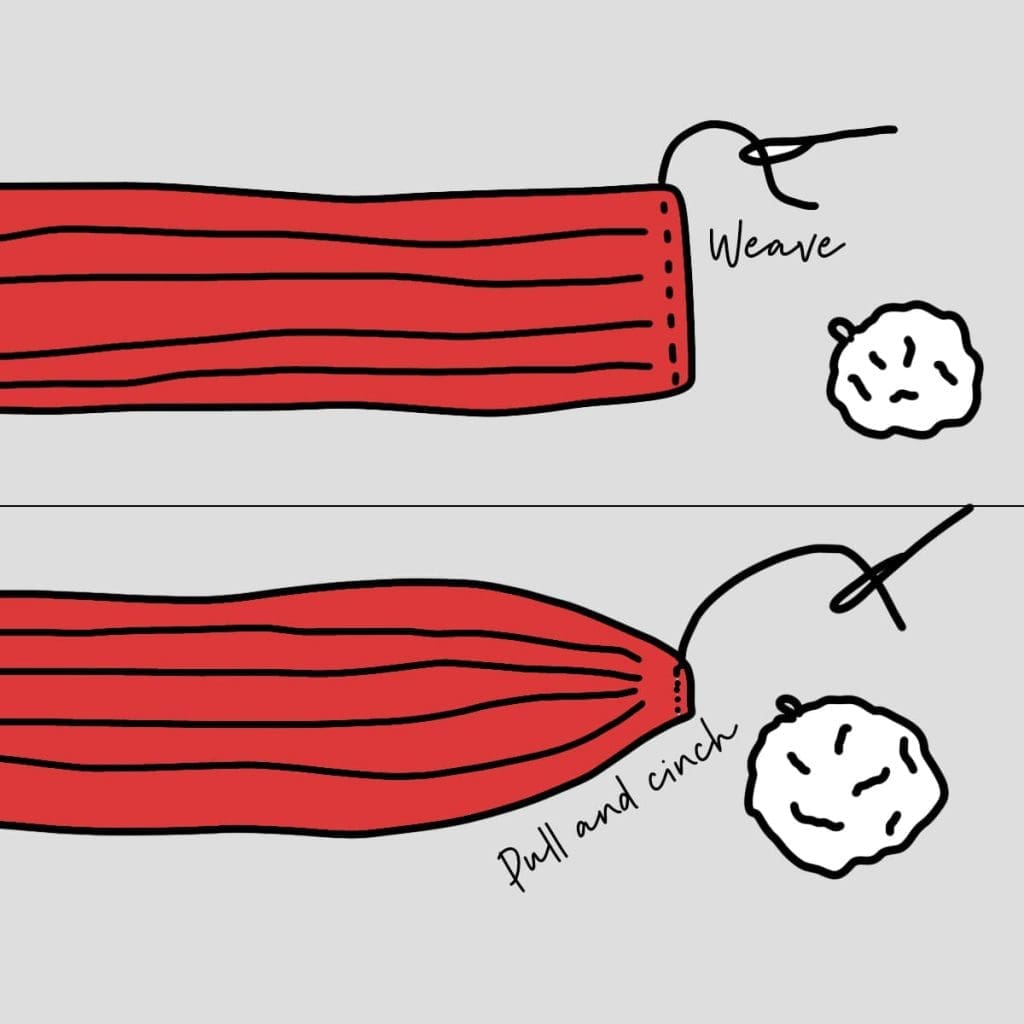
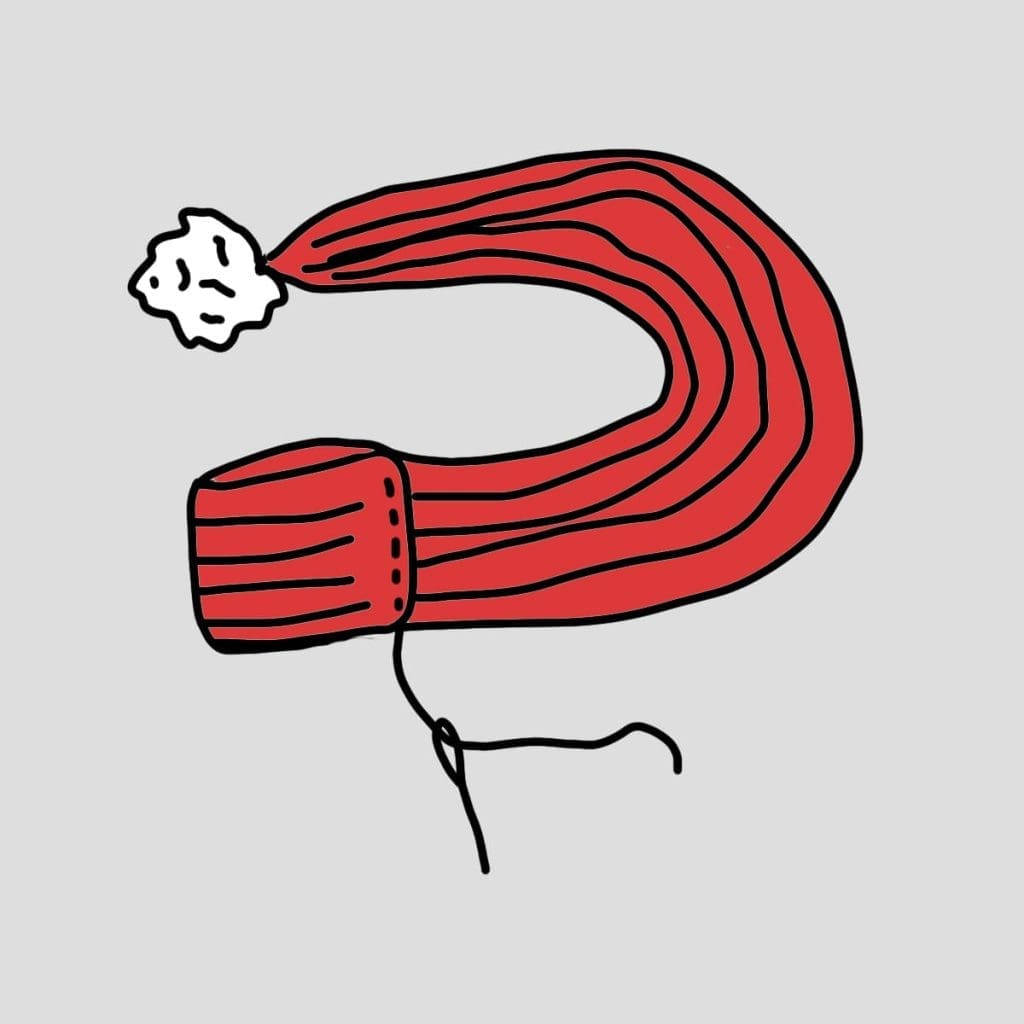
Fasten off and use your tail to sew together the gap between the first and last rows of the ribbing, then weave in your ends.
Optional: Use a large Clover Pom Maker to make a pom pom (or make one by hand) and attach it to the top of the hat.
LANDON SLOUCH HAT (CHILD)
Finished Size: 8.5” tall x 9” wide
Yarn: Lion Brand Scarfie (105 yards) and Wool-Ease (30 yards)
With larger hook and Scarfie yarn,
Round 1: 10 HDC in MC. (10)
Round 2: 2 HDC in each ST around. (20)
Round 3: 2 HDC in each ST around. (40)
Round 4: 2 HDC in each of the next 2 STS, HDC in each of the next 2 STS. (2 HDC in each of the next 3 STS, HDC in next ST) 4 times. 2 HDC in each of the next 2 STS, HDC in each of the next 2 STS. (2 HDC in each of the next 3 STS, HDC in next ST) 4 times. (68)
Rounds 5-19: (MBS in next ST, SK next ST) around. (68)
Round 20: (MBS in next ST, SK next ST) around. Join with a SL ST to the top of the first ST of the round. (68)
Switch to smaller hook and Wool-Ease yarn. Fasten off Scarfie yarn.
Round 21: CH1. SC in each ST around. Join with a SL ST to the top of the first ST of the round. (68)
– – – – – –
Next we’re going to make the band of the hat, and we will be working in vertical rows, attaching it to Round 21 (the final round of the hat) with SL STS as we go. If you need a little extra help, click here for a video tutorial on how to add ribbing at the end of a project.
– – – – – –
CH7.
Row 1: SC in 2nd chain from hook and in each of the remaining 5 chains. SL ST into the first SC from Round 21, the stitch on which your CH7 was built. SL ST into the next SC from Round 21. (6, plus the two slip stitches along Round 21)
The section we just created, built on the CH7, will hereafter be referred to as the “ribbing.”
Row 2: CH1, turn. Skipping over the 2 SL STS you put in Round 21, SC in BLO of each of the first 5 STS of the ribbing. SC in both loops of the last ST. (6)
Row 3: CH1, turn. SC in 1st ST. SC in BLO of each of the remaining 5 STS of the ribbing. SL ST in each of the next 2 STS of Round 21. (6, plus the 2 SL STS along Round 21)
Row 4: CH1, turn. Skipping over the 2 SL STS you put in Round 21, SC in BLO of each of the first 5 STS of the ribbing. SC in both loops of the last ST. (6)
Rows 5-68: Repeat Rows 3-4 all the way along Round 21.
Fasten off and use your tail to sew together the gap between the first and last rows of the ribbing, then weave in your ends.
Optional: Use a large Clover Pom Maker to make a pom pom (or make one by hand) and attach it to the top of the hat.
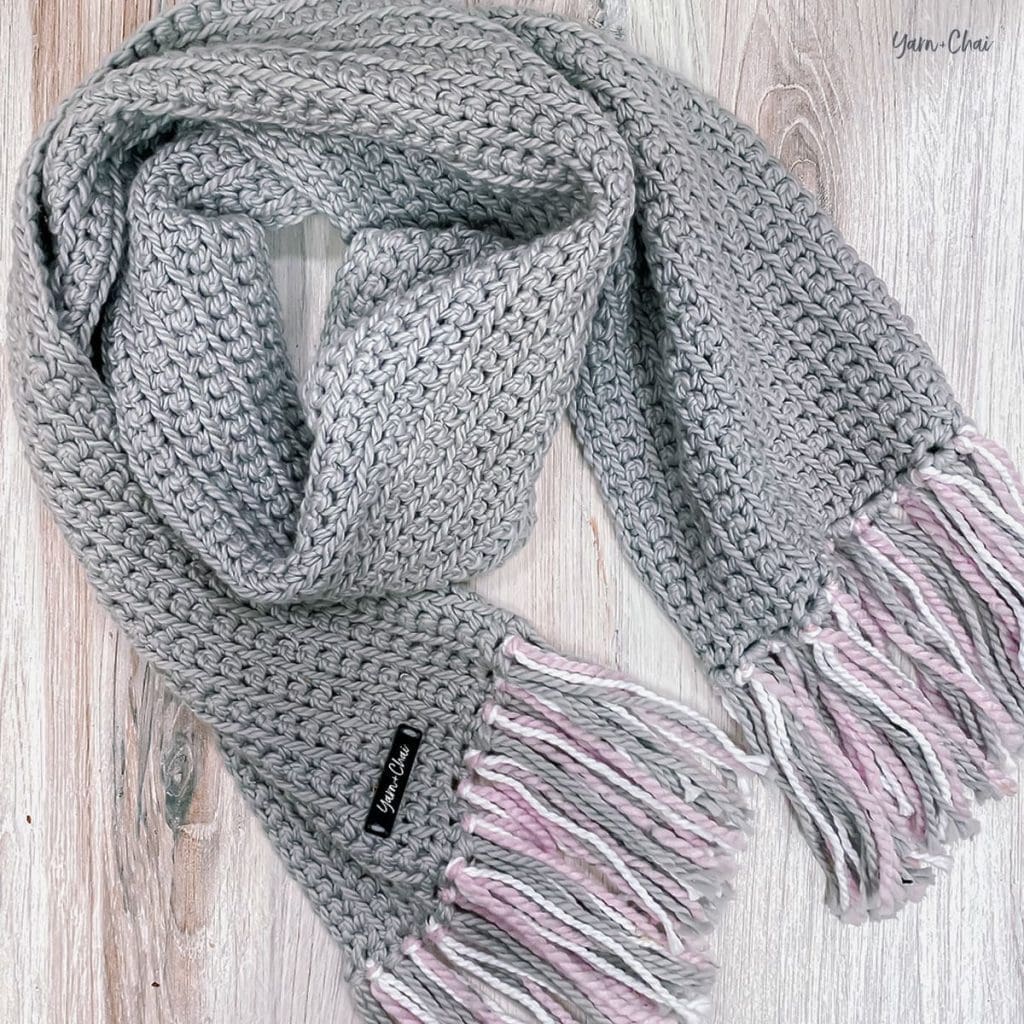
LANDON SCARF (TEEN / ADULT SMALL)
Finished Size: 6.5” wide x 60” around
Yarn: Lion Brand Scarfie (310 yards)
Notes:
(1) For this pattern, use the larger of the two hooks (6.5mm, or whichever one you used to complete your gauge swatch).
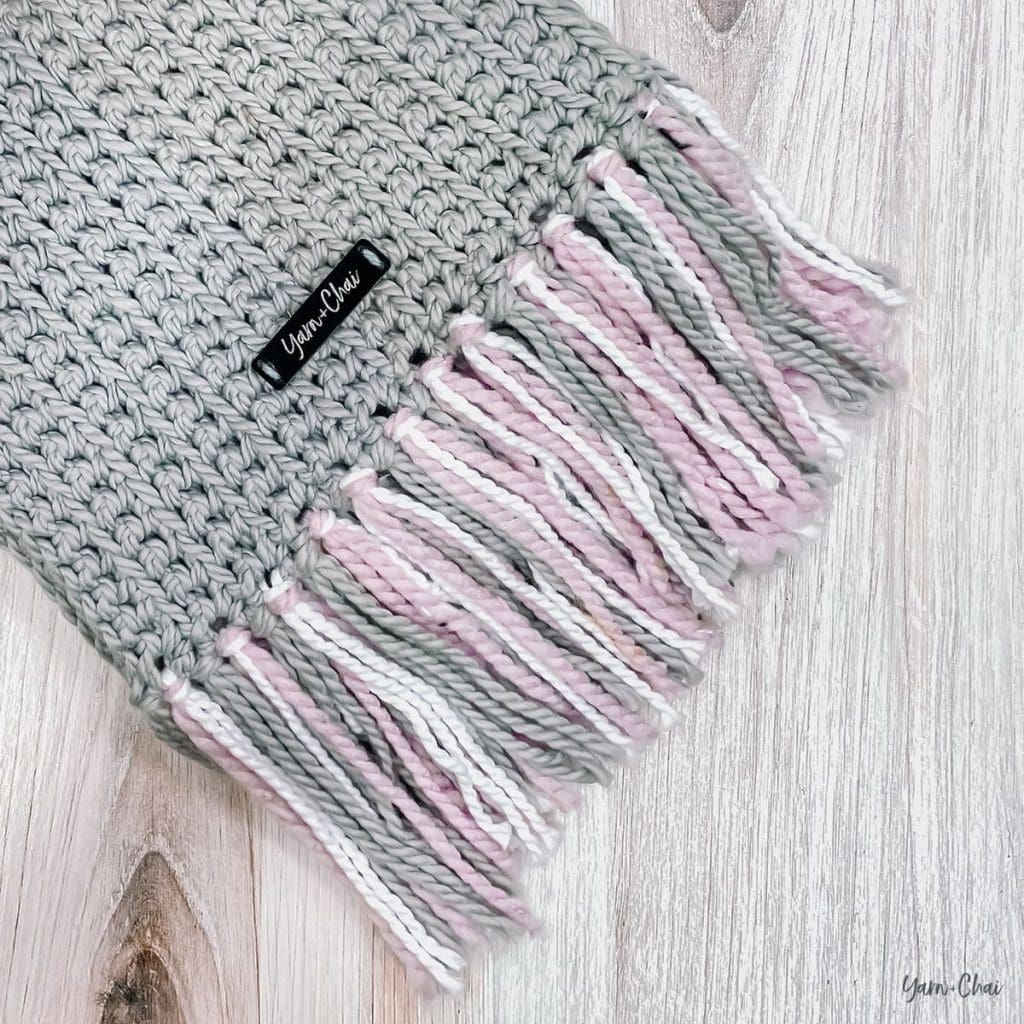
(2) Working into the back bump of the starting chain during Round 1 will help to keep the scarf from curling. It is a bit slower than working into one of the top loops, but worth it in the end.
To Begin: CH192. Join with a SL ST, being careful not to twist the chain. (192)
Round 1: CH1. Working in the back bumps of the starting chain, MBS in first ST, SK next ST. (MBS in next ST, SK next ST) around. (192)
Rounds 2-18: (MBS in next ST, SK next ST) around. (192)
Round 19: (MBS in next ST, SK next ST) around. SL ST into the first ST of the round. (192)
Fasten off and weave in all ends.
LANDON SCARF (CHILD)
Finished Size: 5” wide x 46” around
Yarn: Lion Brand Scarfie (180 yards)
Notes:
(1) For this pattern, use the larger of the two hooks (6.5mm, or whichever one you used to complete your gauge swatch).
(2) Working into the back bump of the starting chain during Round 1 will help to keep the scarf from curling. It is a bit slower than working into one of the top loops, but worth it in the end.
To Begin: CH 148. Join with a SL ST, being careful not to twist the chain. (148)
Round 1: CH1. Working in the back bumps of the starting chain, MBS in first ST, SK next ST. (MBS in next ST, SK next ST) around. (148)
Rounds 2-13: (MBS in next ST, SK next ST) around. (148)
Round 14: (MBS in next ST, SK next ST) around. SL ST into the first ST of the round. (148)
Fasten off and weave in all ends.
Done! If you’re sharing on social media, be sure to hashtag #landonslouch and #landonscarf, and tag me @yarnandchai. Hope you enjoyed it!