

This pattern is part of the Fall 2017 Malia CAL (Crochet-Along). To view the other patterns in this collection, please visit the Malia CAL Homepage.
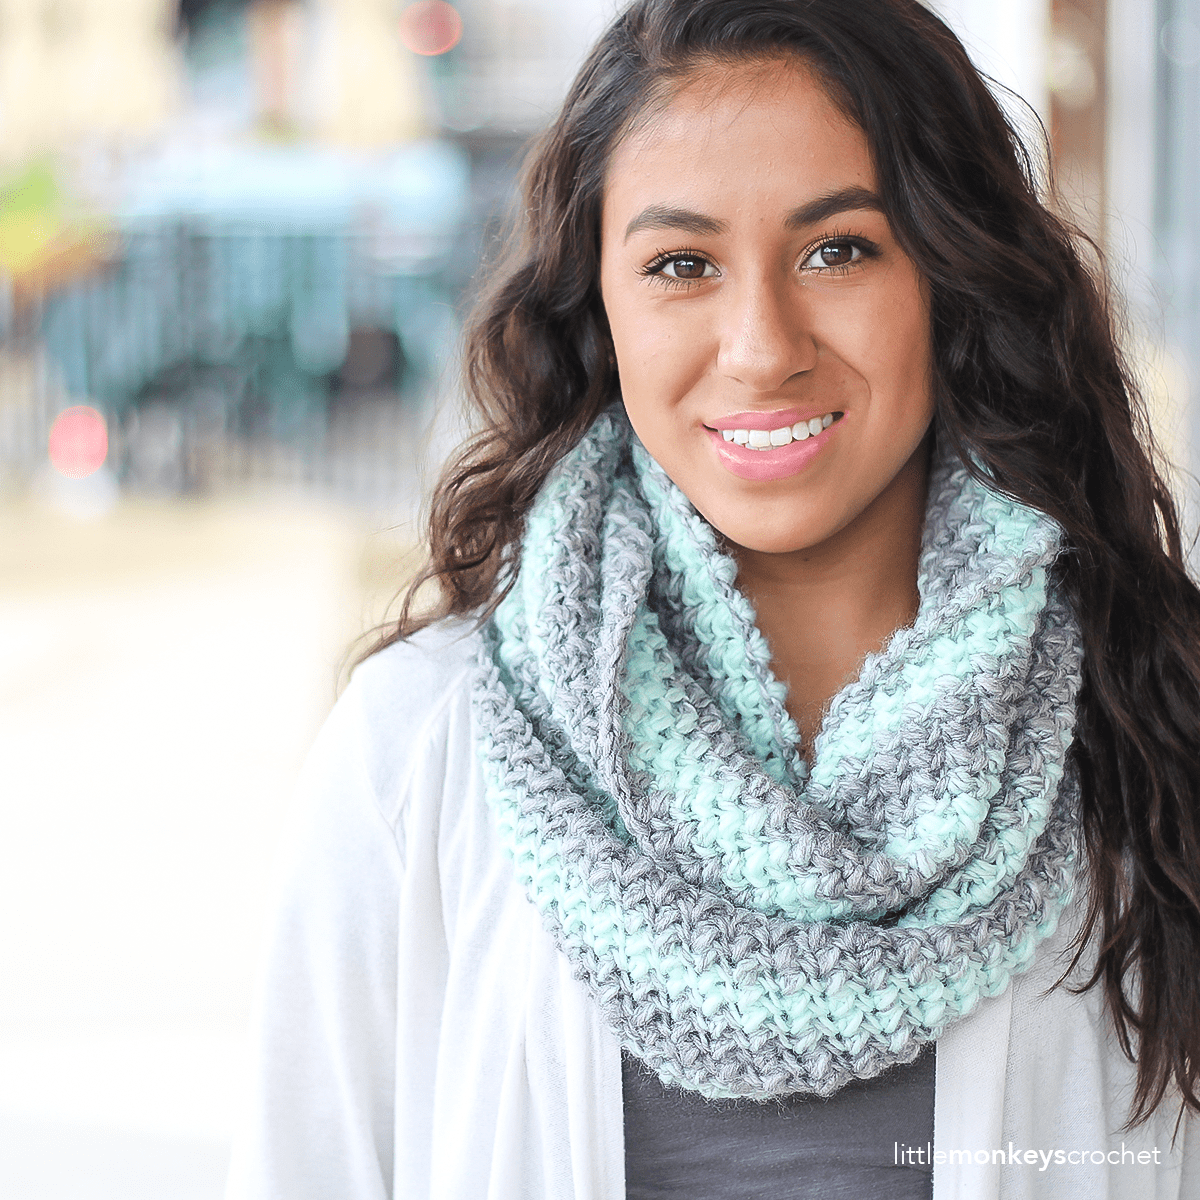
Wrist warmers (or wristers, or fingerless gloves, or fingerless mitts) are a great way to keep your hands warm without taking away your ability to function (a.k.a. check your smartphone)! They’re also a great accessory to keep in your car, ready for those cold mornings on the road. I made my samples two-toned, but of course, you can crochet yours up in one solid color. Add a couple of decorative buttons to complete the look.

–
VIDEO TUTORIAL
If you need a little extra help with any of the stitches in the pattern, I created a video tutorial for previous Malia patterns in which I crocheted up a swatch of the pattern. You might find it useful to scan through the tutorial if you find yourself stuck at any point!
Free Printable Tags
I made some cute printable labels for this pattern that you are welcome to use! If you’re selling or gifting these wrist warmers, a label just ups the professionalism, in my opinion. Print on cardstock for best results!

Prefer a PDF?
This pattern can be completed using the 100% free version right here on this page. However, many people prefer the convenience of a printable, ad-free PDF.
All-Access Passholders get the ad-free version of this and all of my other blog patterns. It’s a pretty sweet deal, if I do say so myself! Learn more about it here or continuing scrolling for the free version.
MALIA WRIST WARMERS
Difficulty: Easyish
Finished Sizes: 3.5″ wide x 7″ tall
Hook: I (5.50 mm) or whichever hook is needed to obtain correct gauge, as well as one size smaller (in my case, an H (5mm))
Yarn: 120 yards (total for a pair of wrist warmers) of #4 aran weight. If you choose to do your wrist warmers two-toned like I did, you’ll need about 80 yards of COLOR A for the main part of the design, and 40 yards of COLOR B for the ribbing. Yarn used in sample photos is Yarn Bee’s Rustic Romantic in “Red Roads” and “Sugared Oats”.
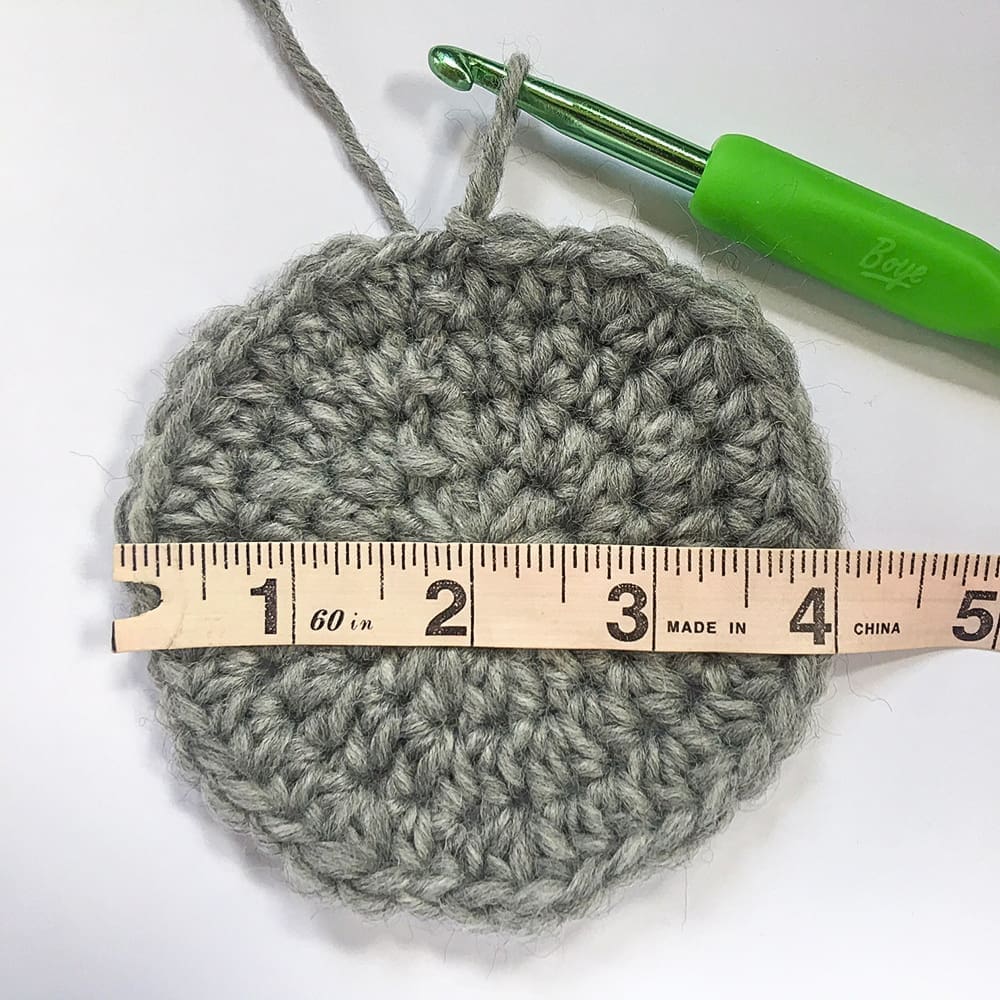
Gauge: The gauge for all Malia patterns is a 16 stitch x 16 row swatch, but because this particular pattern is also based on 16 stitches, it makes more sense to simply start following the pattern. So, to make sure your gauge is on the right track, after you’ve finished the first 8 rows, measure them; they should measure 2″. (The height should be about 4″.) Adjust your hook accordingly and begin again if necessary.
You’ll also need: Yarn needle, 4 small buttons
Terms and Abbreviations:
ST/STS (stitch/stitches)
SL ST (slip stitch)
SK (skip)
CH (chain)
SC (single crochet)
HDC (half double crochet)
LBS (large bean stitch – see “Special Stitches”)
BLO (back loop only)
3rd LOOP (work stitch into 3rd loop only – see “Special Stitches”)
Special Stitches:
Large Bean Stitch (LBS)
Insert hook into stitch, yarn over and pull through (2 loops on hook). Yarn over, insert hook into same stitch, yarn over and pull through (4 loops on hook). Yarn over, insert hook into same stitch, yarn over and pull through (6 loops on hook). Yarn over, insert hook into same stitch, yarn over and pull through (8 loops on hook). Yarn over and pull through all 8 loops. Chain 1 to close the stitch. (Because this stitch creates two sets of loops – one when creating the bean, and one when closing the stitch – each completed Large Bean Stitch will count for two stitches in the row or round’s final stitch count.)
3rd Loop Only
Half double crochet stitches have a 3rd loop that we utilize in this pattern. When working in turned rows, as in this pattern, the 3rd loop can be found just below the front loop on the side of the work that is facing you. When instructed to work in “3rd loop only”, insert your hook into this special loop. This creates a delicate braided look on the opposite side of the pattern.
Notes:
(1) This pattern is written in American Standard Terms.
(2) CH1s at the beginning of rows do not count as a stitch in the final stitch count.
(3) A video tutorial for the stitch pattern is available up in the post, or by clicking here.
INSTRUCTIONS (MAKE 2)
To begin: With COLOR A and larger hook, CH17.
Row 1: SC in 2nd CH from hook and in each remaining CH. (16)
Row 2: Ch1, turn. SC in each ST across. (16)
Row 3: CH1, turn. SC in first ST. (SK next ST, LBS in next ST) 7 times. SC in final ST. (16)
Row 4: Ch1, turn. HDC in each ST across. (16)
Row 5 (thumb hole): CH1, turn. SC in first ST. SC in 3rd loop of each of the next 3 STS. Ch7; SK 7 STS. SC in 3rd loop of each of the next 4 STS. SC in final ST. (7 + CH7)
Row 6: CH1, turn. SC in each of the first 5 STS. SC in each of the 7 CHs. SC in each of the remaining 4 STS. (16)
Row 7: Ch1, turn. SC in first ST. (LBS in next ST, SK next ST) 7 times. SC in final ST. (16)
Row 8: CH1, turn. HDC in each ST across. (16)
Row 9: CH1, turn. SC in first ST. SC in 3rd loop of each of the next 14 STS. SC in final ST. (16)
Row 10: CH1, turn. SC in each ST across. (16)
Row 11: CH1, turn. SC in first ST. (SK next ST, LBS in next ST) 7 times. SC in final ST. (16)
Row 12: CH1, turn. HDC in each ST across. (16)
Row 13: CH1, turn. SC in first ST. SC in 3rd loop of each of the next 14 STS. SC in final ST. (16)
Row 14: CH1, turn. SC in each ST across. (16)
Row 15: CH1, turn. SC in first ST. (LBS in next ST, SK next ST) 7 times. SC in final ST. (16)
Row 16: CH1, turn. HDC in each ST across. (16)
Rows 17-24: Repeat Rows 9-16.
At this point, you should put your thumb in the thumb hole and make sure that the fabric can stretch around your palm. It should be snug. If it is too small, repeat Rows 9-12 to add another inch of width.
Row 25: CH1, do NOT turn. SC in same ST again to round corner. Continue to SC across the top edge of the wrist warmer, putting 3SC in each 4-row section. (I visualize each “section” as being the area between each 3rd loop row, so I put an SC directly to the left of the 3rd loop row, one on the bean stitch row, and one directly to the right of the next 3rd loop row, then repeat that sequence all the way across.) Bring the sides together (right side out) and join to the top of the 1st SC with a SL ST. Fasten off, leaving a long tail for seaming.

Seaming the Main Section
Turn inside out. Seam the edges together, using your yarn needle to go under the 3rd loop of the HDC row and across to the corresponding stitch on the other side. This will create a row of raised top loops along your seam, ensuring that it will blend in with the rest of the similar rows. (This technique is demonstrated on the video tutorial for the Malia Beanie + Slouch at the 42:00 mark.) Fasten off and weave in both ends.
Main Section, Bottom Edging
Turn right-side out. Turn upside down and reattach COLOR A at the bottom, lined up with the thumb hole, and CH1. SC in each row around. (Notice we aren’t doing 3SC in each 4-row section like we did before; this time, each row gets its own SC.) You should end up with 24SC (4 per section), but one more or less won’t make much of a difference. Join with a SL ST to the top of the first SC.
Change to COLOR B; fasten off COLOR A.
CH1. SC in each ST around. Join with a SL ST to the top of the first SC. In the following instructions, this round will be referred to as the “Base Round”.
Ribbing Section
(Note: If you need extra help on this part, please watch this video tutorial on how to add ribbing to the bottom of a crochet project.)
Switch to smaller hook. CH11.
Row 1: SC in 2nd chain from hook and in each of the remaining 9 chains. SL ST into the first SC from the Base Round, the stitch on which your CH11 was built. SL ST into the next SC from the Base Round. (10, plus the two slip stitches along the Base Round)
The section we just created, built on the CH11, will hereafter be referred to as the “ribbing.”
Row 2: CH1, turn. Skipping over the 2 SL STS you put in the Base Round, SC in BLO of each of the first 9 STS of the ribbing. SC in both loops of the last ST. (10)
Row 3: CH1, turn. SC in 1st ST. SC in BLO of each of the remaining 9 STS of the ribbing. SL ST in each of the next 2 empty STS of the Base Round. (10, plus the 2 SL STS along the Base Round)
Row 4: CH1, turn. Skipping over the 2 SL STS you put in the Base Round, SC in BLO of each of the first 9 STS of the ribbing. SC in both loops of the last ST. (10)
Rows 5-24: Repeat Rows 3-4 all the way along the Base Round.
Fasten off and use your tail to sew together the first and last rows of the ribbing, then weave in your ends.
Thumb Edging
Reattach COLOR A somewhere on the edge of the thumb hole; CH1. SC evenly around the opening. Join with a SL ST to the top of the first SC. Fasten off and weave in ends.
Buttons
Using your yarn needle and COLOR B, or a needle and thread, attach two small buttons to the ribbing toward the outer edge of each wrist warmer.
Done! If you’re sharing on social media, be sure to hashtag #maliacaland #maliawristwarmers and tag me @littlemonkeyscrochet. Hope you enjoyed it!


 (4) For the finished measurements of the hats, height is measured from the bottom of the band to the top of the body, pom not included. Width is measured across the bottom of the body of the hat, at the point where the body and the band meet. (Band of hat is smaller but will stretch to fit.)


