I named this pattern the Diamond Dust Cowl because I love how the white yarn looks like a light dusting of snowflakes at the start of a snowfall, when the sun is shining down and making everything extra bright. I chose dark wooden toggles to attach to the cowl, and I love the contrast of the rich brown against the white. Of course, the cowl can be worked up in any color you choose.
Prefer a PDF?
This pattern can be completed using the 100% free version right here on this page. However, many people prefer the convenience of a printable, ad-free PDF.
All-Access Passholders get the ad-free version of this and all of my other blog patterns. It’s a pretty sweet deal, if I do say so myself! Learn more about it here or continuing scrolling for the free version.
DIAMOND DUST COWL
Hook: P (11.50mm)
Yarn: Super Bulky (I used 3 skeins of Lion Brand’s “Hometown USA” in New York White)
Buttons: 4 large. I used 1.75″ wooden toggles.
Difficulty: Easy
Gauge: Not crucial, but a row of 5 SC+DC combos = about 7″
Finished Size: Approximately 29″ around, 14″ tall
Notes:
(1) This pattern is written in American Standard Terms.
(2) This pattern is worked in rows, then sewn together at the end. The buttons or toggles are optional, and you may choose to use them as functioning buttons, but I decided to sew the cowl together and add the toggles to be decorative. (In other words, in my finished cowl, the sewing is holding it together, not the toggles; although, it appears as though the toggles are functional.) If you choose to not sew your cowl together and instead rely on functioning buttons or toggles, be sure to use large enough buttons that they will not slip through the large spaces created by using such a bulky yarn and large hook.
(3) To help you get a nice straight edge, you’ll place your last SC+DC combo of each row into the Ch2 space from the previous row.
THE PATTERN
To begin: Ch 47.
Row 1: In 3rd Ch from hook, 1SC + 1DC. (Skip next St; 1 SC + 1 DC in next St) across.
Row 2: Ch2; turn. (Skip next St; 1 SC + 1 DC in next St) across. (Hint: To get a nice straight edge, place your last SC+DC combo of the row into the Ch2 space from the previous row. Follow this hint for all future rows as well.)
Row 3-20 (or until scarf is about 14″ tall): Ch2; turn. (Skip next St; 1 SC + 1 DC in next St) across.
Fasten off, leaving a long finishing tail. Weave in your starting tail only, then choose one of the following options for finishing.
Finishing Option 1: Decorative Buttons or Toggles
Fold your cowl so that the ends meet. Overlap one edge about 1″ over the other edge, then use your long finishing tail to sew them together, going up and down through both edges of the cowl with small stitches. Fasten off and weave in. Attach 4 large buttons or toggles in even increments down the seam so that it appears as though the cowl has been “buttoned up.”
Finishing Option 2: Functional Buttons or Toggles
Weave in your finishing tail (you won’t need it for this option). Sew 4 large buttons or toggles evenly down one side. To wear, slip the buttons or toggles through the stitches of the other end of the cowl.








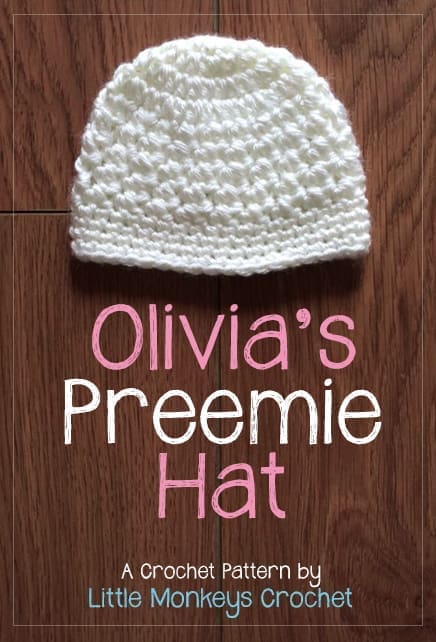

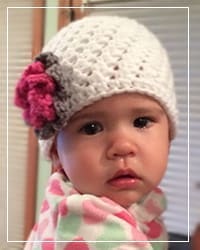 I named my pattern after my niece, Olivia, who spent a few days in the NICU herself due to water on her lungs, low oxygen levels, anemia, and a few other issues. (That’s her in the photo, modeling a big-girl version of this pattern.) I remember visiting the day after she was born and seeing the exhaustion and fear in my sister’s eyes. Olivia wasn’t in a life-threatening situation, but even that (relatively) short stay in NICU was enough to completely overwhelm that new mommy, who had a husband in the middle of nursing school finals and a toddler son who needed her at home. It made me realize that every single family in the NICU has a story; from the babies who only stay a few days, to the tiniest newborns who fight for their lives for months or more, each new mommy and daddy goes through an emotional struggle that I know cannot even be imagined by those of us who have not experienced it.