A new slouch hat pattern! YAY!
I love slouch hats. And you guys must, too, because the Jenny Slouch quickly became one of my most popular patterns of all time (“all time”, of course, referring to the one year I’ve been blogging). There’s just something about a cute slouch that makes you feel extra adorable when you’re out in the cold. And it’s a great way to hide a bad hair day, which – as a tired mom of two toddler boys – is almost a daily thing for me.
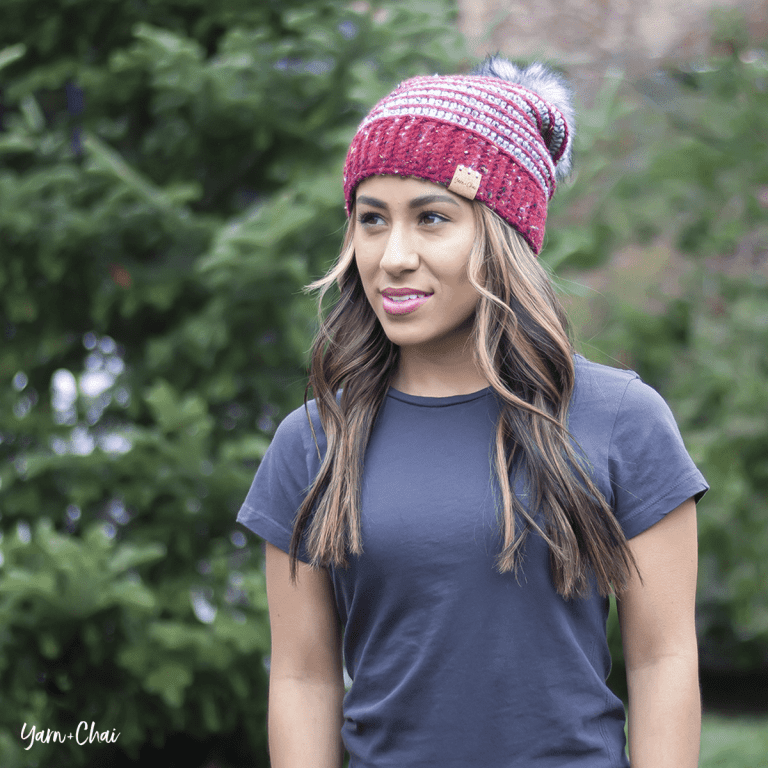
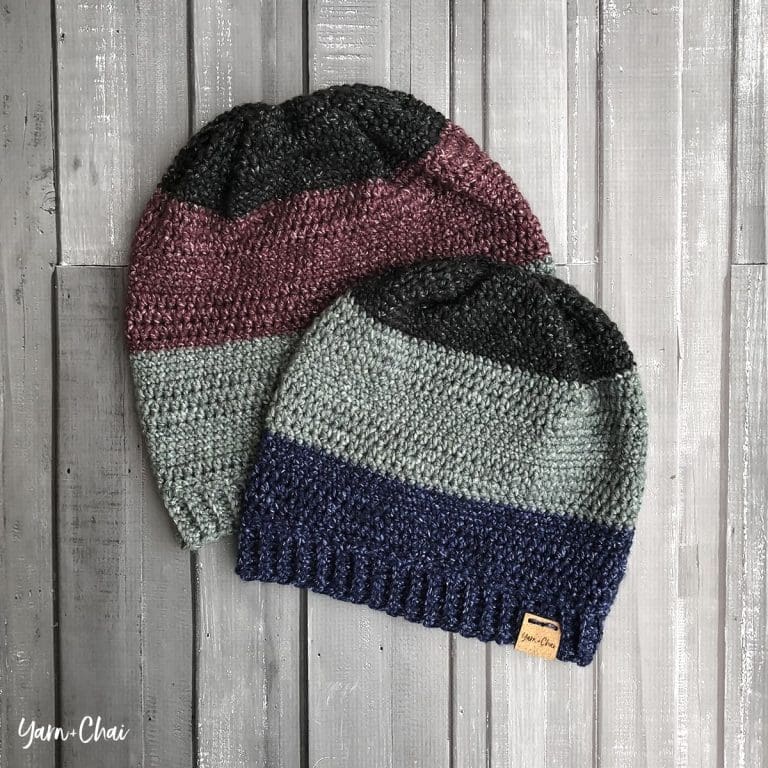
Here’s a new slouch pattern I’ve been working on, and it even has a matching cowl that I think you’ll also love, which I originally designed for All Free Crochet’s blog, Stitch & Unwind!
The button on the hat is purely decorative, meaning there’s no buttonhole. (I figure, why go to the trouble of making it functional, when you’re never going to need to unbutton it, anyway?)
SANDY SLOUCH
All Access membership
Make this one ad-free, step by step
The full pattern is free right below, as always. Members get:
- No ads, on any pattern
- Step-by-Step mode: one round at a time, checked off as you go, with your place saved, on the website and in the Yarn + Chai app
- A printable PDF of this and every other pattern
- Your favorites saved in one place, on every device
Then $5 a month or $50 a year. Cancel anytime.
Hooks: K (6.5mm) and I (5.5mm)
Yarn: About 175 yards of worsted weight acrylic yarn; I used <1 skein of Lion Brand Heartland in “Grand Canyon”. (Heartland is a lighter worsted weight yarn, comparable to Bernat Satin or Red Heart Soft, so if you use something a little thicker like Hobby Lobby’s I Love This Yarn it may turn out slightly larger.)
Difficulty: Easy
Gauge: A round of HDCs will = 1″. So, when you complete your 6th and final increase round, it should measure about 6″ in diameter.
Finished Size: Approximately 10″ tall, and 9.5″ wide
You’ll also need: Yarn needle, stitch marker (such as a bobby pin), 1″ button and materials to attach button
Notes:
(1) This pattern is written in American Standard Terms.
(2) This pattern is worked in a seamless round until the band, when it becomes turned rounds. Do not join, chain or turn unless instructed to do so.
(3) Some have struggled with understanding that is happening once you get to the band and button area, so here’s an explanation I replied with in the comments section that seemed to help, and you can come back to this if you get tripped up too. What you’re doing in Round 21 is setting the base for your flap. Because of the flap, we are not able to work in continuous or joined rounds. We’re just going to be going back and forth, building the band, including the flap. (Which is why the stitch totals switch from 60 to 66, because we created 6 additional stitches with our CH7.) So in Round 22, you’re SCing back down that CH7 that you’ve just made, and then continuing on all the way around the hat until you reach the end of that round. (Technically it would be considered a row at this point, but I thought that would be even more confusing.) Then you’ll CH1 and turn, and SC back around the hat, all the way back up to the top of the CH7 section you made, then CH1, turn around and SC back down the flap and around the hat. You’re going to keep doing this until the pattern tells you to stop, and you will end up with a flap that is the same thickness as the band.
– – – – – – – – – – – – – – – – – – – – – – – –
THE PATTERN
To begin: With K hook, make a magic circle (view a tutorial here).
Round 1: 10 HDC in magic circle. (10)
Round 2: 2HDC in each ST around. (20)
Round 3: (2HDC in next ST, HDC in next ST) around. (30)
Round 4: (2HDC in next ST, HDC in next 2 STS) around. (40)
Round 5: (2HDC in next ST, HDC in next 3 STS) around. (50)
Round 6: (2HDC in next ST, HDC in next 4 STS) around. (60)
Round 7: (SC+DC in next ST, SK next ST) around. (60)
Rounds 8-20: Repeat Round 7.
Round 21: (SC+DC in next ST, SK next ST) 29 times (until you only have 2 STS left in the round). SC in next ST, SL ST in next ST. CH7. (60)
(Note: the CH7 will form the base of our button flap.)
Switch to I hook. You will now crochet the band of the hat, and we want it to be a little snug so that it doesn’t fall off.
Round 22: SC in 2nd CH from hook and in each remaining CH. Continue to SC around. (66)
Rounds 23-29: CH1, turn. SC around. (66)
Finishing: CH1 (do NOT turn). SC around the entire edge of the hat, including the button flap, putting 2SC in each corner. Join with a SL ST to the first SC. Fasten off and weave in ends.
Button: Place your button in the center of the flap and, using yarn or thread, secure it through both layers (the flap and the band underneath).